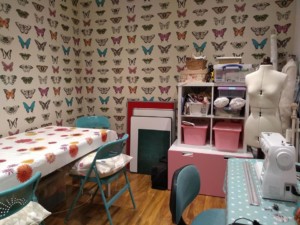
A lot has gone on in the past year and we decided to relocate from Loughborough town centre to the outskirts. It was for various reasons, parking was one of the issues, and also the area we were in wasn’t quite suitable. We have now created a fabulous workroom which can accommodate our sewing classes and our cosy crochet and knitting evenings.
We did a full refurbishment on the room, having the walls completely re plastered and the ceiling finished off. New electrics were added and better lighting makes the room really bright and visual for all of our lessons. Wooden flooring has also been laid down, this make picking up pins and threads so much easier, no more random pins stuck in the carpet!
We chose harlequin wallpaper for their vibrant butterfly design. the colours in the wallpaper matched our brand and we also wanted to stimulate and provide more colour and make the room more exciting.
Another addition to our room was is our brand new tailors dummy! We are always dressmaking whether it is requests for ballroom dresses, bridesmaid dresses or dressmaking in our sewing classes. Either way this is an invaluable investment and I can’t imagine how we survived without one for so long!
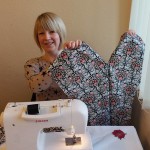
We hope you all enjoy the room, here are some pictures:
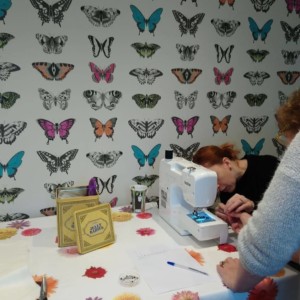
As you can see we have already started and had lessons in our new room. People who have attended the lessons have been really positive and we hope to continue teaching and sharing our knowledge of sewing and crochet and of course our main mission of being creative!
If you like what you see and you want to come along to any of our classes then just get in touch, we will be happy to see you.
There are spaces available if you would like to book on to our sewing course. You can book per lesson, £40, or onto a course of 4 lessons. Click onto our shop to find out more information alternatively email Amy for more information.
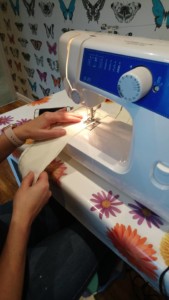
We run classes most Saturdays, they are relaxed and stress free, you just need to bring yourself and your sewing machine. Refreshments are available.
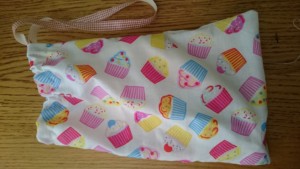
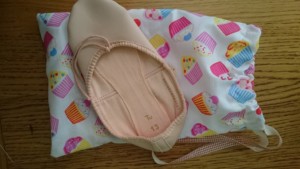
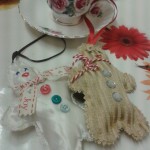
This morning I managed to make a ballet shoe bag, in-between all the other jobs that were crying out to be achieved!
I’ve had the cupcake fabric laying around for a few years now as it wasn’t quite big enough to make anything else with a small bag was perfect so voila! I sewed down both long ends and then folded the top opening over to create a loop for the ribbon to be posted through. The only tricky bit was getting the ribbon through the hole, this is always the part that manages to annoy me! I used a pen to help guide the ribbon through. I finished the ribbon off by hand sewing the ends together (by that point my sewing machine had jammed again!) Once the ribbon is sewn and a loop has been made you can pull the bag shut.
All I need to do now is sew the straps on the shoes and the rest of the jobs that are shouting at me! I’m working from home today with a poorly 2 year old and it’s a juggling act!
I’m quite chuffed with the finished product and I hope my daughter will be as well!
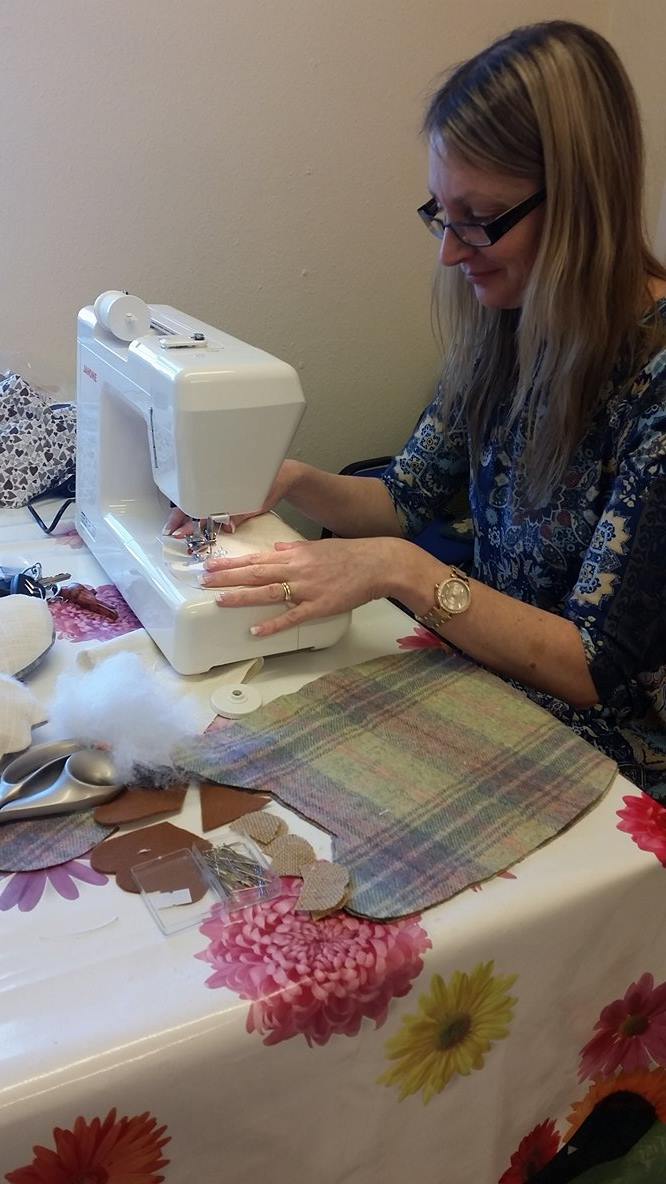
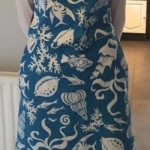
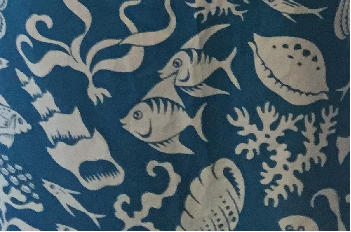
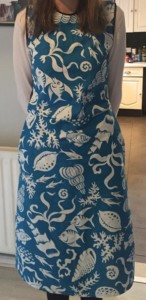
This last few weeks, as a part of a set of sewing lessons, we have been making a dress with a lovely customer who already had the basic skills of sewing but wanted to learn some dressmaking skills.
The pattern was taken from another dress she already had and resigned the pattern to her specifications. Here’s the nearly finished product! We absolutely love the fabric which was left to her from her granny.
It was a pleasure working with you, you were our neatest and tidiest dressmaker yet!
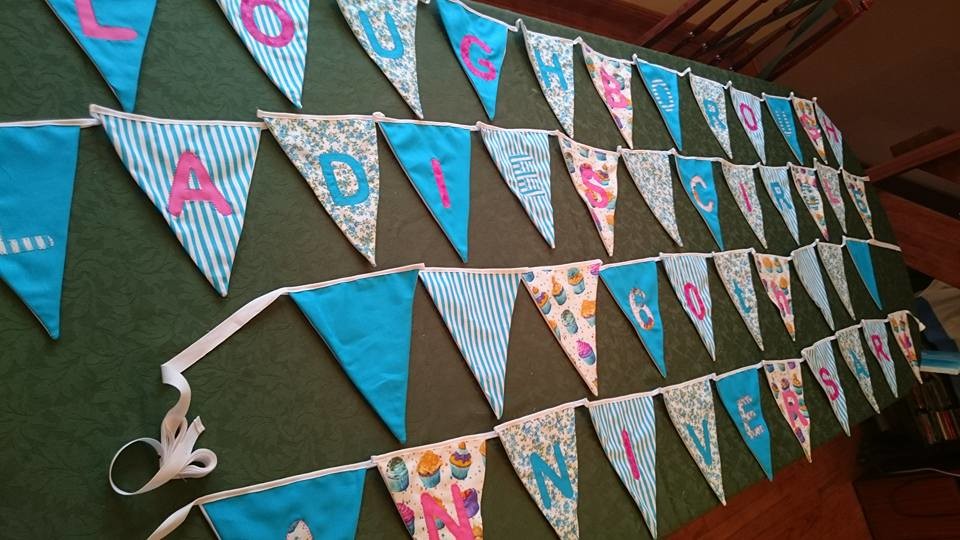
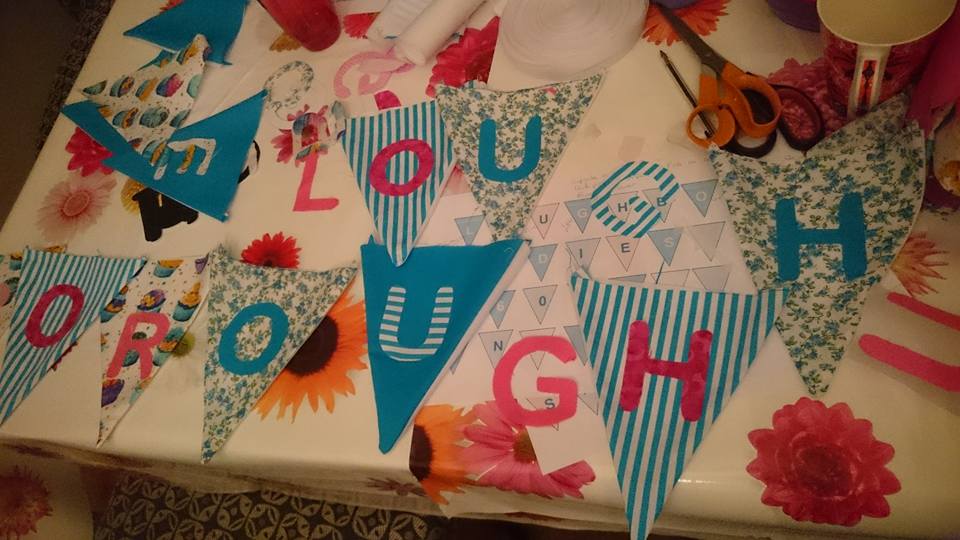
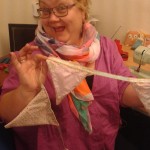
We’ve been making quite a bit of bunting lately, there are so many celebrations going on, what with weddings, anniversaries, birthdays and lots more ‘happenings’ there has been so much to do.
So we have given bunting the ‘Joy To Make’ treatment and it looks great, using cottons and cotton mixes which have a fantastic range of colours, they vary in width so you can get quite a lot of triangles out of a small amount of fabric. We match the colours to either a logo or theme and then vary fabrics with patterns to complement it.
The letters were bonded to the fabric and then sewn round to keep them in place and finally the top tape was sewn into place. We try to keep the strings to no more than 3 metres, as if you have a tent to put them up in or around then they should fit ok.
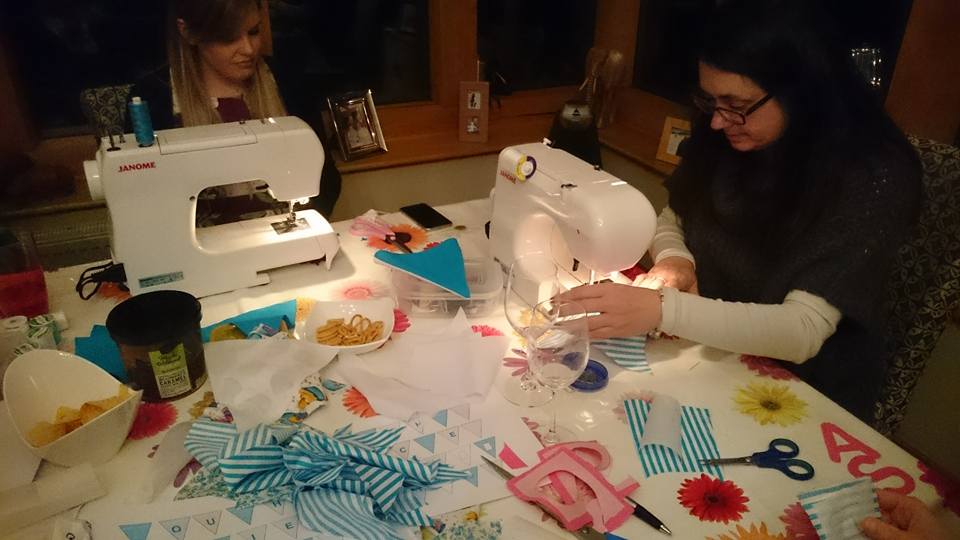
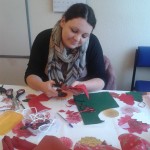
We held a great workshop recently where it was all hands on deck to create bunting, we had cutters for the cloth, machinists to sew up, more cutters creating letters and an ironer! It was great fun, a well oiled production line (well with the help of Proseco anyway).
So if you need a bunting workshop or just bunting, Joy to Make can help, just give us a call.
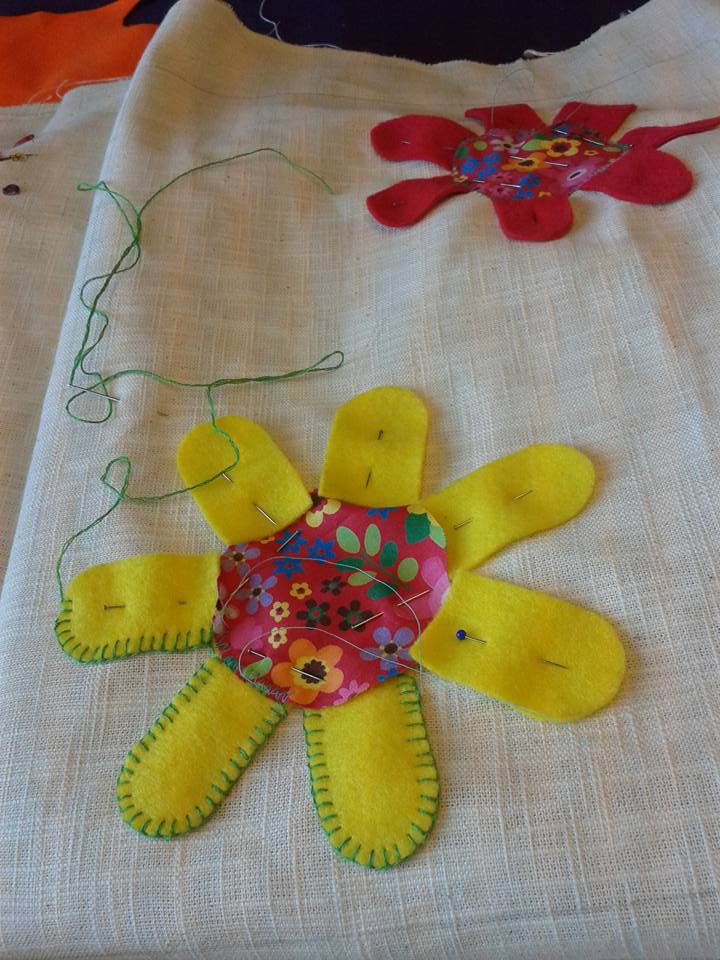
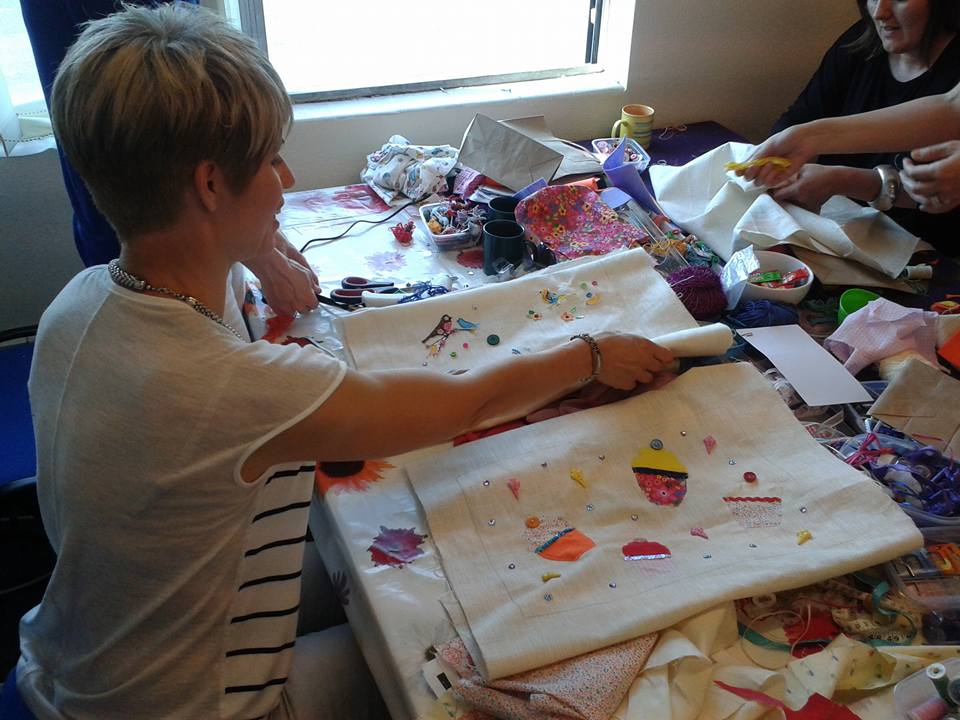
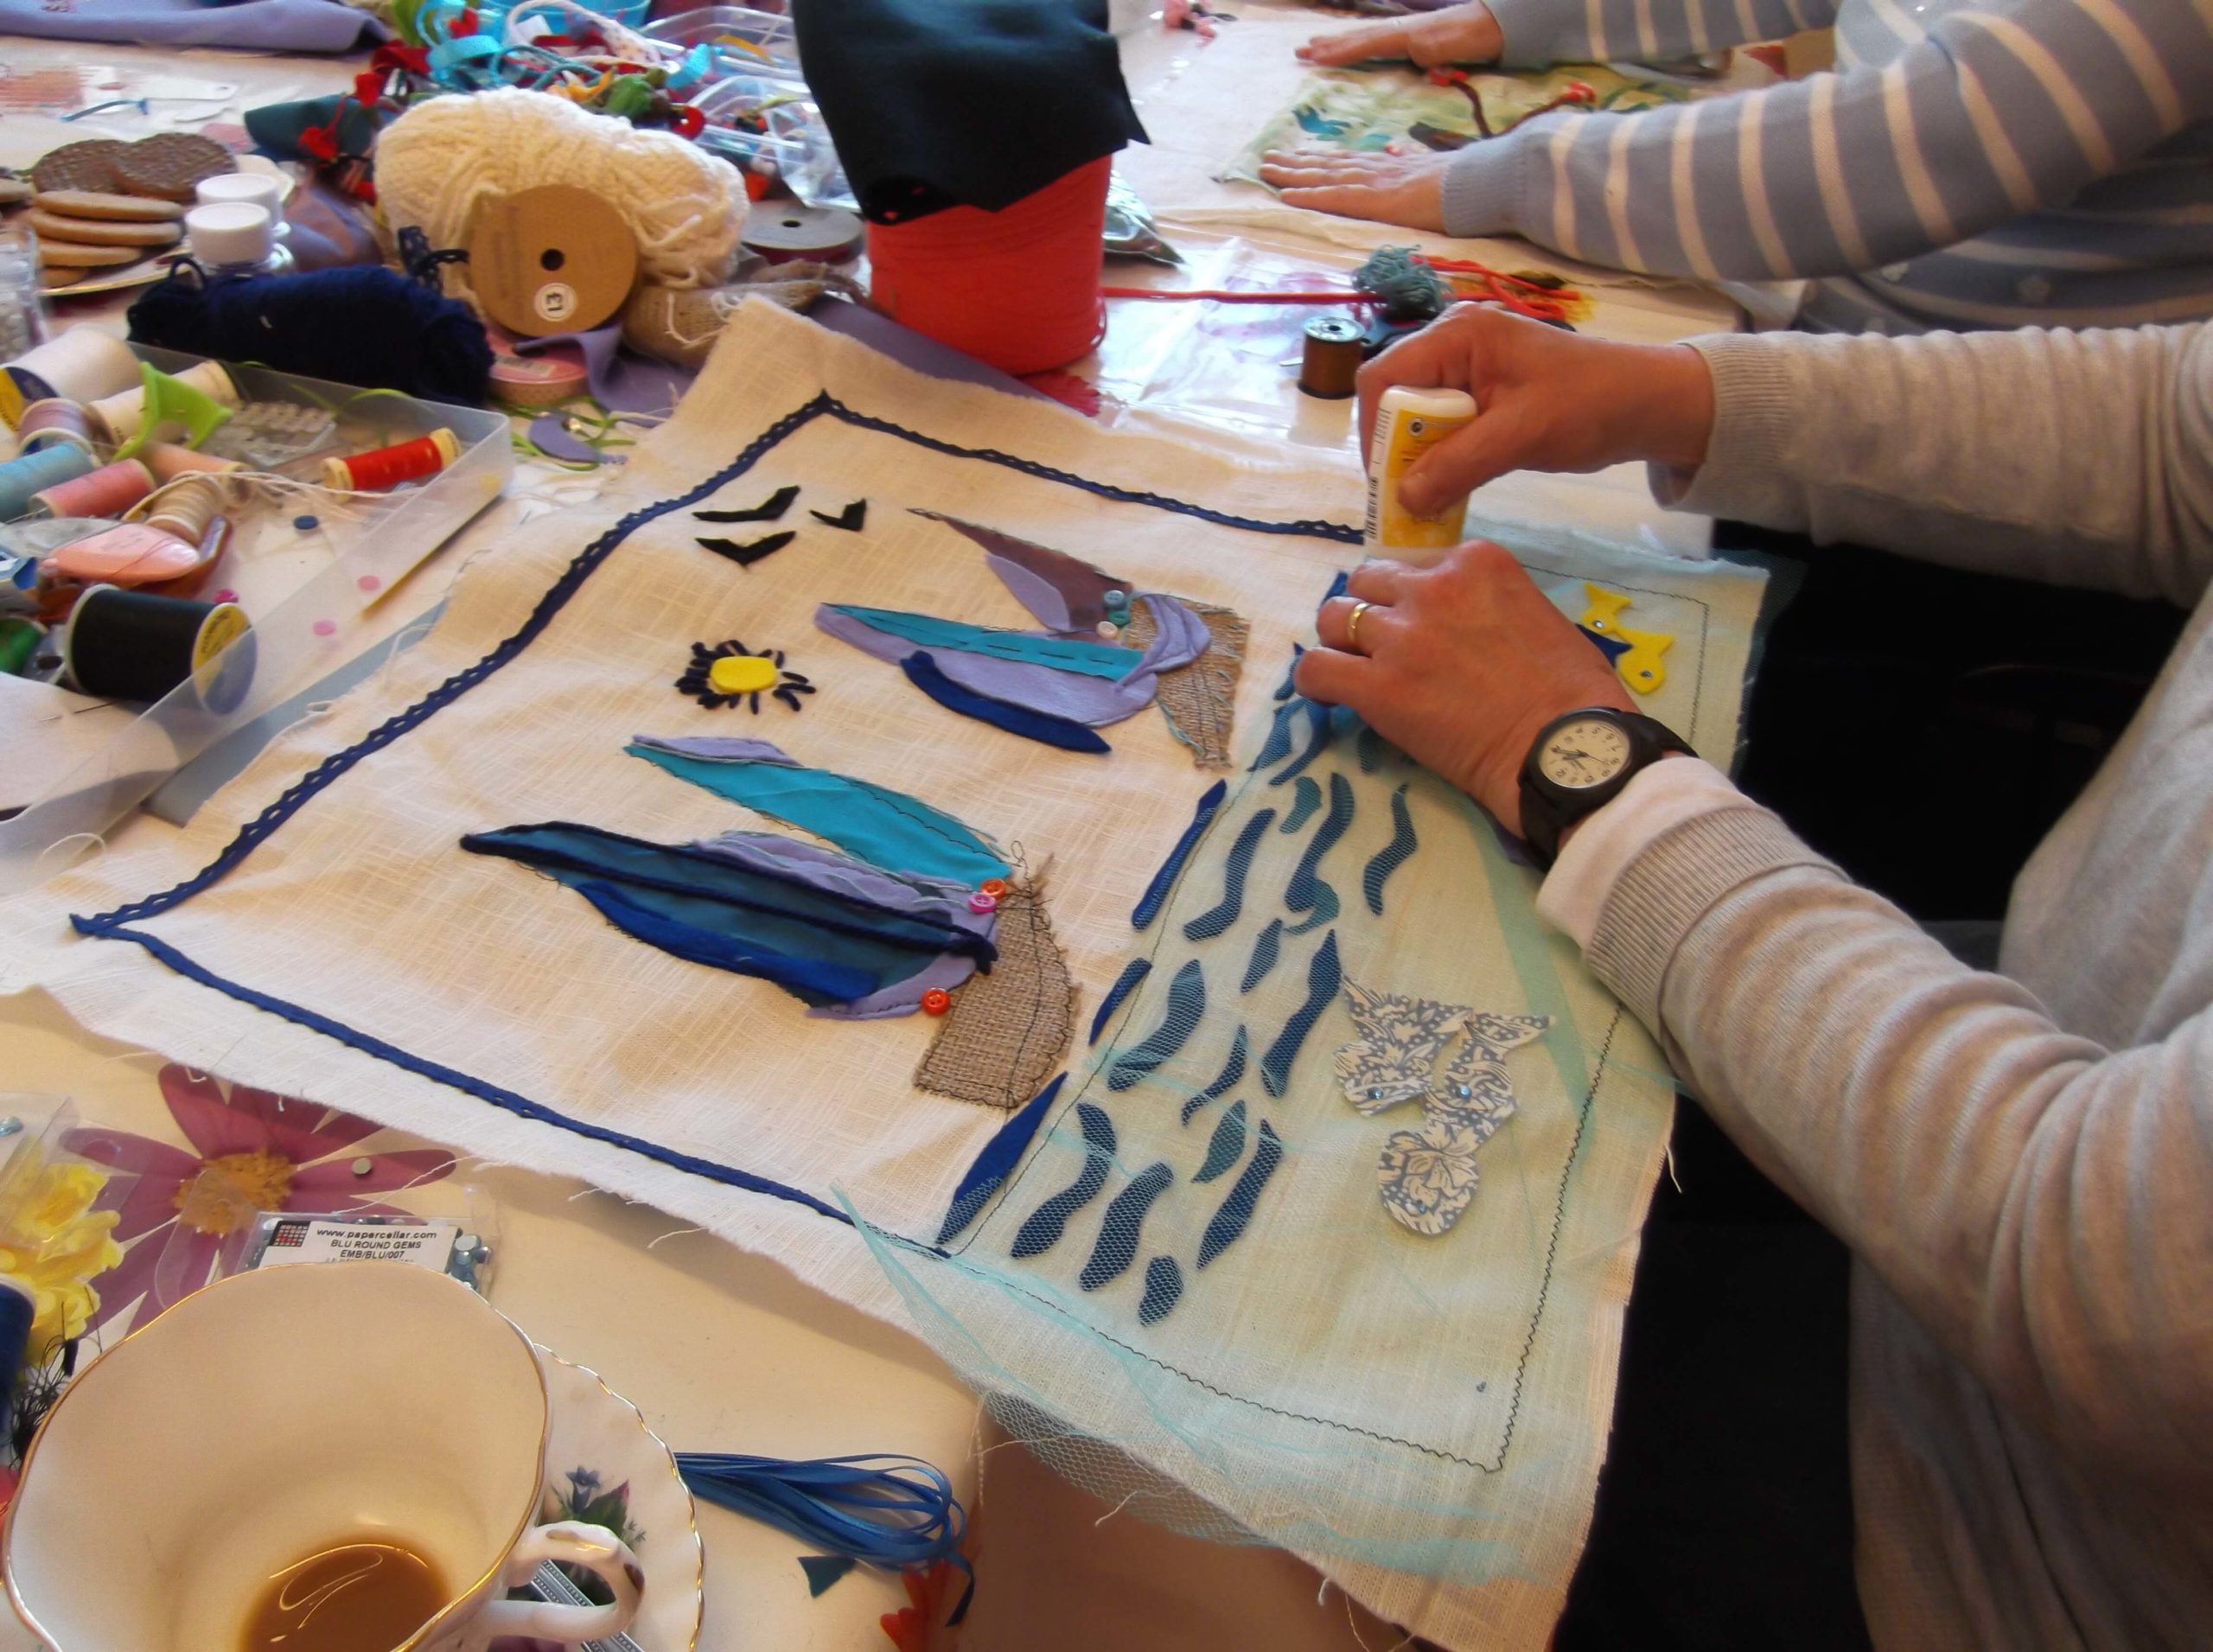
A lovely afternoon with Annie and her friends celebrating her 40th birthday on Saturday, they chose to do creative textiles instead of partying in a club, because they knew that was what she would prefer, so thoughtful of them. They decided to create a wall hanging for Annie’s daughter, each working on a piece which eventually would be sewn together and framed for the bedroom wall.
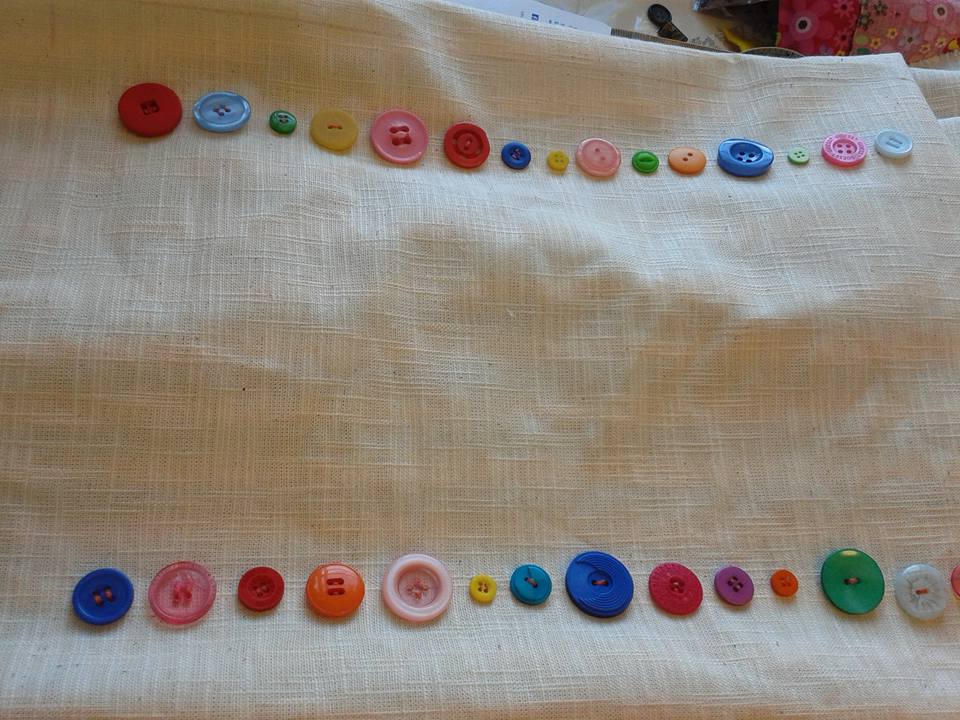
They worked out a plan and then delved into my boxes of bits to find fabrics to work with, then buttons and ribbons that would brighten it up. Hand sewing, machining and gluing into place all the elements which made up this lovely picture, which when finished they will be very proud of.
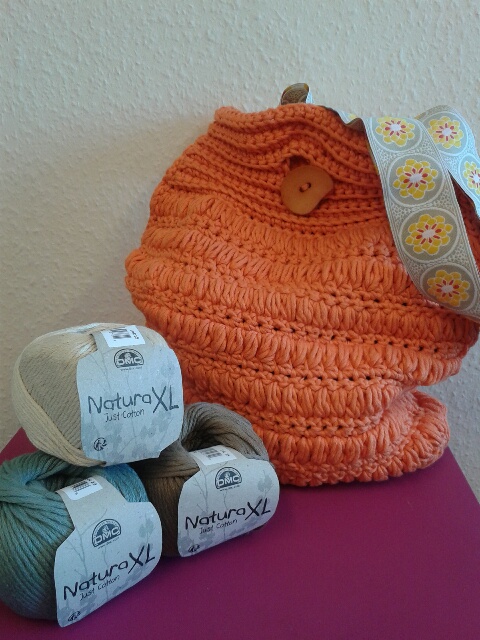
On Sunday we were at Barrow on Soar street market. We have never been there before and it was a last minute decision we were lucky to get a space. We arrived at 8.30am with a car full of stuff, Amy got out to find our space which was perfectly placed in the middle of the market, next to the WI, their cakes looked, and tasted great, what a lunchtime treat! After disgorging everything onto the pavement our friend arrived with his gazebo, we set to and erected it with all the wools, hooks, samples and everything, we were very pleased with the stall it looked great.
The market began at 10am and I was surprised how many people were wandering around looking at the stalls, our guessing game certainly had people wondering at how many metres of DMC’s Natura XL there were in the bag I had crocheted, there were some really wild guesses which caused great hilarity. The winner of the competition was Sharon Lewis! She guess right with 435m!
There was such an amazing amount of interest in learning new skills, crocheting particularly, and the more seasoned knitters rifled through the vintage patterns we bought along, they were very popular.
The weather held up nicely it was warm, even sunny at one point, then as the afternoon wore on the wind got up and nearly blew over the stall opposite us, (we tied ours to some railings!) It was at that point we decided it had been a lovely day, meeting lots of very friendly people, but it was time to pack up and go home.
We will definitely do it again next year, and well done to Ophelia for all her hard work in organising the market, which was a great success.[/fusion_builder_column][/fusion_builder_row][/fusion_builder_container]
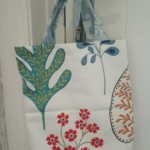
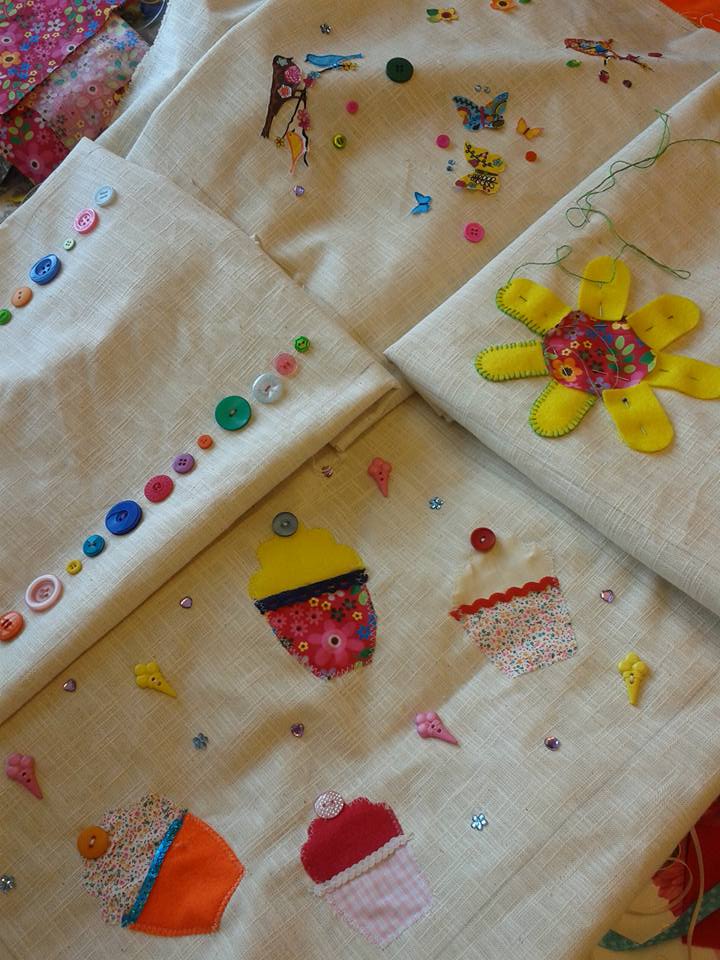
I love fabric, its tactile, versatile, you can do almost anything with it, shape it, mould it, sew it, whatever. I am so very fortunate to have a fantastic array of different fabrics, different weights, different colours, from fabulous silks to gorgeous upholstery fabrics , braids, ribbons, buttons, cottons. With these our creative textiles workshop is unique.
What can you do with ‘creative textiles’ I am often asked this, well pictures, wall hangings, cushions, bedspreads whatever you like really.
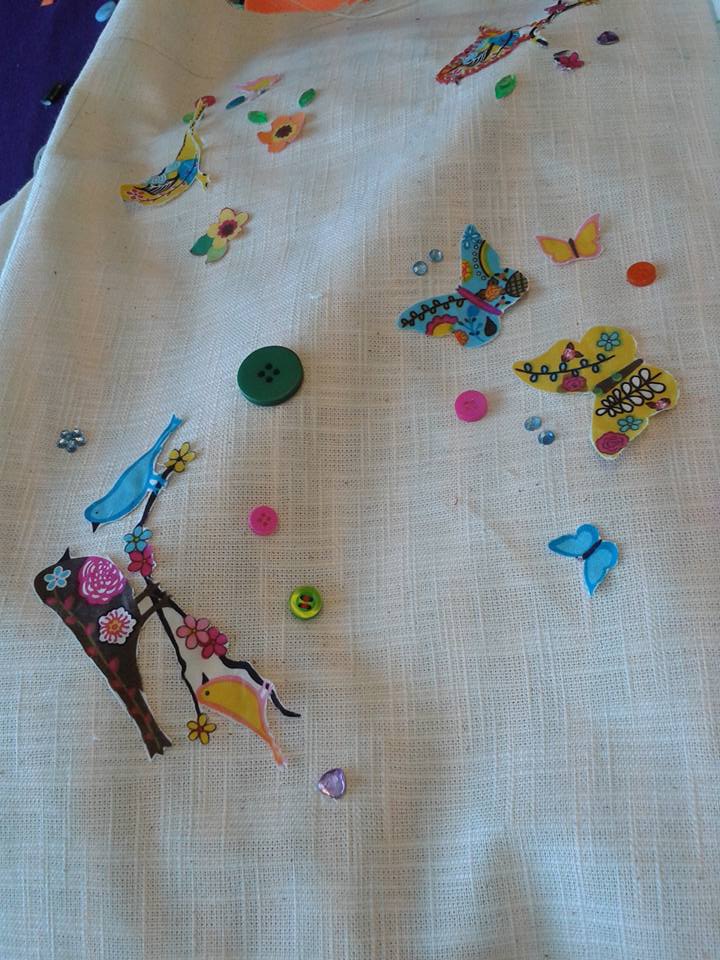
The workshop we did recently was interesting in that one lady said she had the sewing skills but lacked creativity. Up until that point I would probably have ‘themed’ the workshop but I decided that to get creative you needed to be stimulated and therefore a blank canvas was the starting point, and lots of pictures, magazines, cards with different themes on them, and a wall hanging which was done earlier created by 15 people who had never done anything like this before, each tackled their ‘square’ in a different way and all very colourful, lively and effective. One little square with birds on it, started the theme off for our lady and was developed from there.
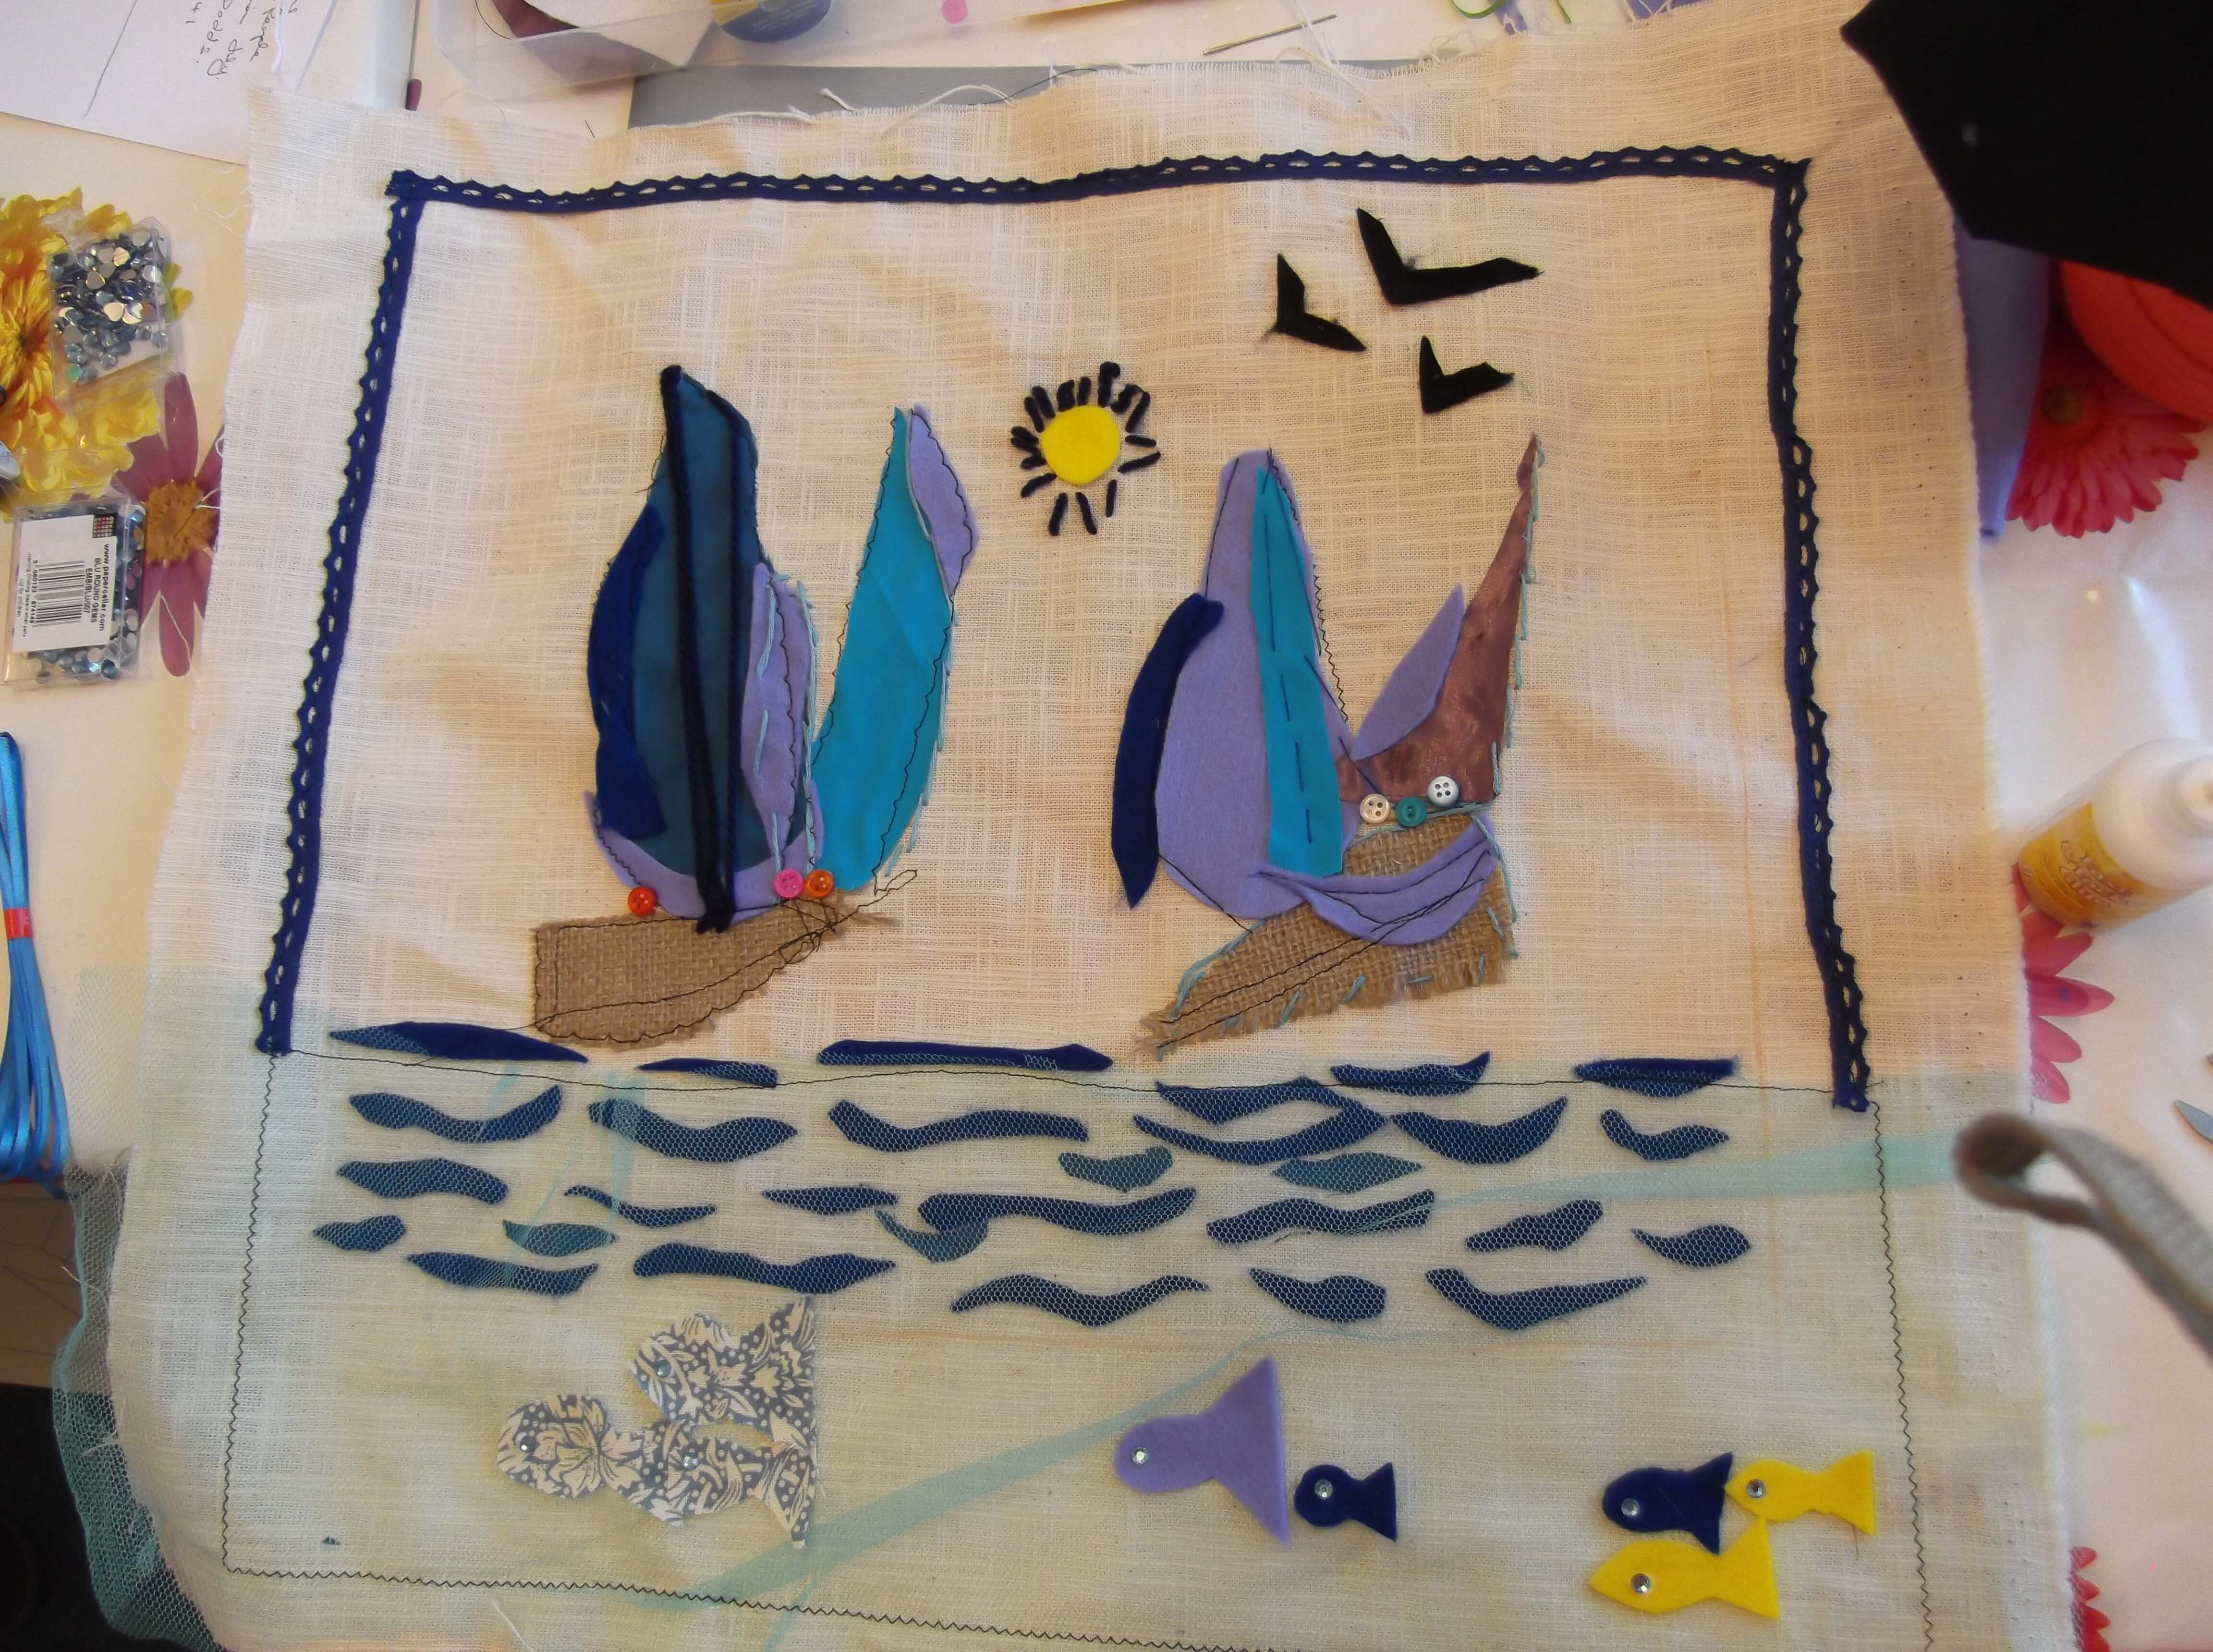
Another saw an impressionist painting of boats, this sparked her imagination. They delved into the boxes of fabric to find scraps to develop their themes with, each had a piece of beige cotton/linen (curtain weight) to develop their pictures. Hand sewing with silks, cottons and wool, and machining with different stitches with a little help and nurturing, the creations were developed.
The final results were great, one was made into a wall hanging and put on the bathroom wall, the other was to be stretched onto canvas to create a picture.
Why not come and join us for a workshop and unlock your creative side, its great fun :-)[/fusion_builder_column][/fusion_builder_row][/fusion_builder_container]
Here I will explain some of the key features common to most types of machine.
If you are thinking of buying a sewing machine, or you have been given one, it can be a little daunting if you haven’t used one before, or not used it very much.
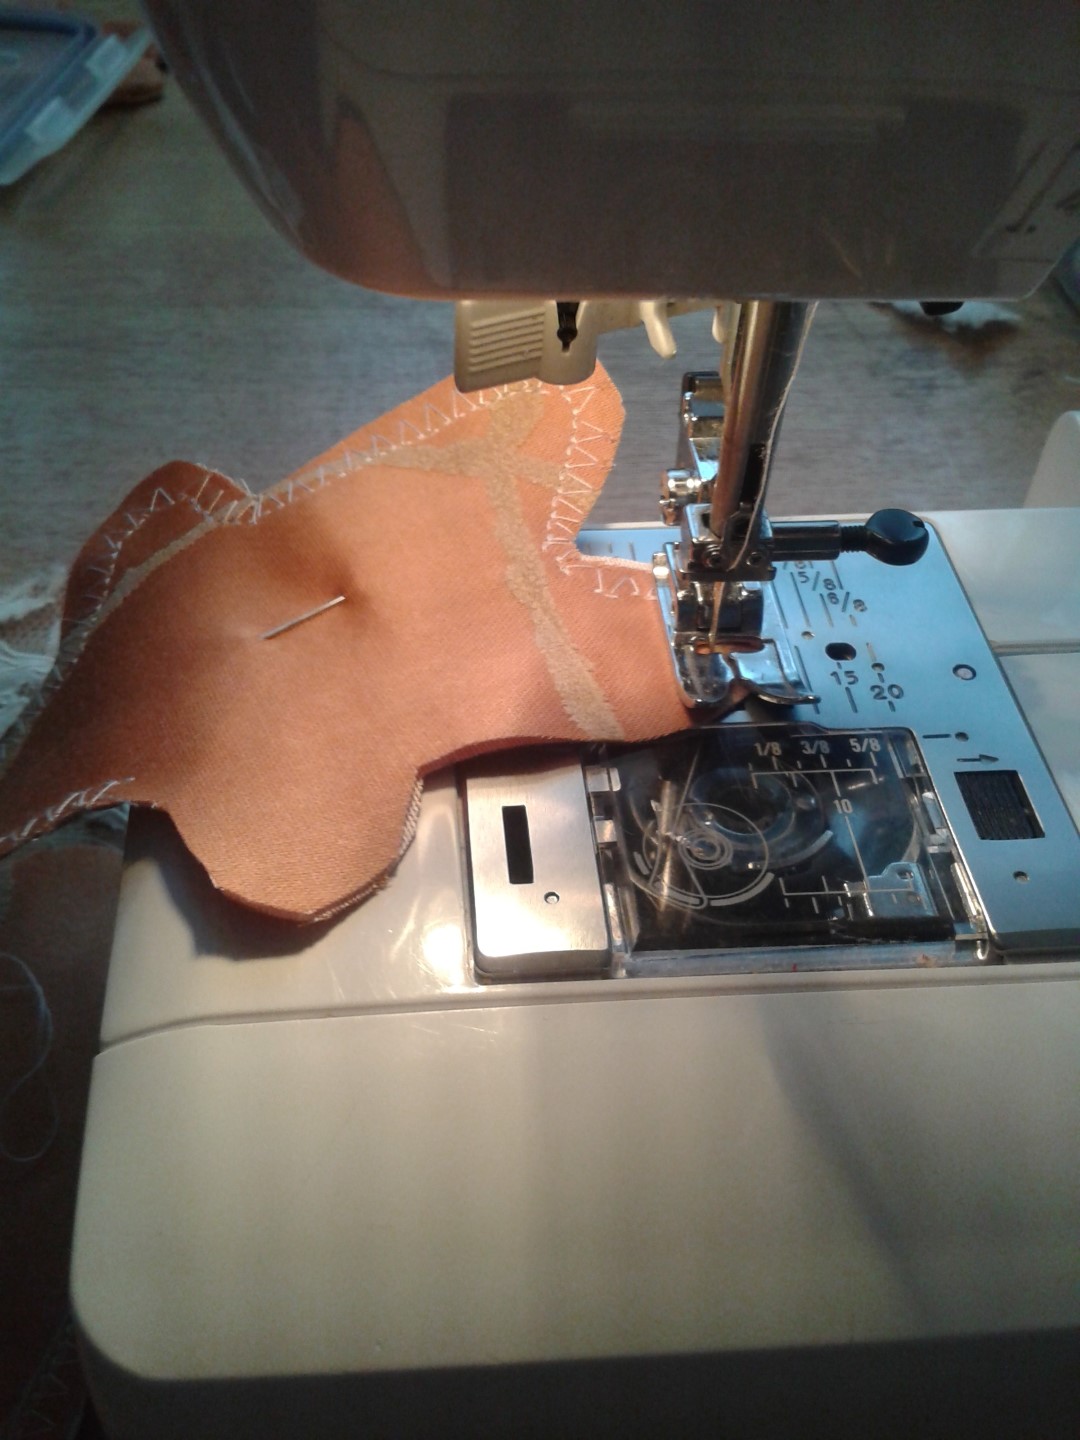
Threading the sewing machine is relatively easy, and most sewing machines are similar. There are usually marks on the machine that will help you to thread it up successfully. Winding the shuttle up is also fairly simple if you follow the ‘guides’. The shuttle is located either underneath the footplate or just in front of it. If it is at the front it will have a fixed shuttle case and the shuttle will slide easily into it. If the shuttle case is located underneath, you will be able to pull out the whole shuttle case, pop in the shuttle, wind the cotton around and pop it back in again.
One of the main problems when the sewing machine will not ‘go’ properly, is that the stitch might be too loose, rattles, or stops totally, it is usually because the machine threading has jumped out of place, so trace it back and check that its all ok. Then check that the thread on the bobbin is not trapped, and if so free this off. The other problem may be the shuttle: undo the casing and check that this is free as well and if it is snarled up, take the shuttle out, check there is cotton in there, and reinsert it- this should solve the problem. If it doesn’t then just check the housing of the shuttle in case it is dusty and may just need cleaning out. Also check the tension, sometimes this is a bit out and may need adjusting
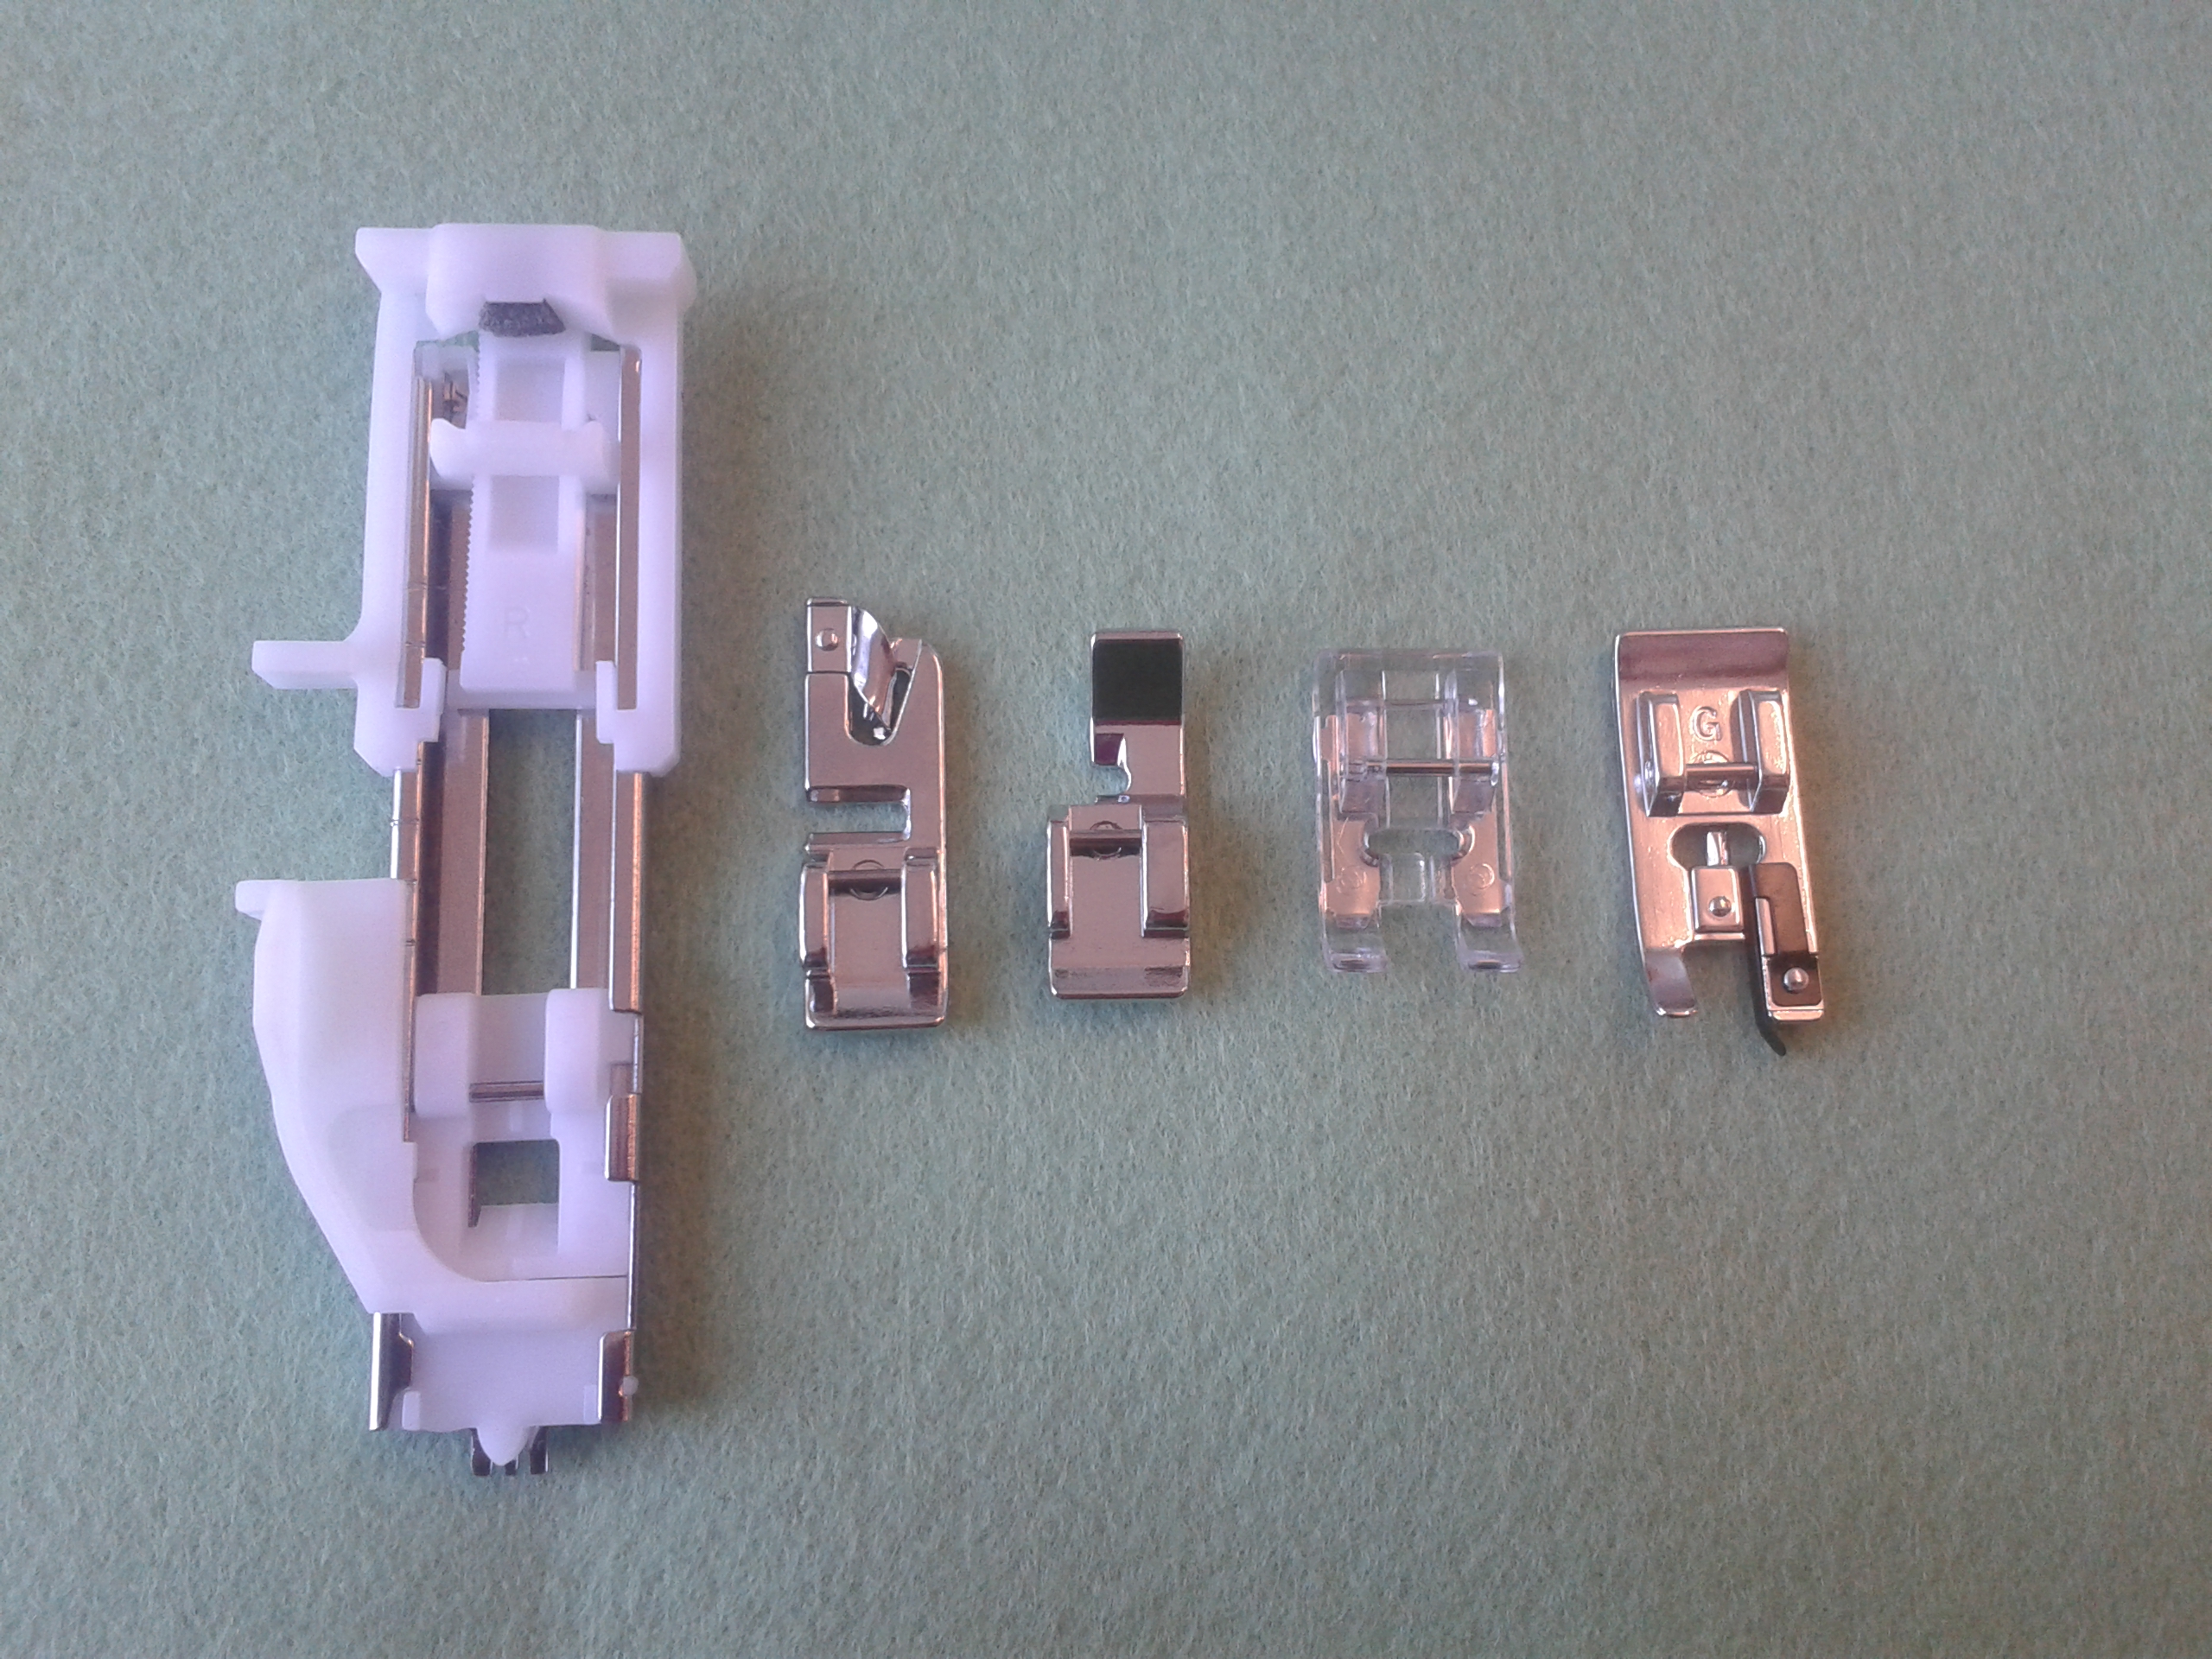
With more modern sewing machines there should be a range of ‘feet’ with the sewing machine. These are designed to help you with some more trickier tasks, like button holes, zips or edges. Look at your instruction manual, it should tell you how to use the feet, so practice these as they will help you to get a more professional look to your work.
There should be a ‘reverse’ lever: use this to finish off ends of seams so that they won’t come undone easily.
At the back or side of the needle housing, there should be a lever that lifts the ‘foot’ up and down. By lifting the foot you will get the fabric underneath and in the correct position to sew. You will also use the lever to change the feet.
When beginning to sew start slowly, there is no rush, use the hand wheel to help you place the needle and practice on a spare piece of cloth. If you are doing corners you may need to snip the fabric a couple of times to allow it to ease a bit.
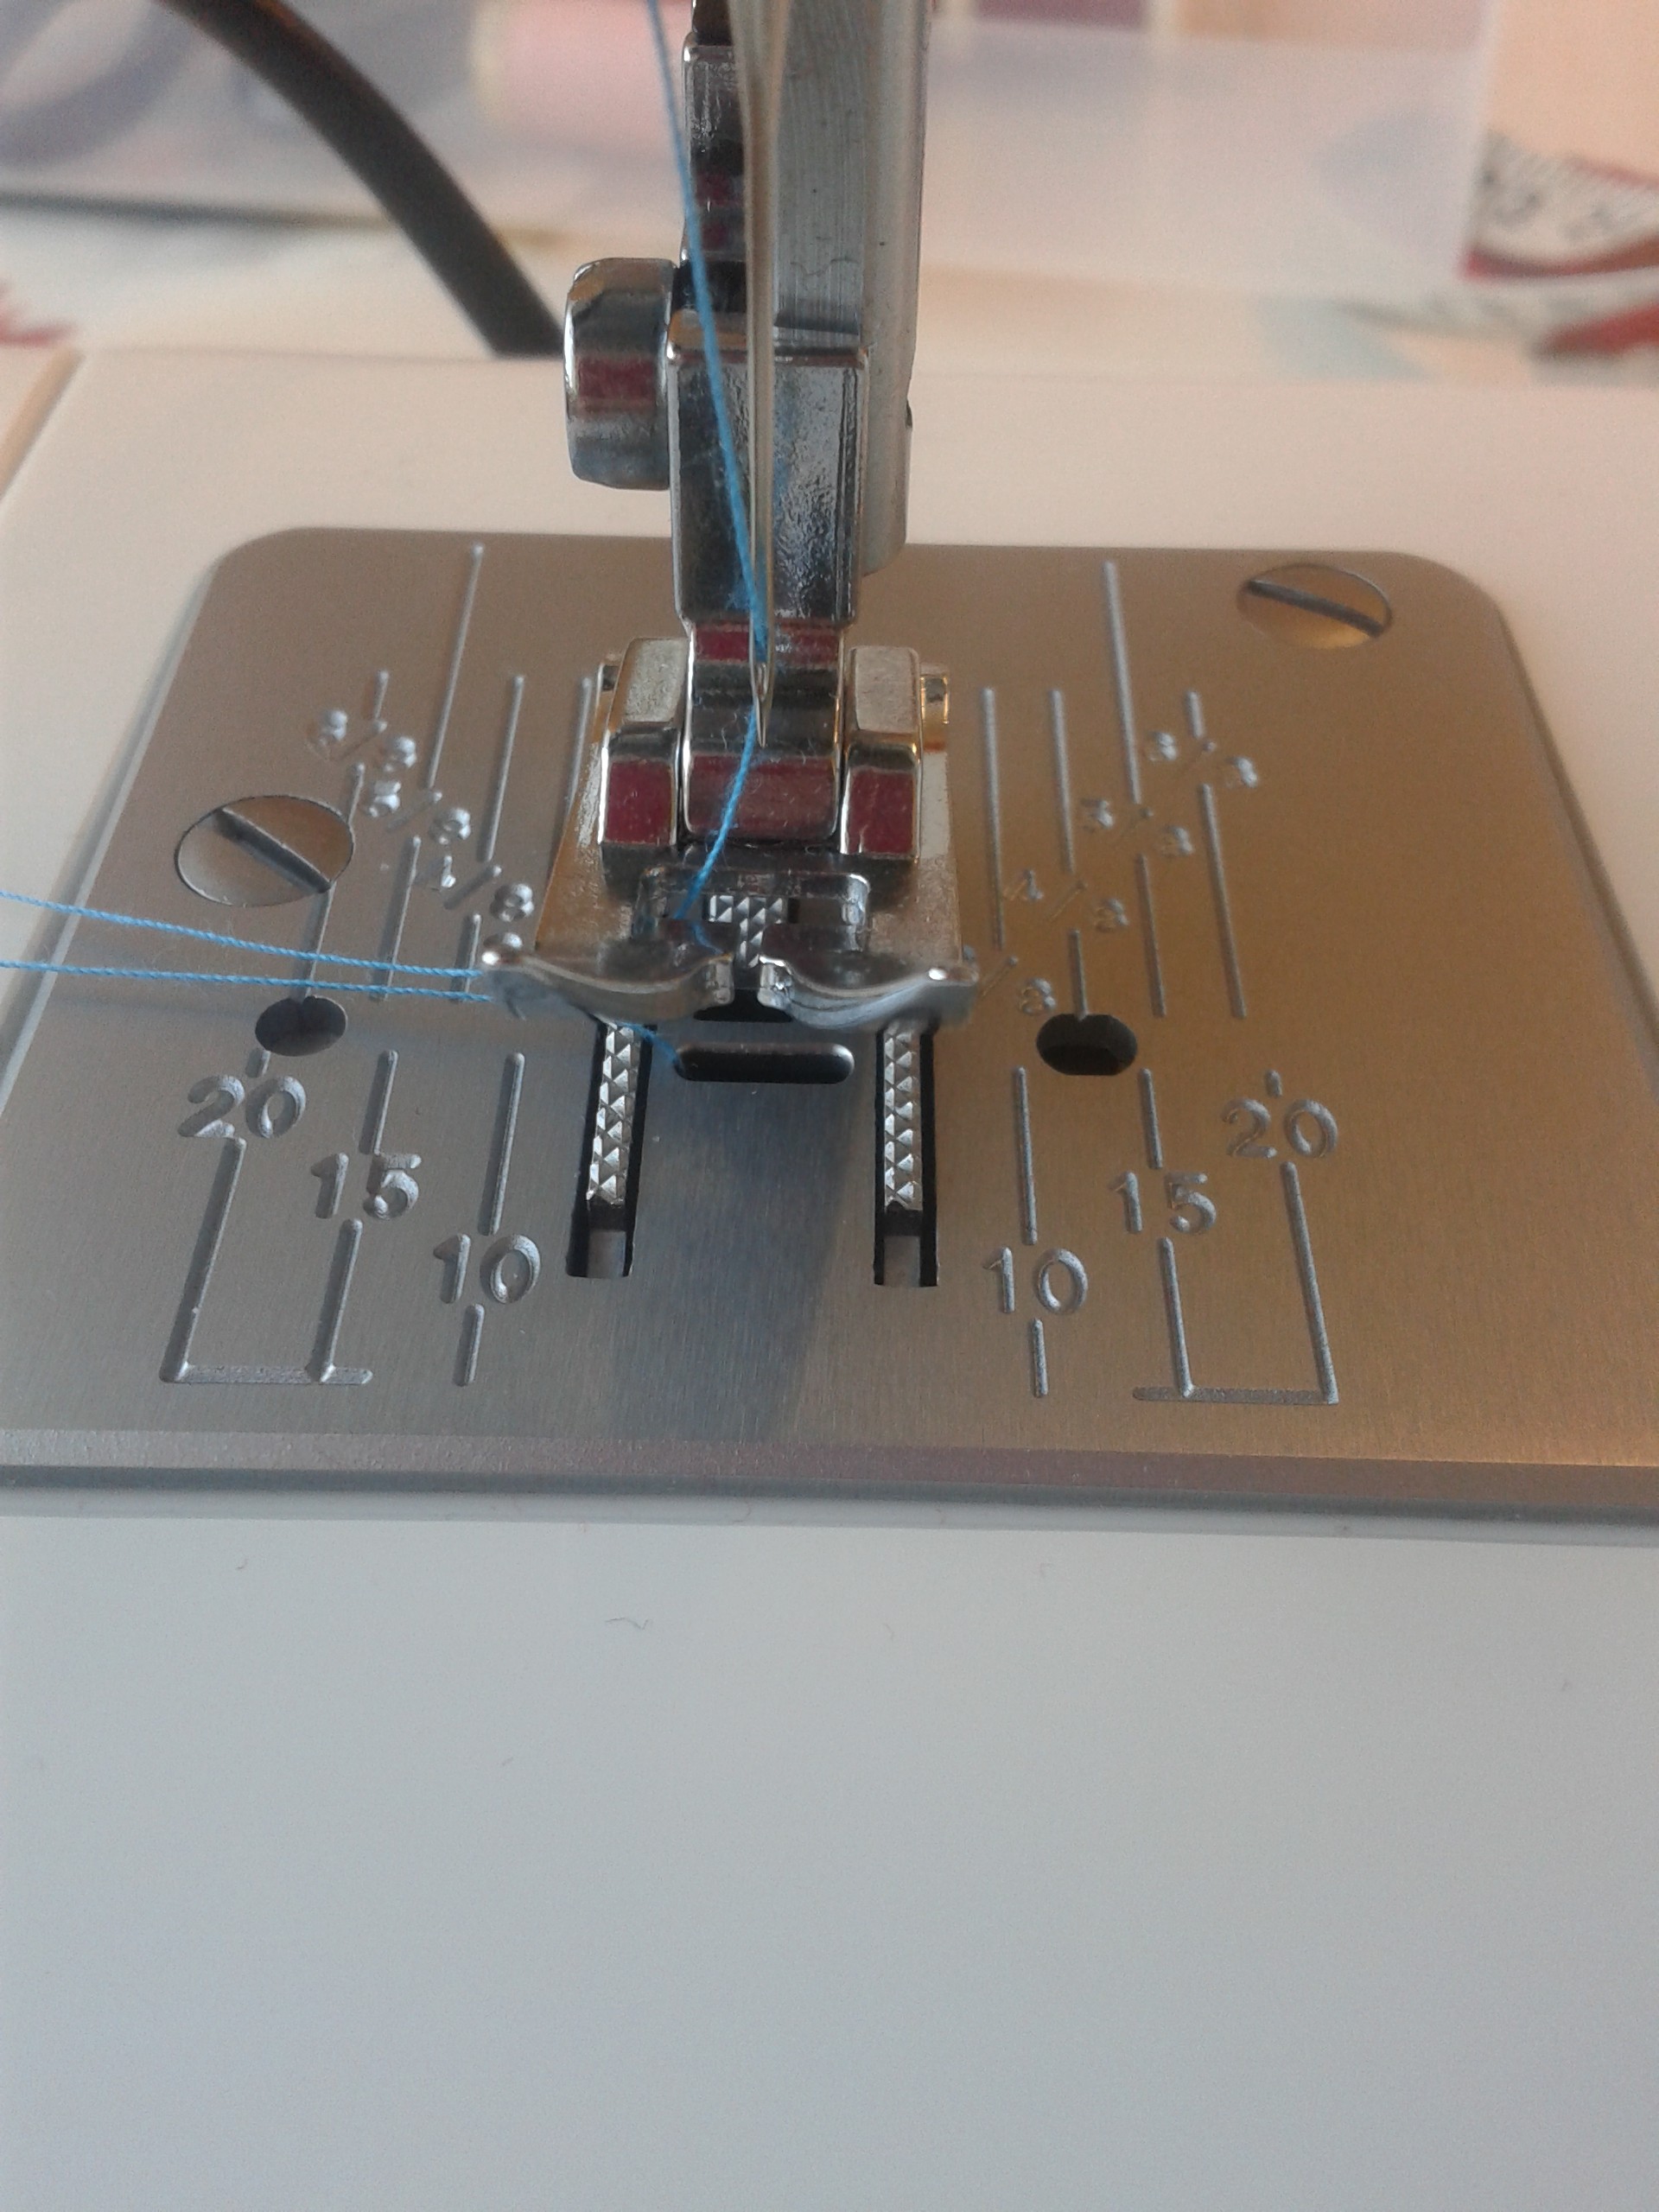
Use the guides on the plate underneath the ‘foot’. There are measurements which are useful, like 5/8” is the usual seam allowance on most patterns, this is indicated so you can follow the edge as you sew. These guides are handy to help you sew in a straight line.
Some machines have a little needle threader, these are quick to use and great if your eye sight is poor. Use the hand wheel to bring the needle up as far as it can go. Bring down the needle threader as far as possible then locate it close to the back of the needle. Hold the cotton and hook it around the left hand side of the threader then across under the little locator hook (which should be through the eye of the needle), then release the threader which should pull a loop through the eye.
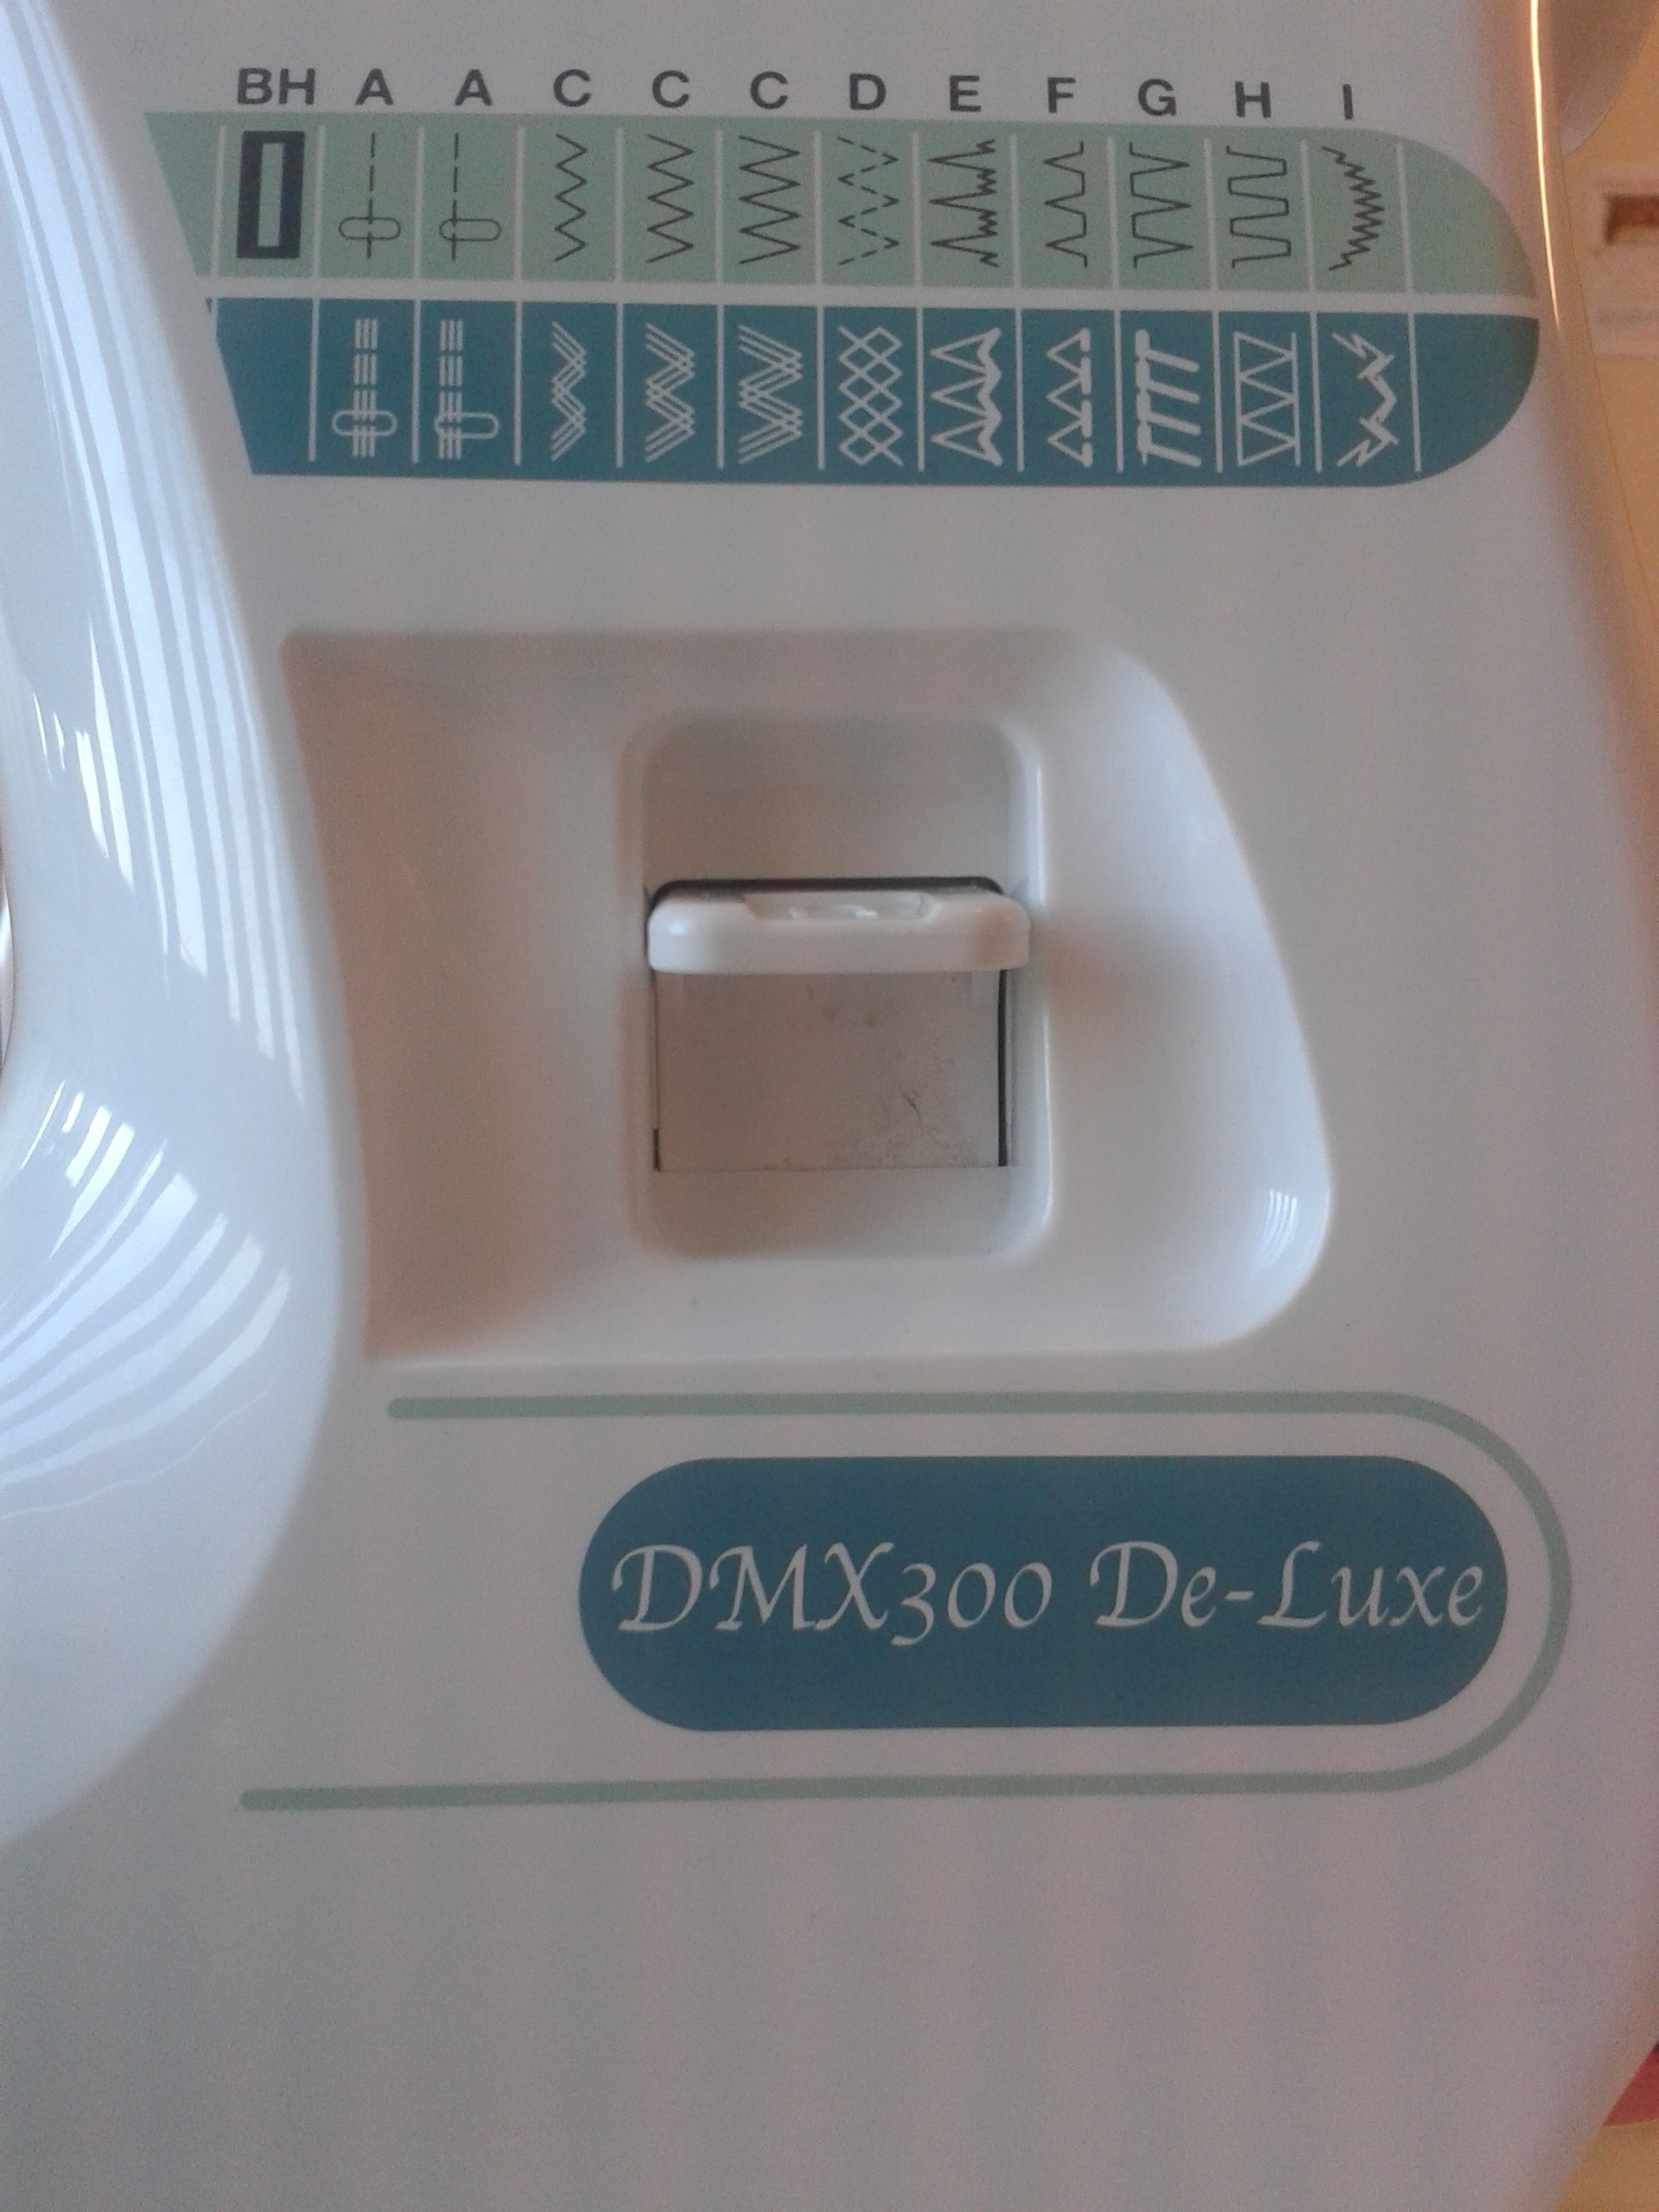
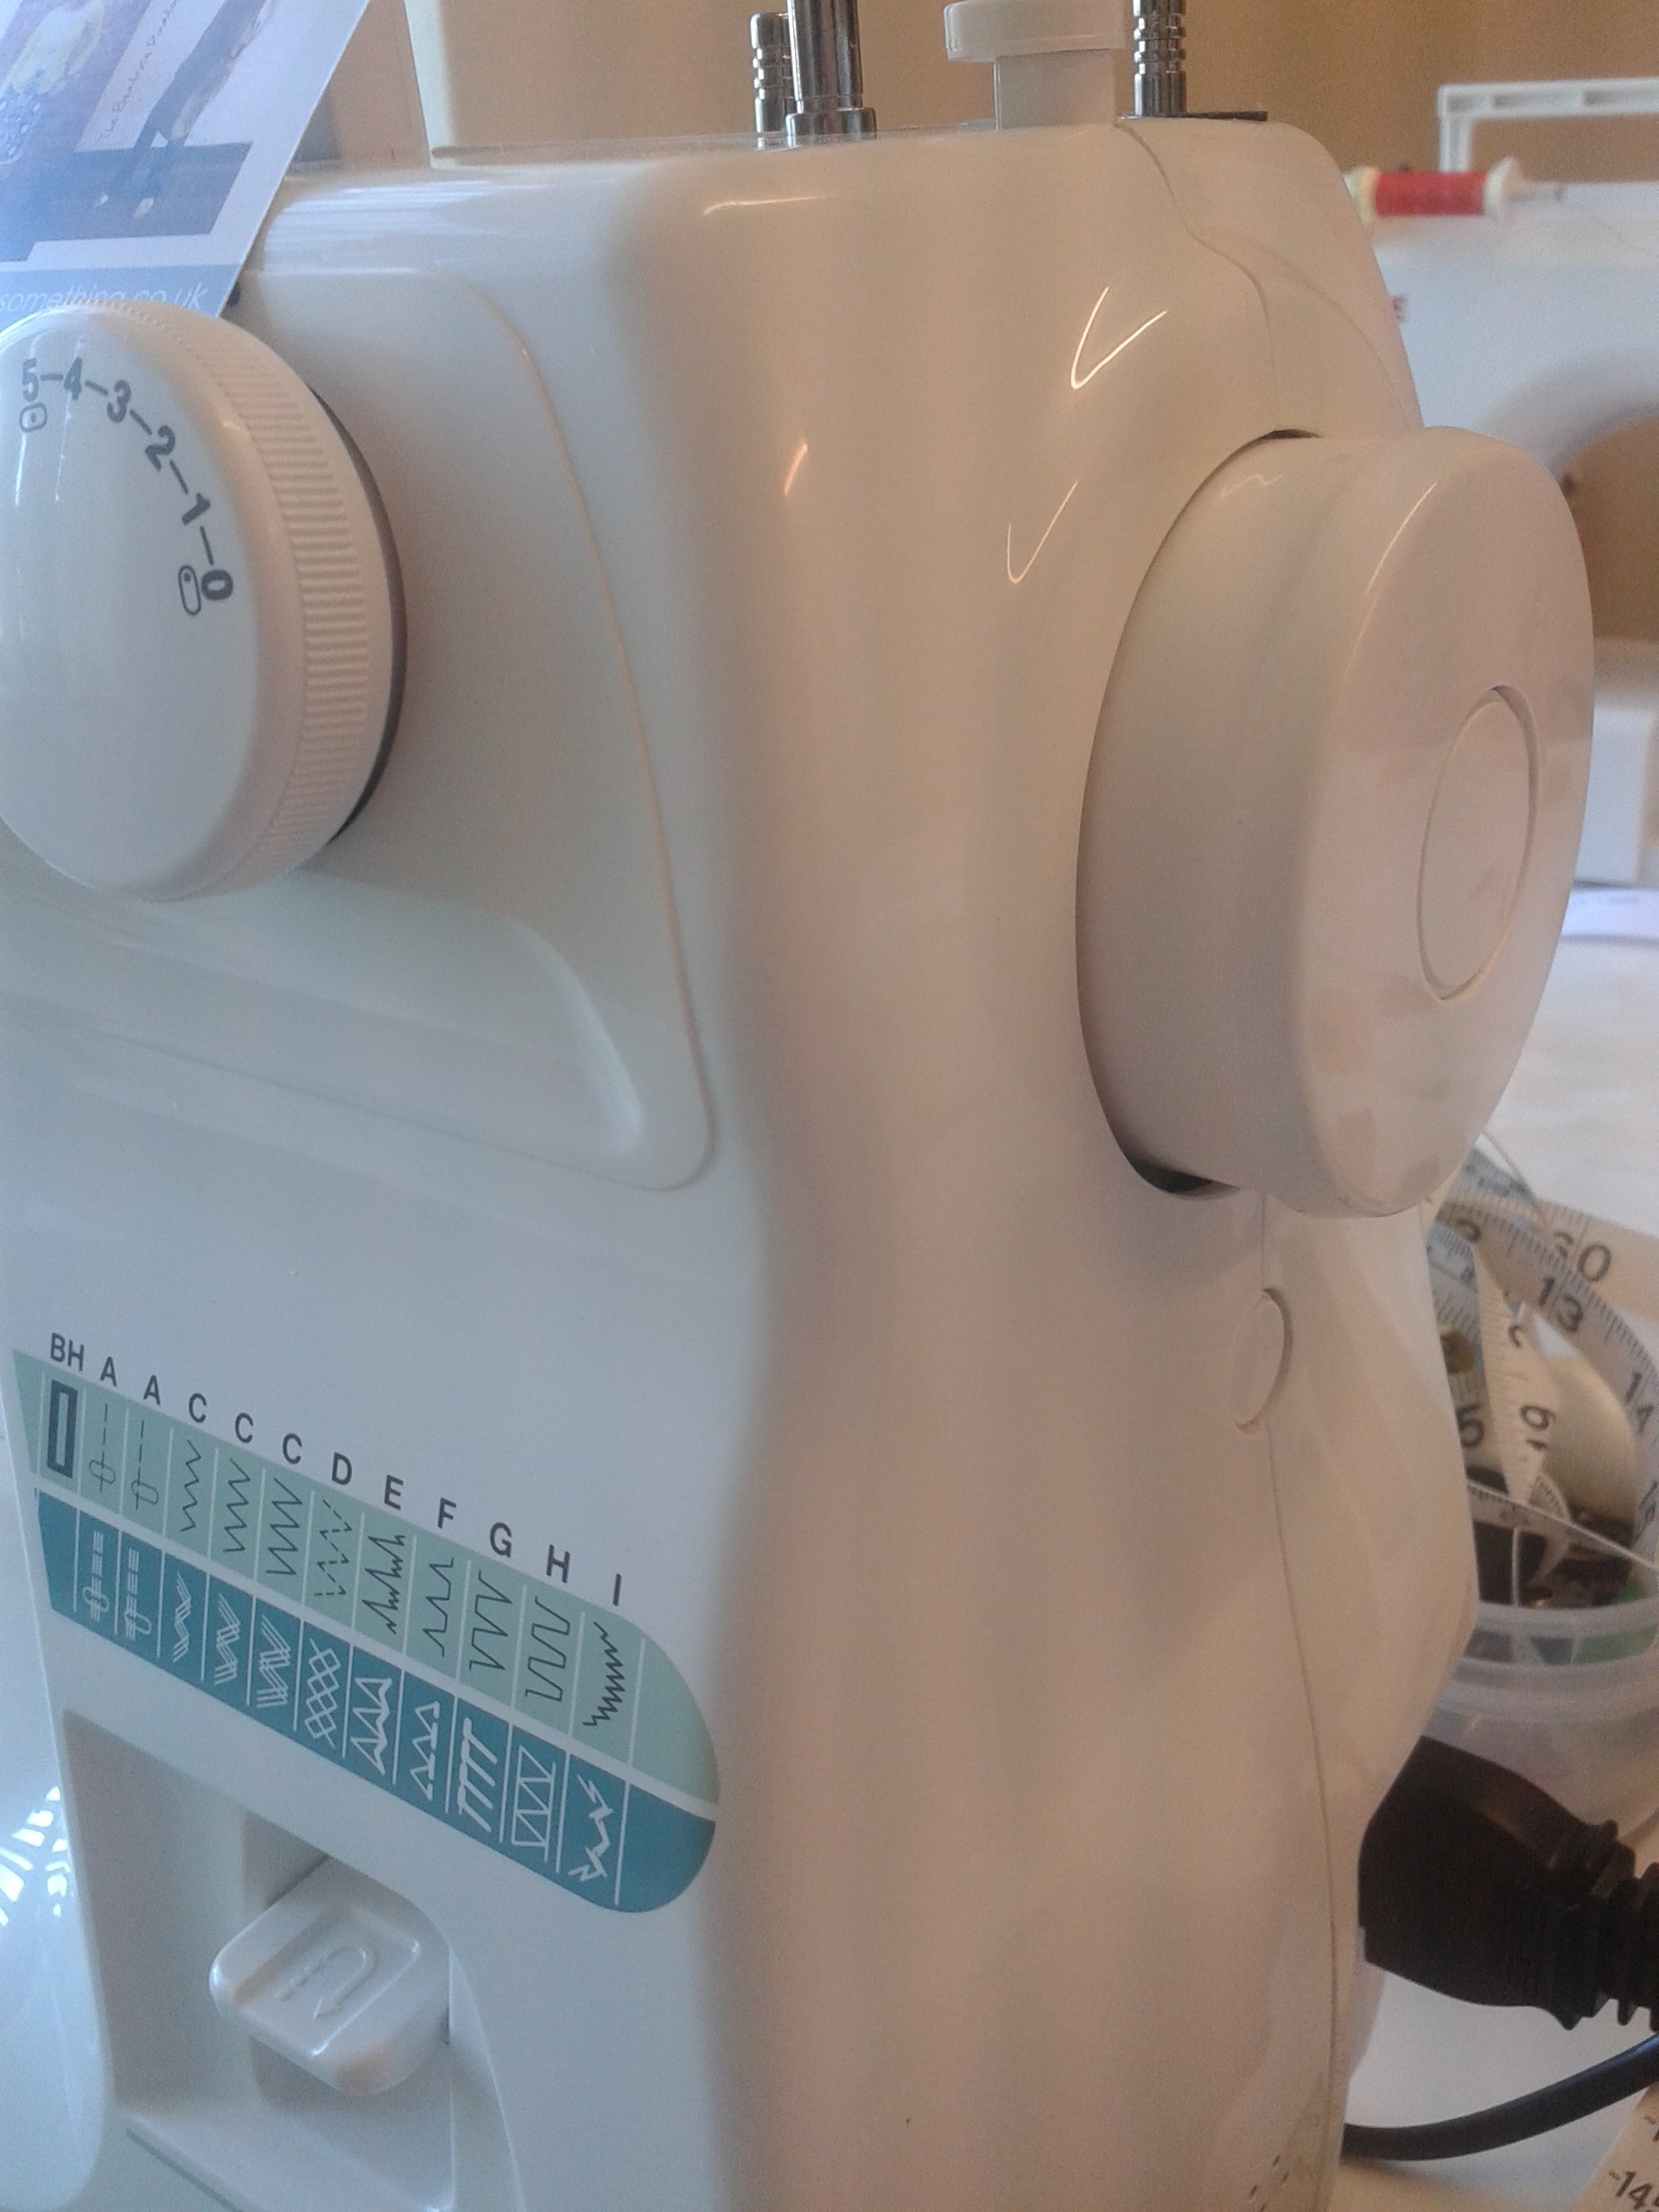
There should also be a knob that enables you to change the ‘stitch’ and a guide as to the letter to use to create that stitch. If you lift the ‘foot’ up (using the lever located at the back or side or the foot housing and make sure your needle is in the ‘up’ position then you should be able to turn the knob and change the stitch easily.
Some models of machine also have knobs that will enable you to change the width and length of the stitch, this allows more creativity and only playing with it, or checking with your book for trickier tasks, like button holes will you begin to understand how to use it.
If you are sewing stretchy fabrics use a small zigzag stitch, this allows a little ‘give’ in the seams.
When inserting zips use the zipper foot, this will give you a seam which is closer to the zip.
Choice of needle is important as well, use a finer needle for finer cloth and a bigger needle for a heavier weight.
Take care of your sewing machine, keep it clean, and give it a drop of oil now and again, it will work a lot better if you do 🙂
My resolution is to do more of the things I like doing and feel relaxed about and less of the irritating and time consuming things that are too stressful. So sewing, knitting, crochet it is.
Christmas at our house is hectic, all the family turn up and we end up being a bit frazzled, but happy to see everyone. Just prior to this I saw my little 8 year old niece, I taught her to crochet a couple of months previously, she was happy making friendship bracelets and hair braids. A lady told her that her mum taught her to crochet but she didn’t carry on with it, so my niece was very proud to tell me that she had managed to teach the lady to crochet as well… well done Tabby! We will make beanie hats for Barbie next!
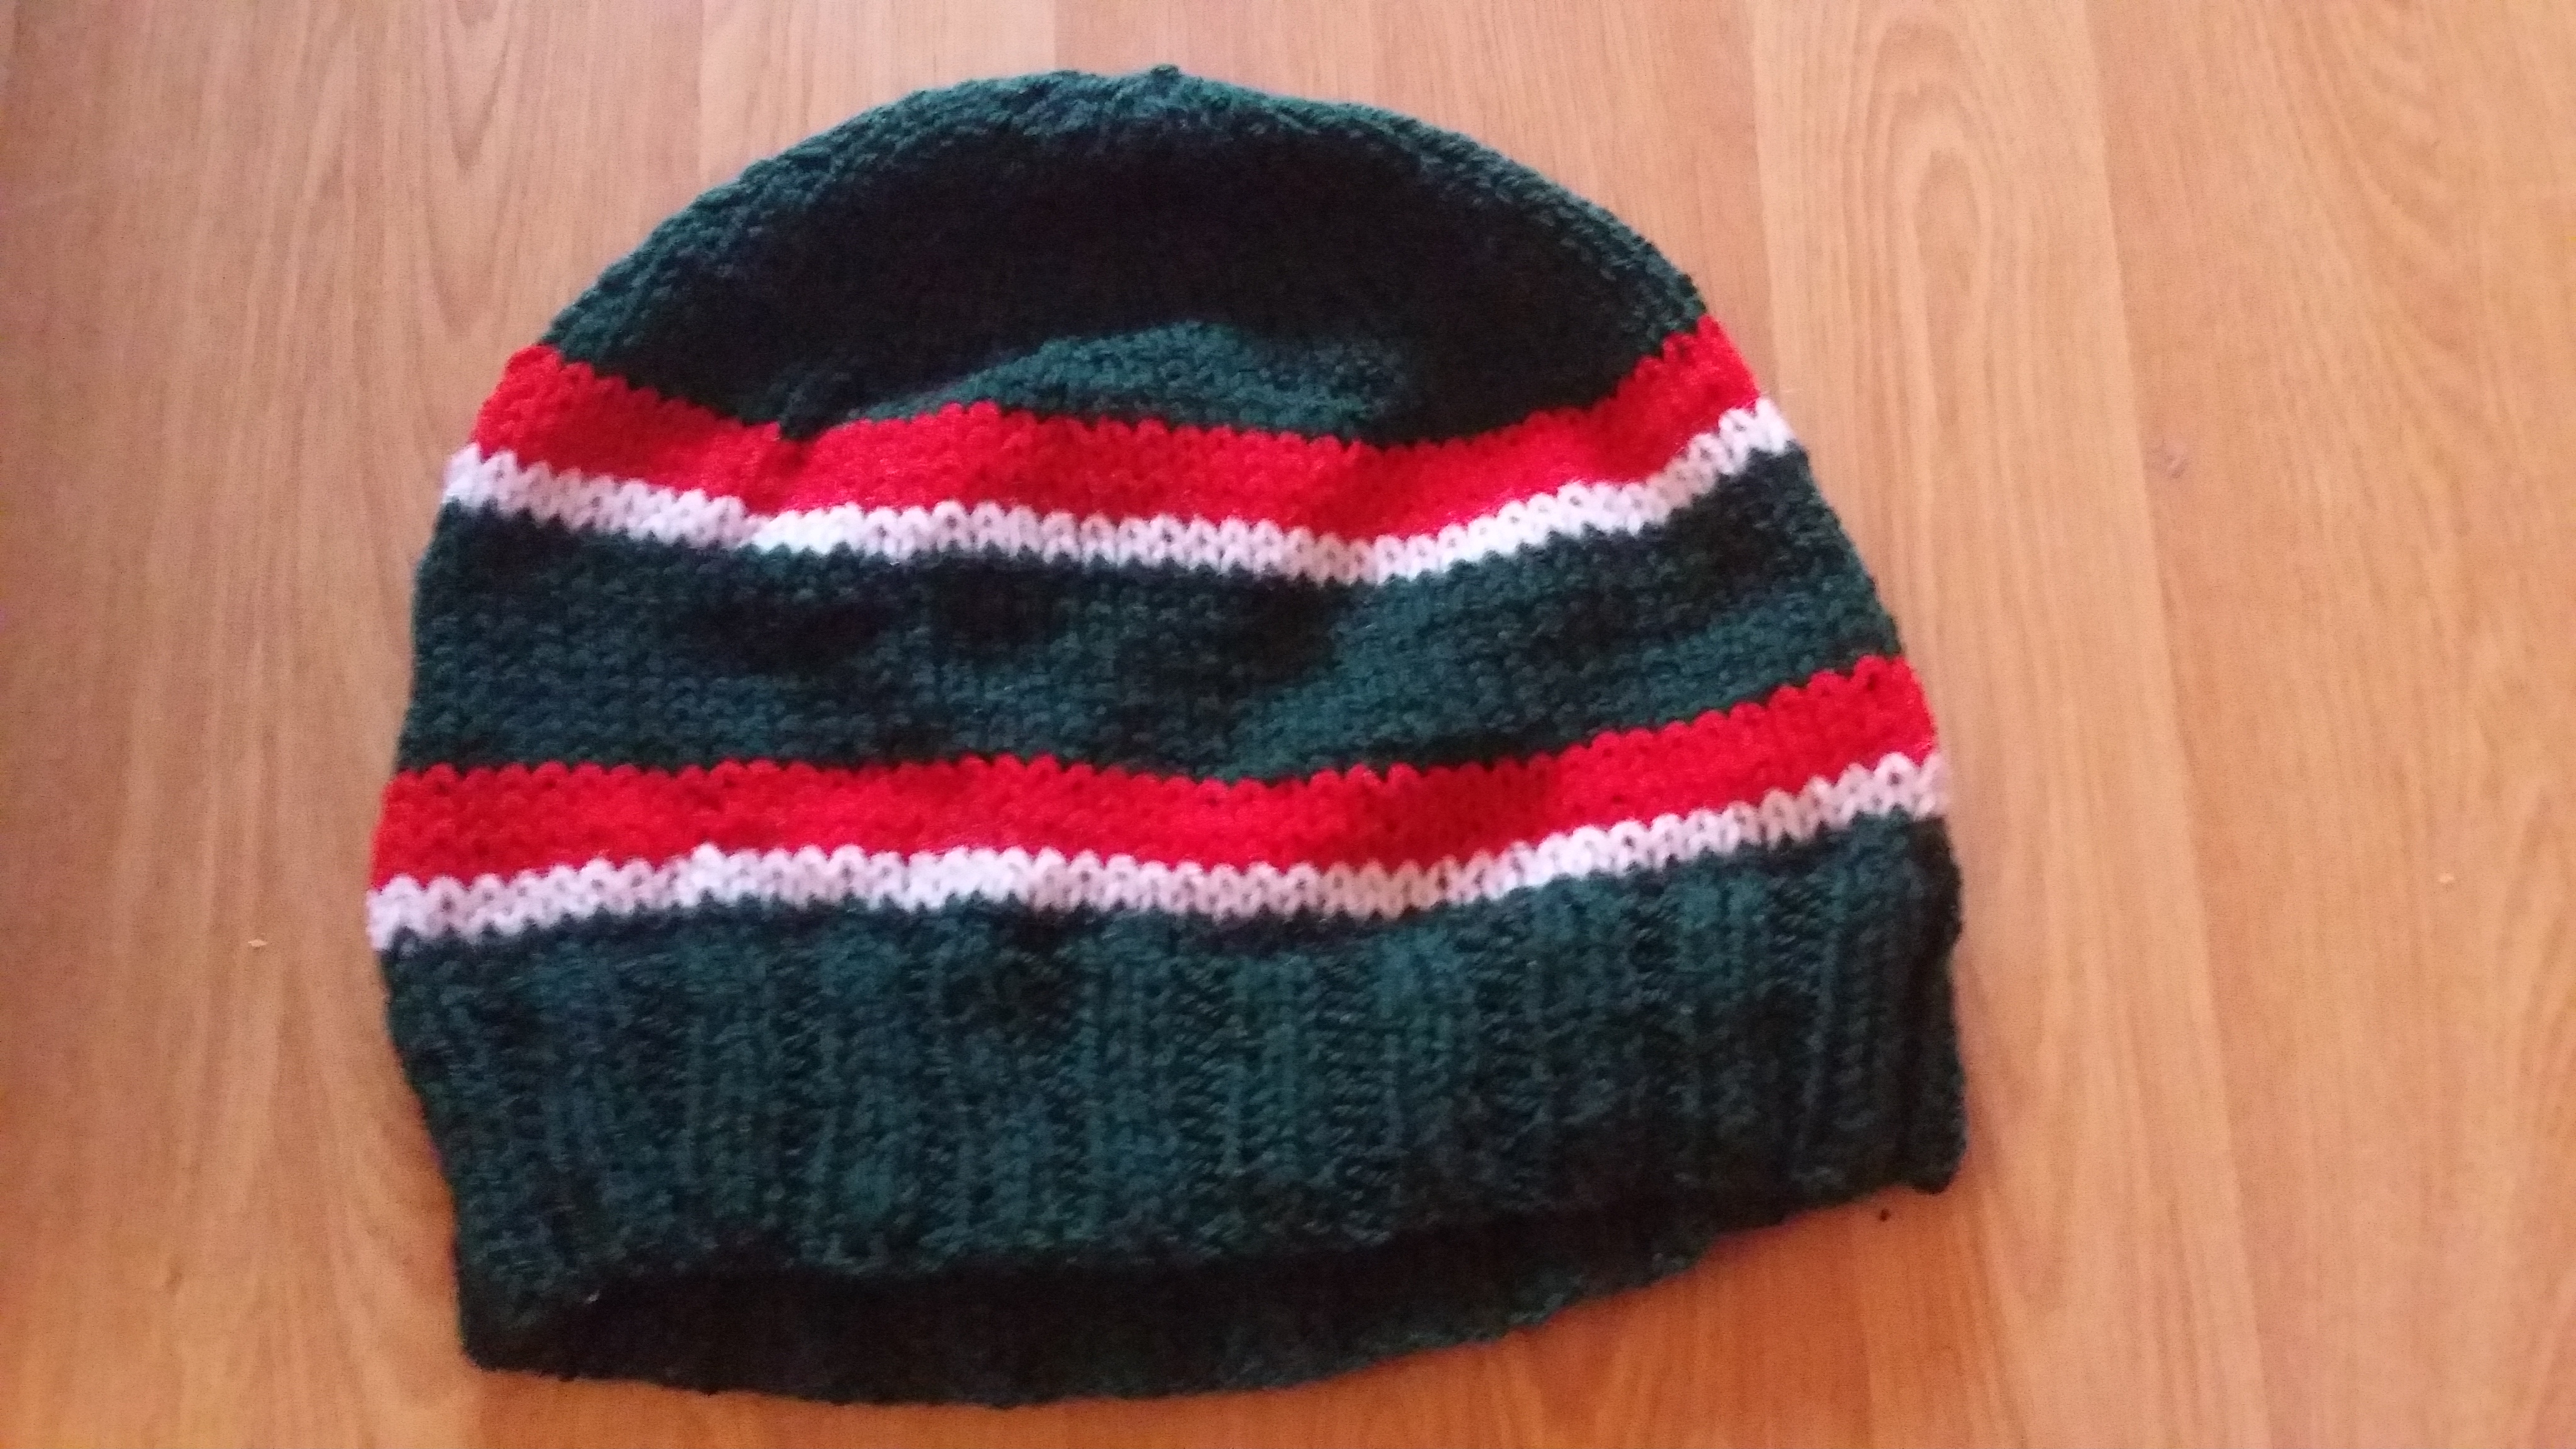
Over the Christmas break I have had time to finish off a load of stuff that has been building up which is amazing for me, so I have knitted two ‘Tigers’ (rugby) beanies, finished off a cosy little cardigan for our two year old , made a ‘Frozen’ dress and started a ‘Peppa’ jumper for the 18 month old. All I have to do now is finish off designing a new range of children’s play things….its all in my head so I have to write it down quickly…. And another couple of crocheted beanies that have been requested along the way, oh… and recover a vintage child’s cot. Then I can turn my attention back to planning and preparing more creative stuff for the new year!
For the beanies, I downloaded some patterns before Xmas, and have used the best of two designs to create my ideal one. The first one is a bit bigger and my daughter prefers this style as it drops down a bit at the back, the second is a more classic fit. I used three colours DK dark green, white and red to create the stripy effect. I have two more that I will crochet for the surfers in the family I have found a wicked pattern with waves they will love it.
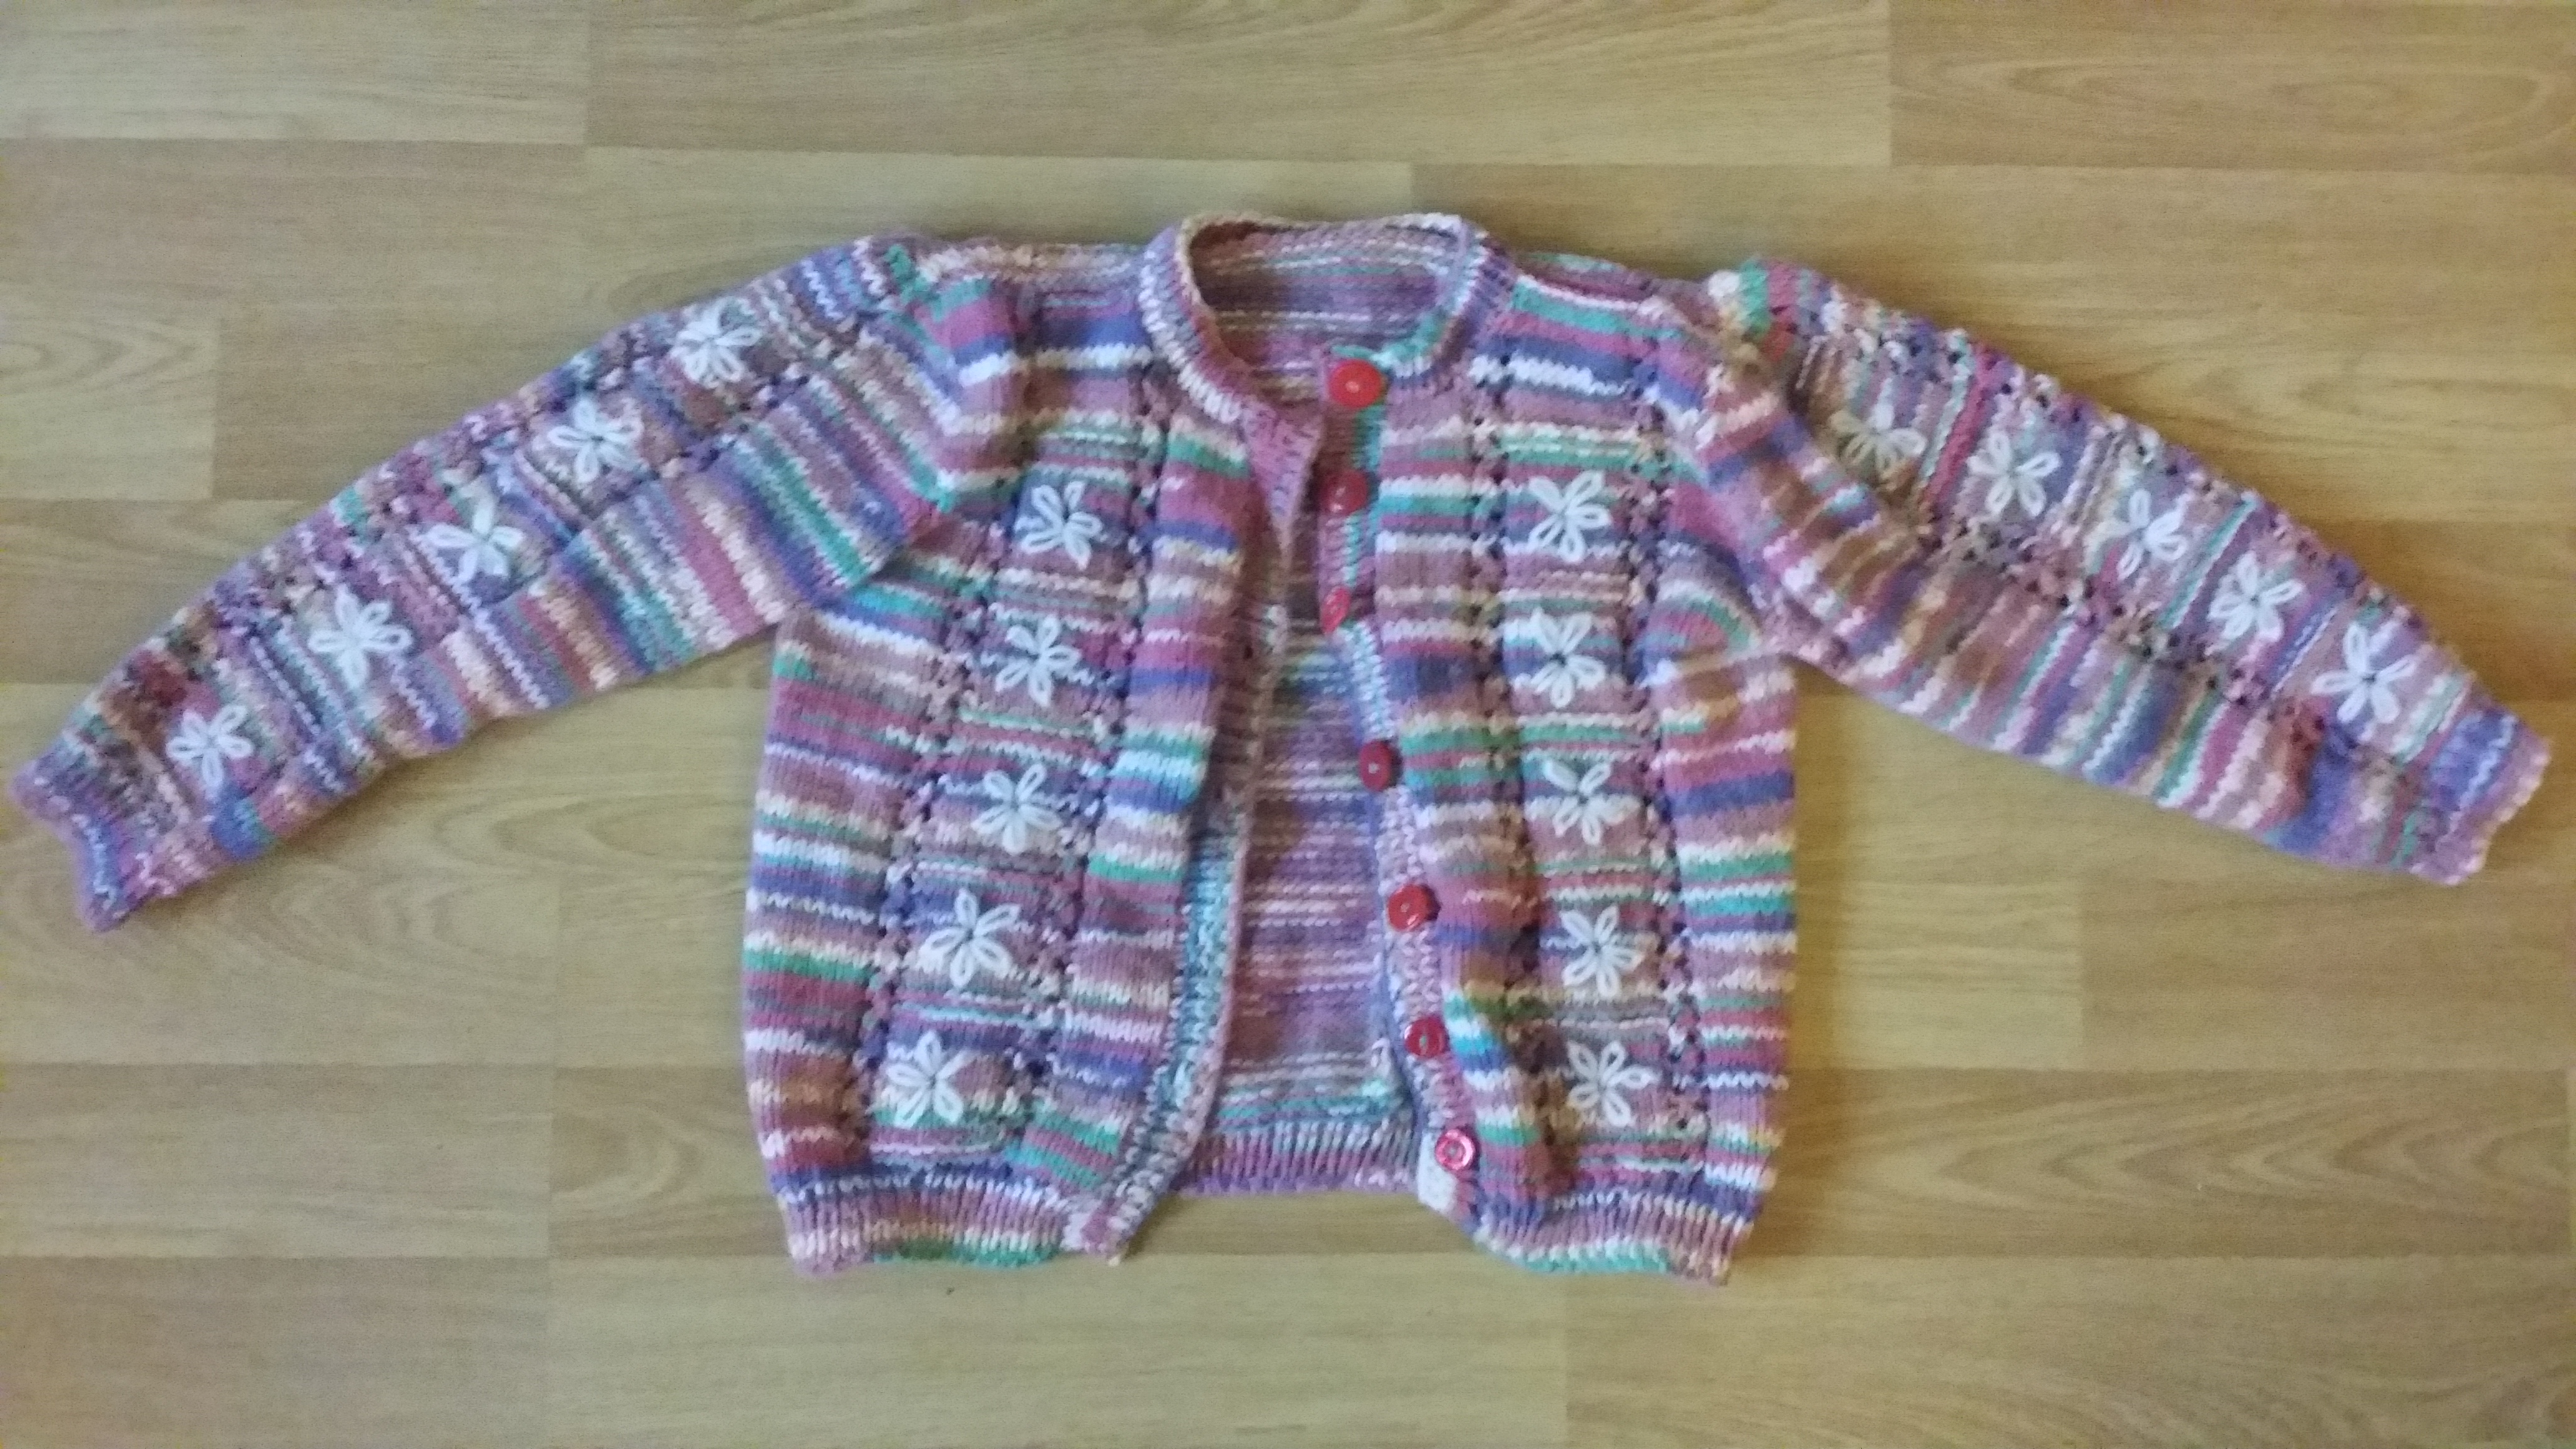
The cardi, was knitted using Sirdar Crofter baby Fair Isle effect DK, a lovely yarn it gives a pretty effect, the knitting pattern is from Sirdar’s The Essential Baby Book, design C. I like this book, the patterns seem to work well so I have done most of them at some time or another. The cardi is finished off with a lazy daisy stitch and lots of red buttons (all different) … very cute.
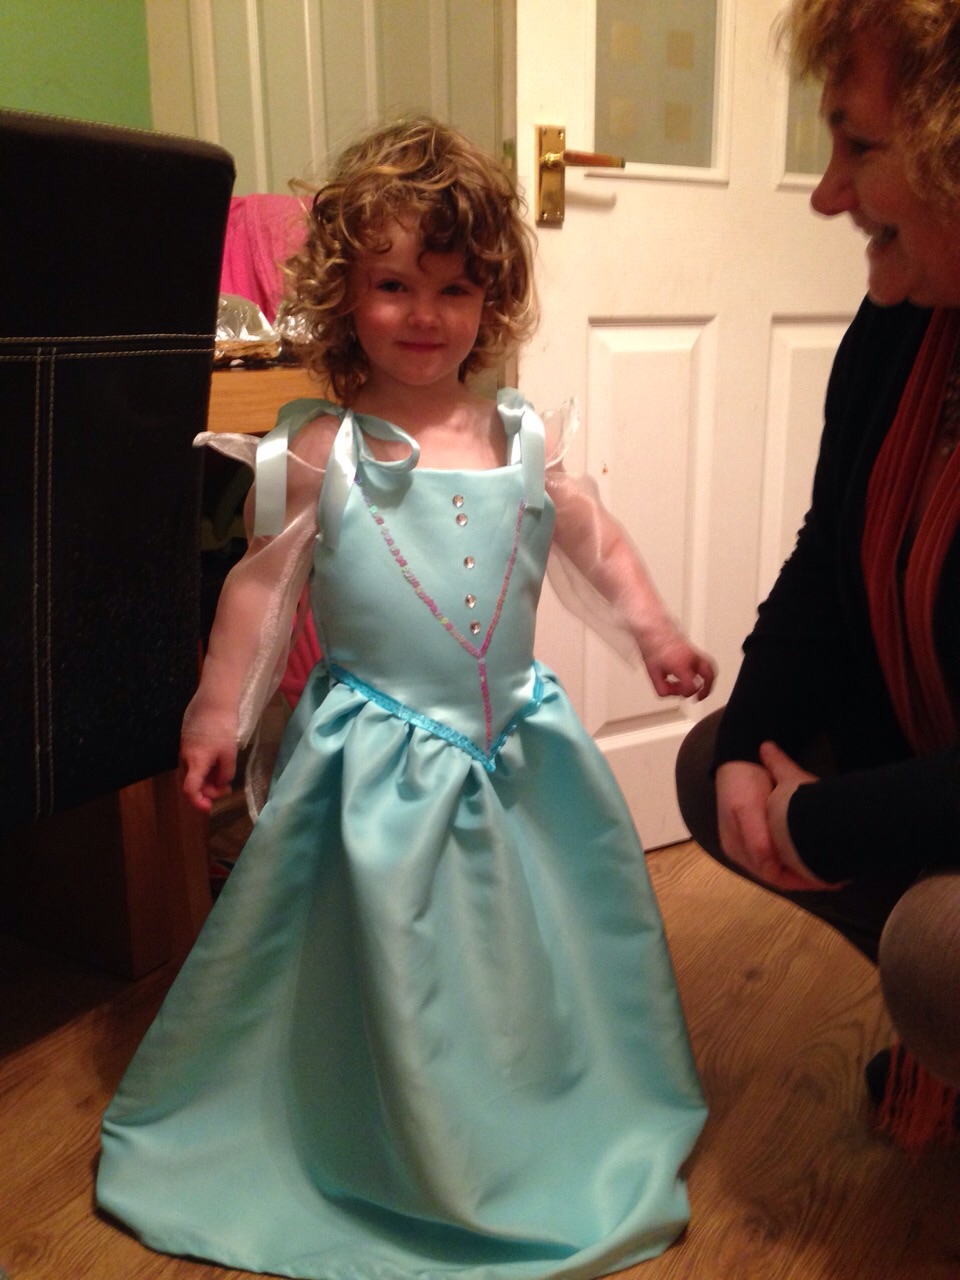
Now the ‘Frozen’ dress, this is the fourth I have made, all have been differing styles, but this one I wanted it to ‘grow’ with the child, so it has drop sleeves, and ribbons on the shoulders which as she grows can be retied to fit, and I have left the length to the ankle as well for more growing room. It looks very princessy …. Lovely.
Frozen Princess Dress
Working on the cot next, I had to buy a new staple gun before Xmas, I have mislaid my old one.. where I do not know probably left it somewhere… anyway, I have this lovely pink satin to replace what was originally pink silk with a 60’s black and white plastic, sounds weird, but so 60’s and stylish. I have carefully taken off the silk but I am going to retain the plastic because it is vintage and recover the base and the buttoned headboard in the satin. The bottom has proper webbing and is tacked on, so I will just make sure this is ok and then it will be perfect for a little dolly to sleep in eventually.
OK so now working on the children’s range of toys.. I cut out templates last night and started sewing them together, but I am not really happy with the fabric I am supposed to be using, it will be ok for a sample but not sturdy enough for the ‘real’ thing, so I need to look for alternatives. More to come on this so I will let you know about progress.
So a great start to the New Year, I wonder what the rest of the year will hold, I am bursting with ideas, so try and keep up!
Our Christmas Sewing Workshops have now finished, we had so much fun making new friends and fun decorations, we’re definitely looking forward to doing it all over again next year.
Here’s a glimpse of what got made over the three workshops:
Bunting seemed to be the most popular so we have decided to run a bunting workshop in the new year!
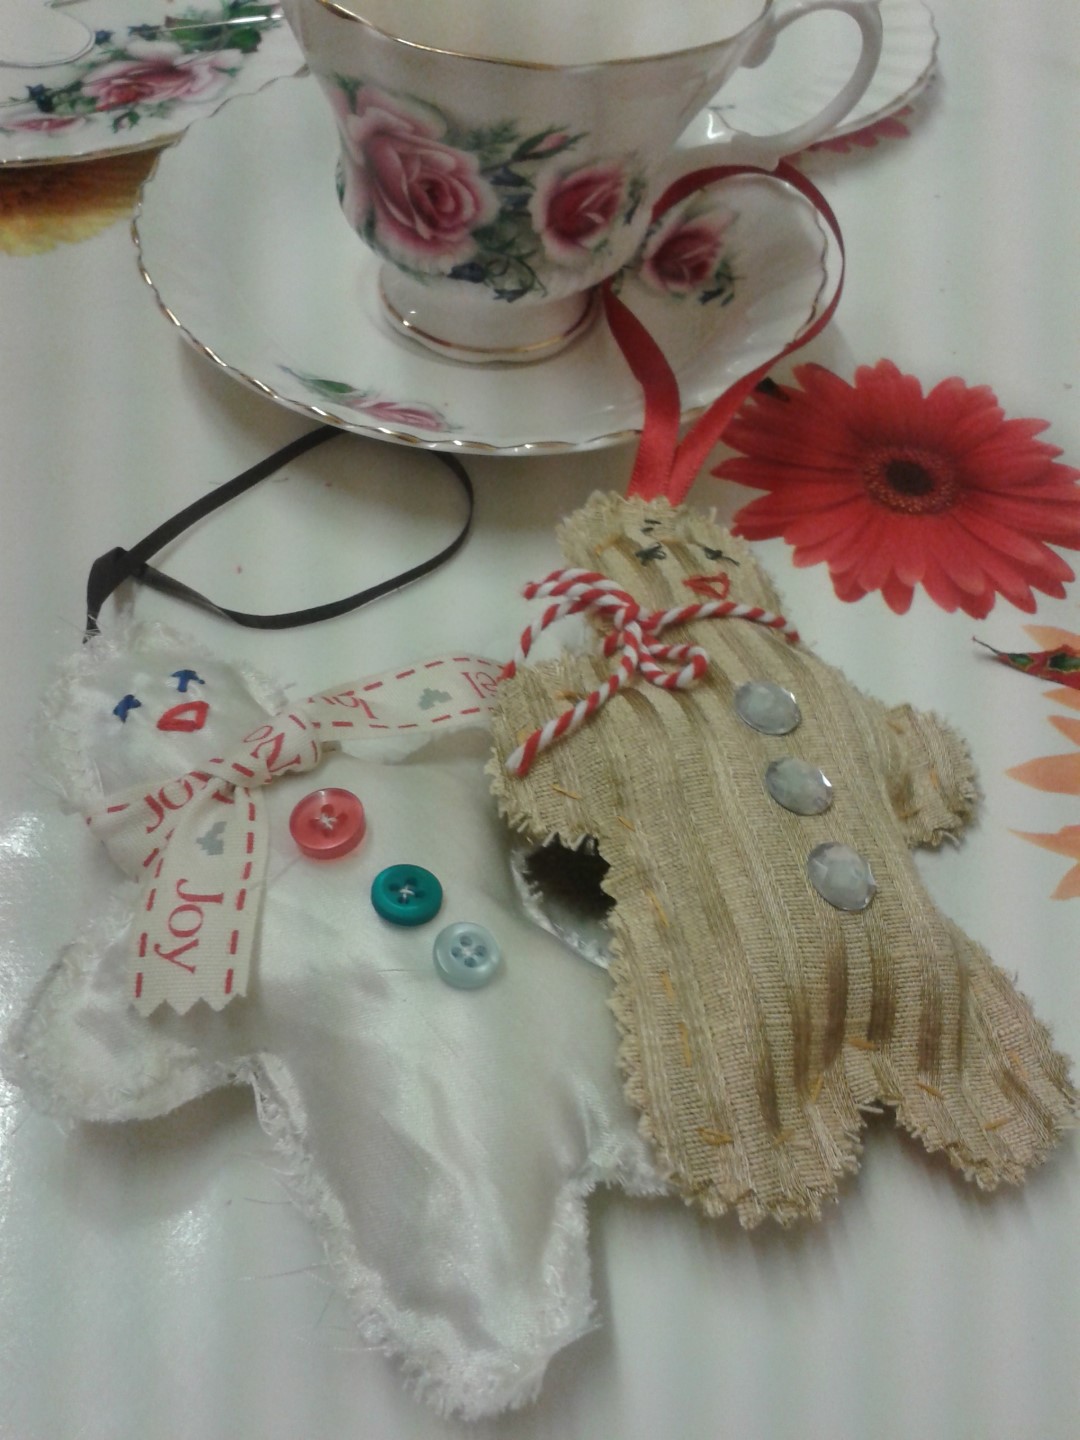
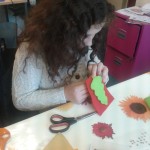
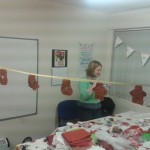
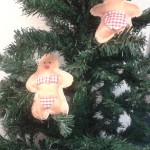
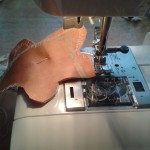
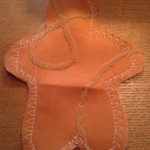
Our Ginger Bread Christmas decorations were well received also, these were made out of scraps of old orange coloured material.
Once again we were all pleased with everybody’s enthusiasm and different styles of creativity. Our workshops are all about exploring your own abilities and styles, not just us telling you what to make!
We would like to thank all those that came and we hope to see you again some time in the future or at another workshop!