Here I will explain some of the key features common to most types of machine.
If you are thinking of buying a sewing machine, or you have been given one, it can be a little daunting if you haven’t used one before, or not used it very much.
Threading the sewing machine is relatively easy, and most sewing machines are similar. There are usually marks on the machine that will help you to thread it up successfully. Winding the shuttle up is also fairly simple if you follow the ‘guides’. The shuttle is located either underneath the footplate or just in front of it. If it is at the front it will have a fixed shuttle case and the shuttle will slide easily into it. If the shuttle case is located underneath, you will be able to pull out the whole shuttle case, pop in the shuttle, wind the cotton around and pop it back in again.
One of the main problems when the sewing machine will not ‘go’ properly, is that the stitch might be too loose, rattles, or stops totally, it is usually because the machine threading has jumped out of place, so trace it back and check that its all ok. Then check that the thread on the bobbin is not trapped, and if so free this off. The other problem may be the shuttle: undo the casing and check that this is free as well and if it is snarled up, take the shuttle out, check there is cotton in there, and reinsert it- this should solve the problem. If it doesn’t then just check the housing of the shuttle in case it is dusty and may just need cleaning out. Also check the tension, sometimes this is a bit out and may need adjusting
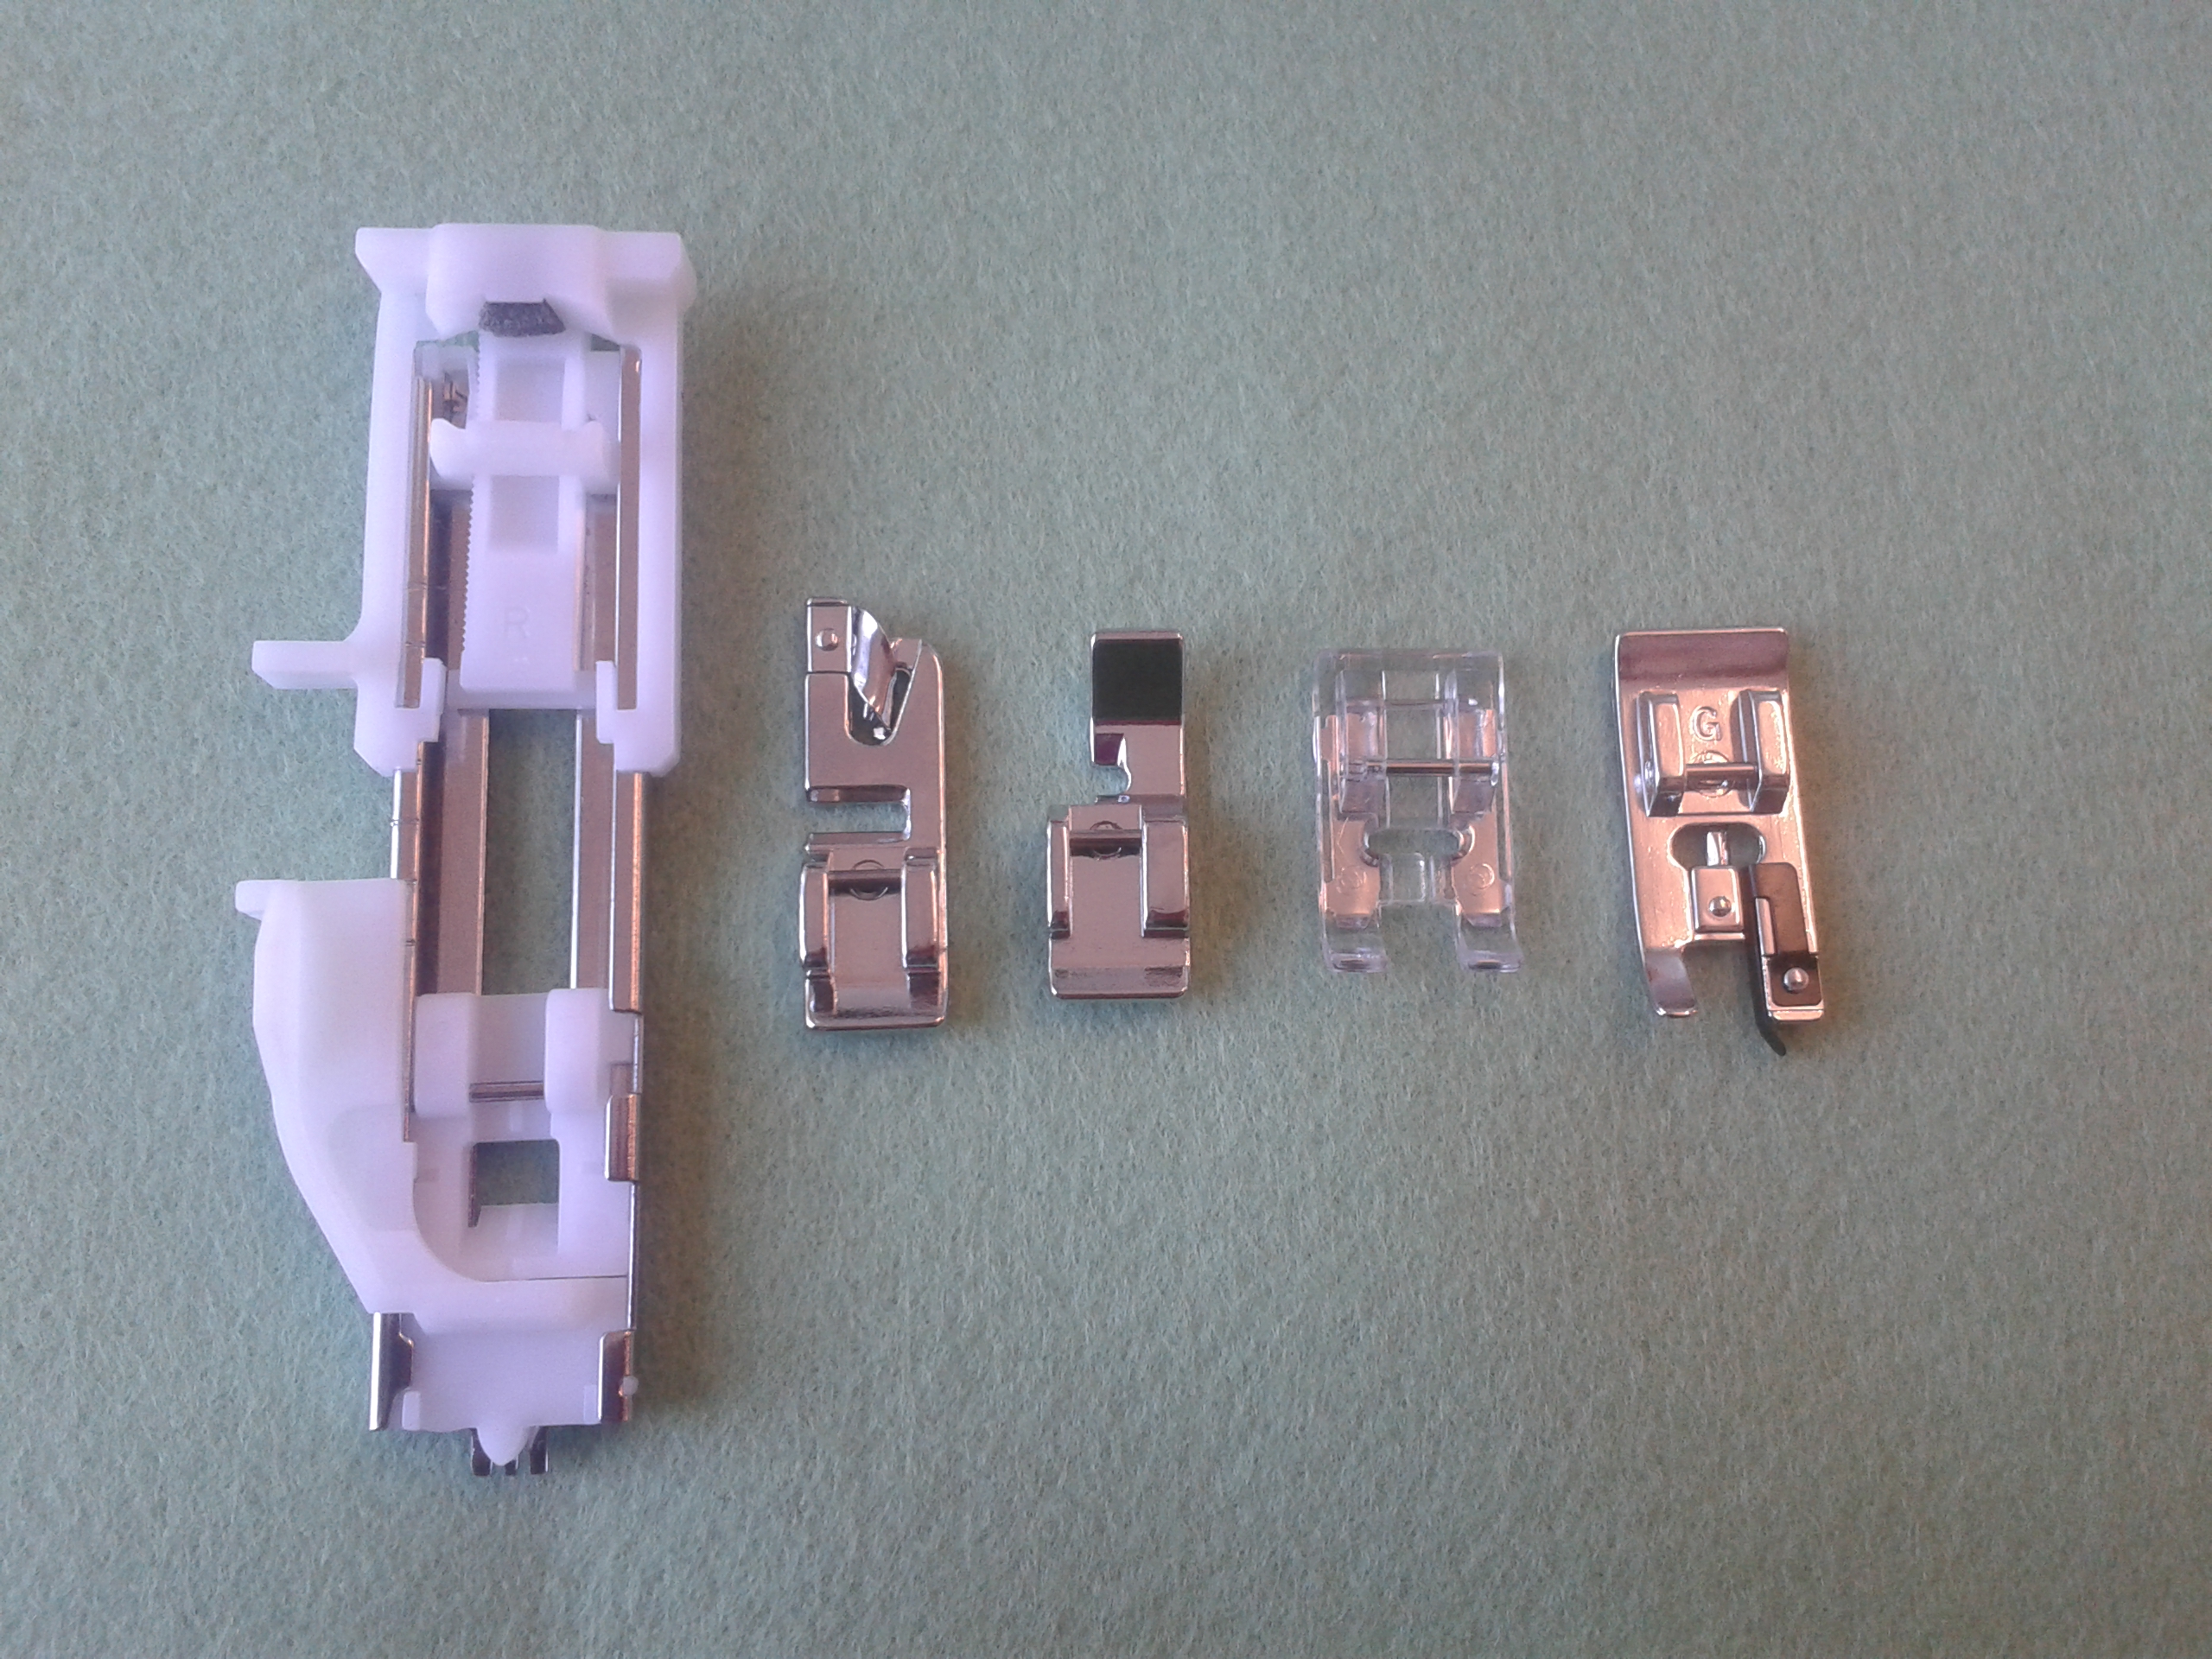
With more modern sewing machines there should be a range of ‘feet’ with the sewing machine. These are designed to help you with some more trickier tasks, like button holes, zips or edges. Look at your instruction manual, it should tell you how to use the feet, so practice these as they will help you to get a more professional look to your work.
There should be a ‘reverse’ lever: use this to finish off ends of seams so that they won’t come undone easily.
At the back or side of the needle housing, there should be a lever that lifts the ‘foot’ up and down. By lifting the foot you will get the fabric underneath and in the correct position to sew. You will also use the lever to change the feet.
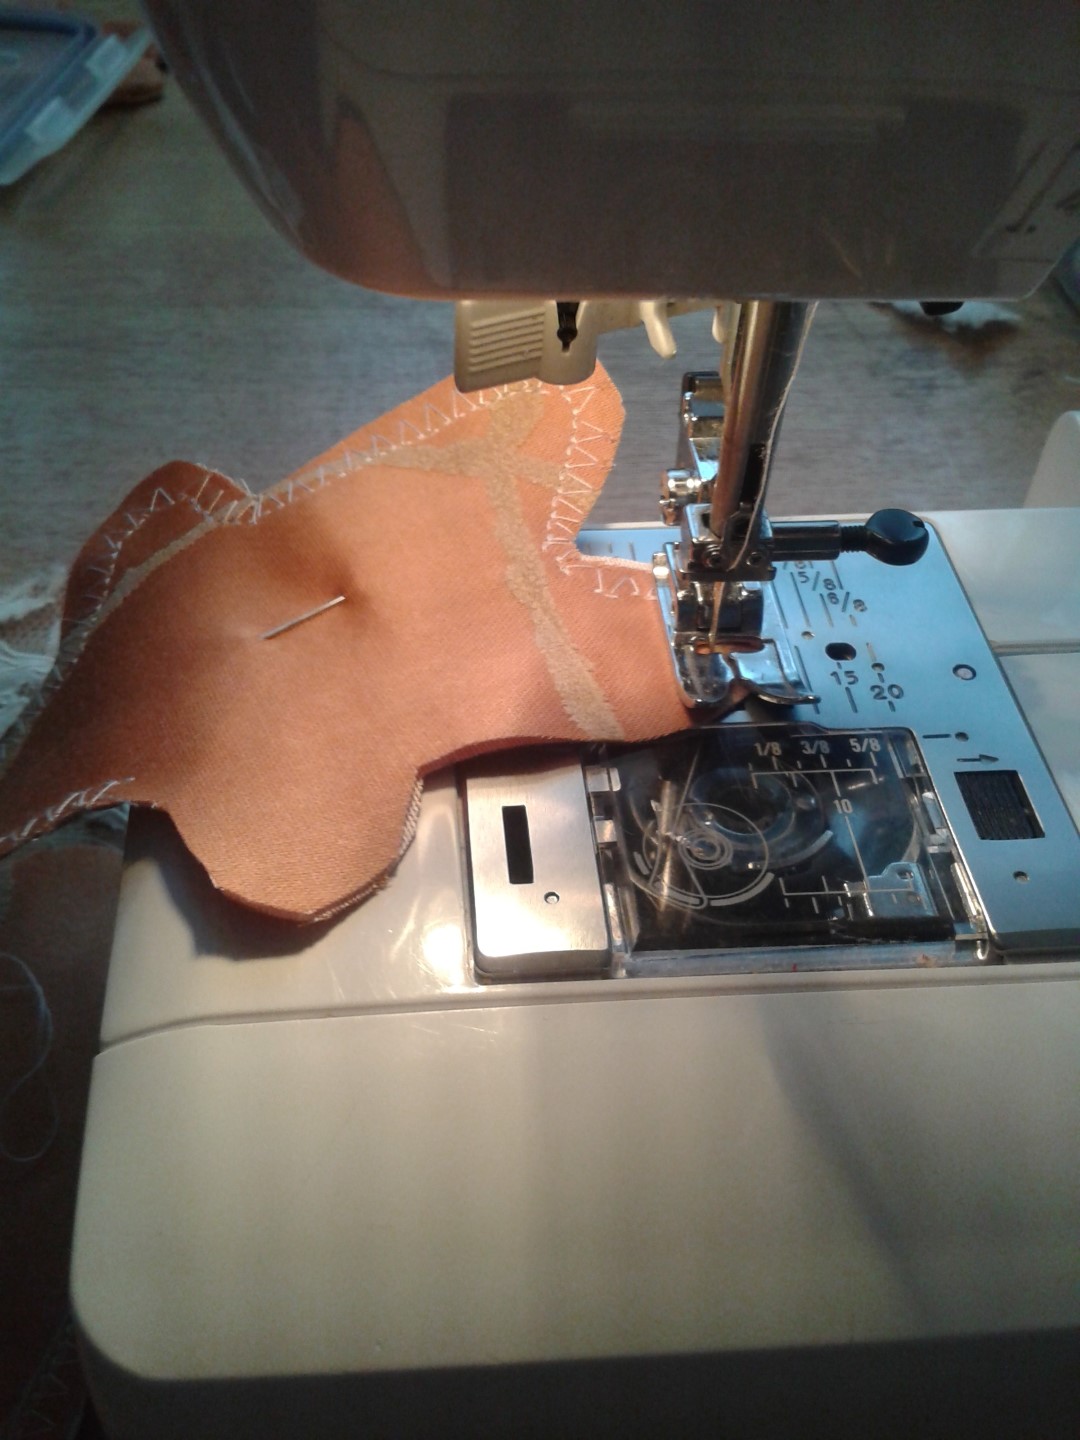
When beginning to sew start slowly, there is no rush, use the hand wheel to help you place the needle and practice on a spare piece of cloth. If you are doing corners you may need to snip the fabric a couple of times to allow it to ease a bit.
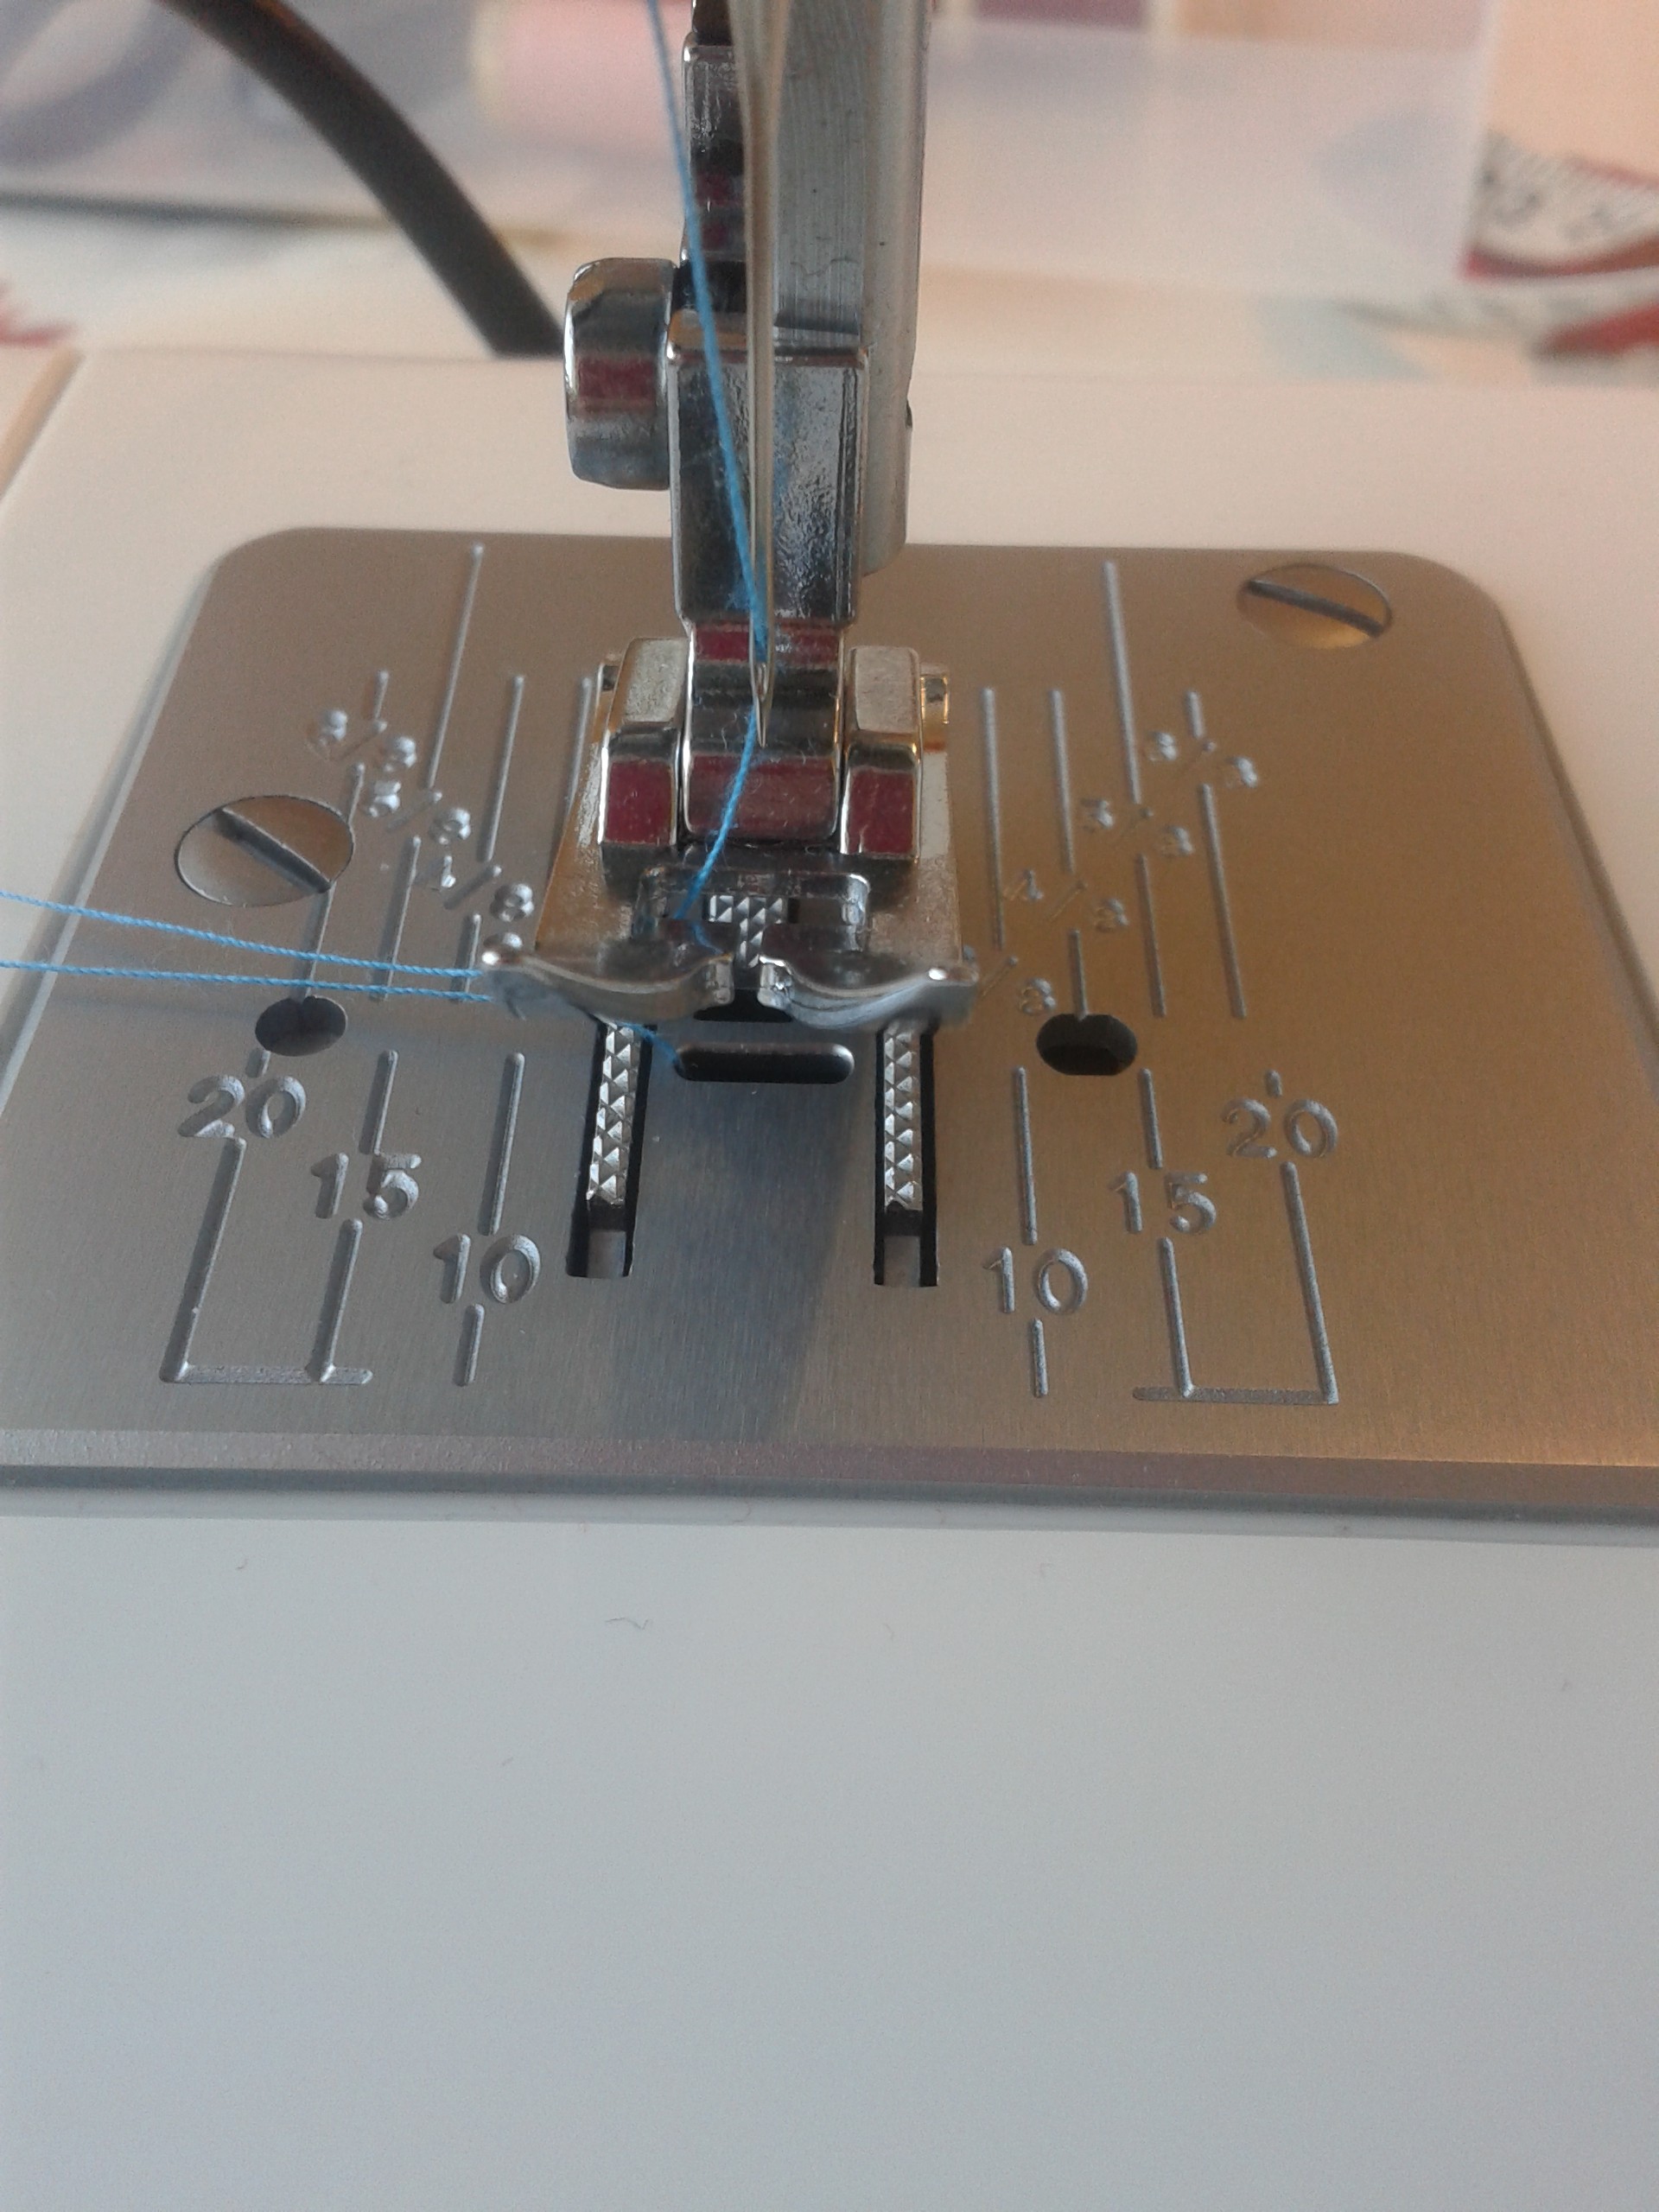
Use the guides on the plate underneath the ‘foot’. There are measurements which are useful, like 5/8” is the usual seam allowance on most patterns, this is indicated so you can follow the edge as you sew. These guides are handy to help you sew in a straight line.
Some machines have a little needle threader, these are quick to use and great if your eye sight is poor. Use the hand wheel to bring the needle up as far as it can go. Bring down the needle threader as far as possible then locate it close to the back of the needle. Hold the cotton and hook it around the left hand side of the threader then across under the little locator hook (which should be through the eye of the needle), then release the threader which should pull a loop through the eye.
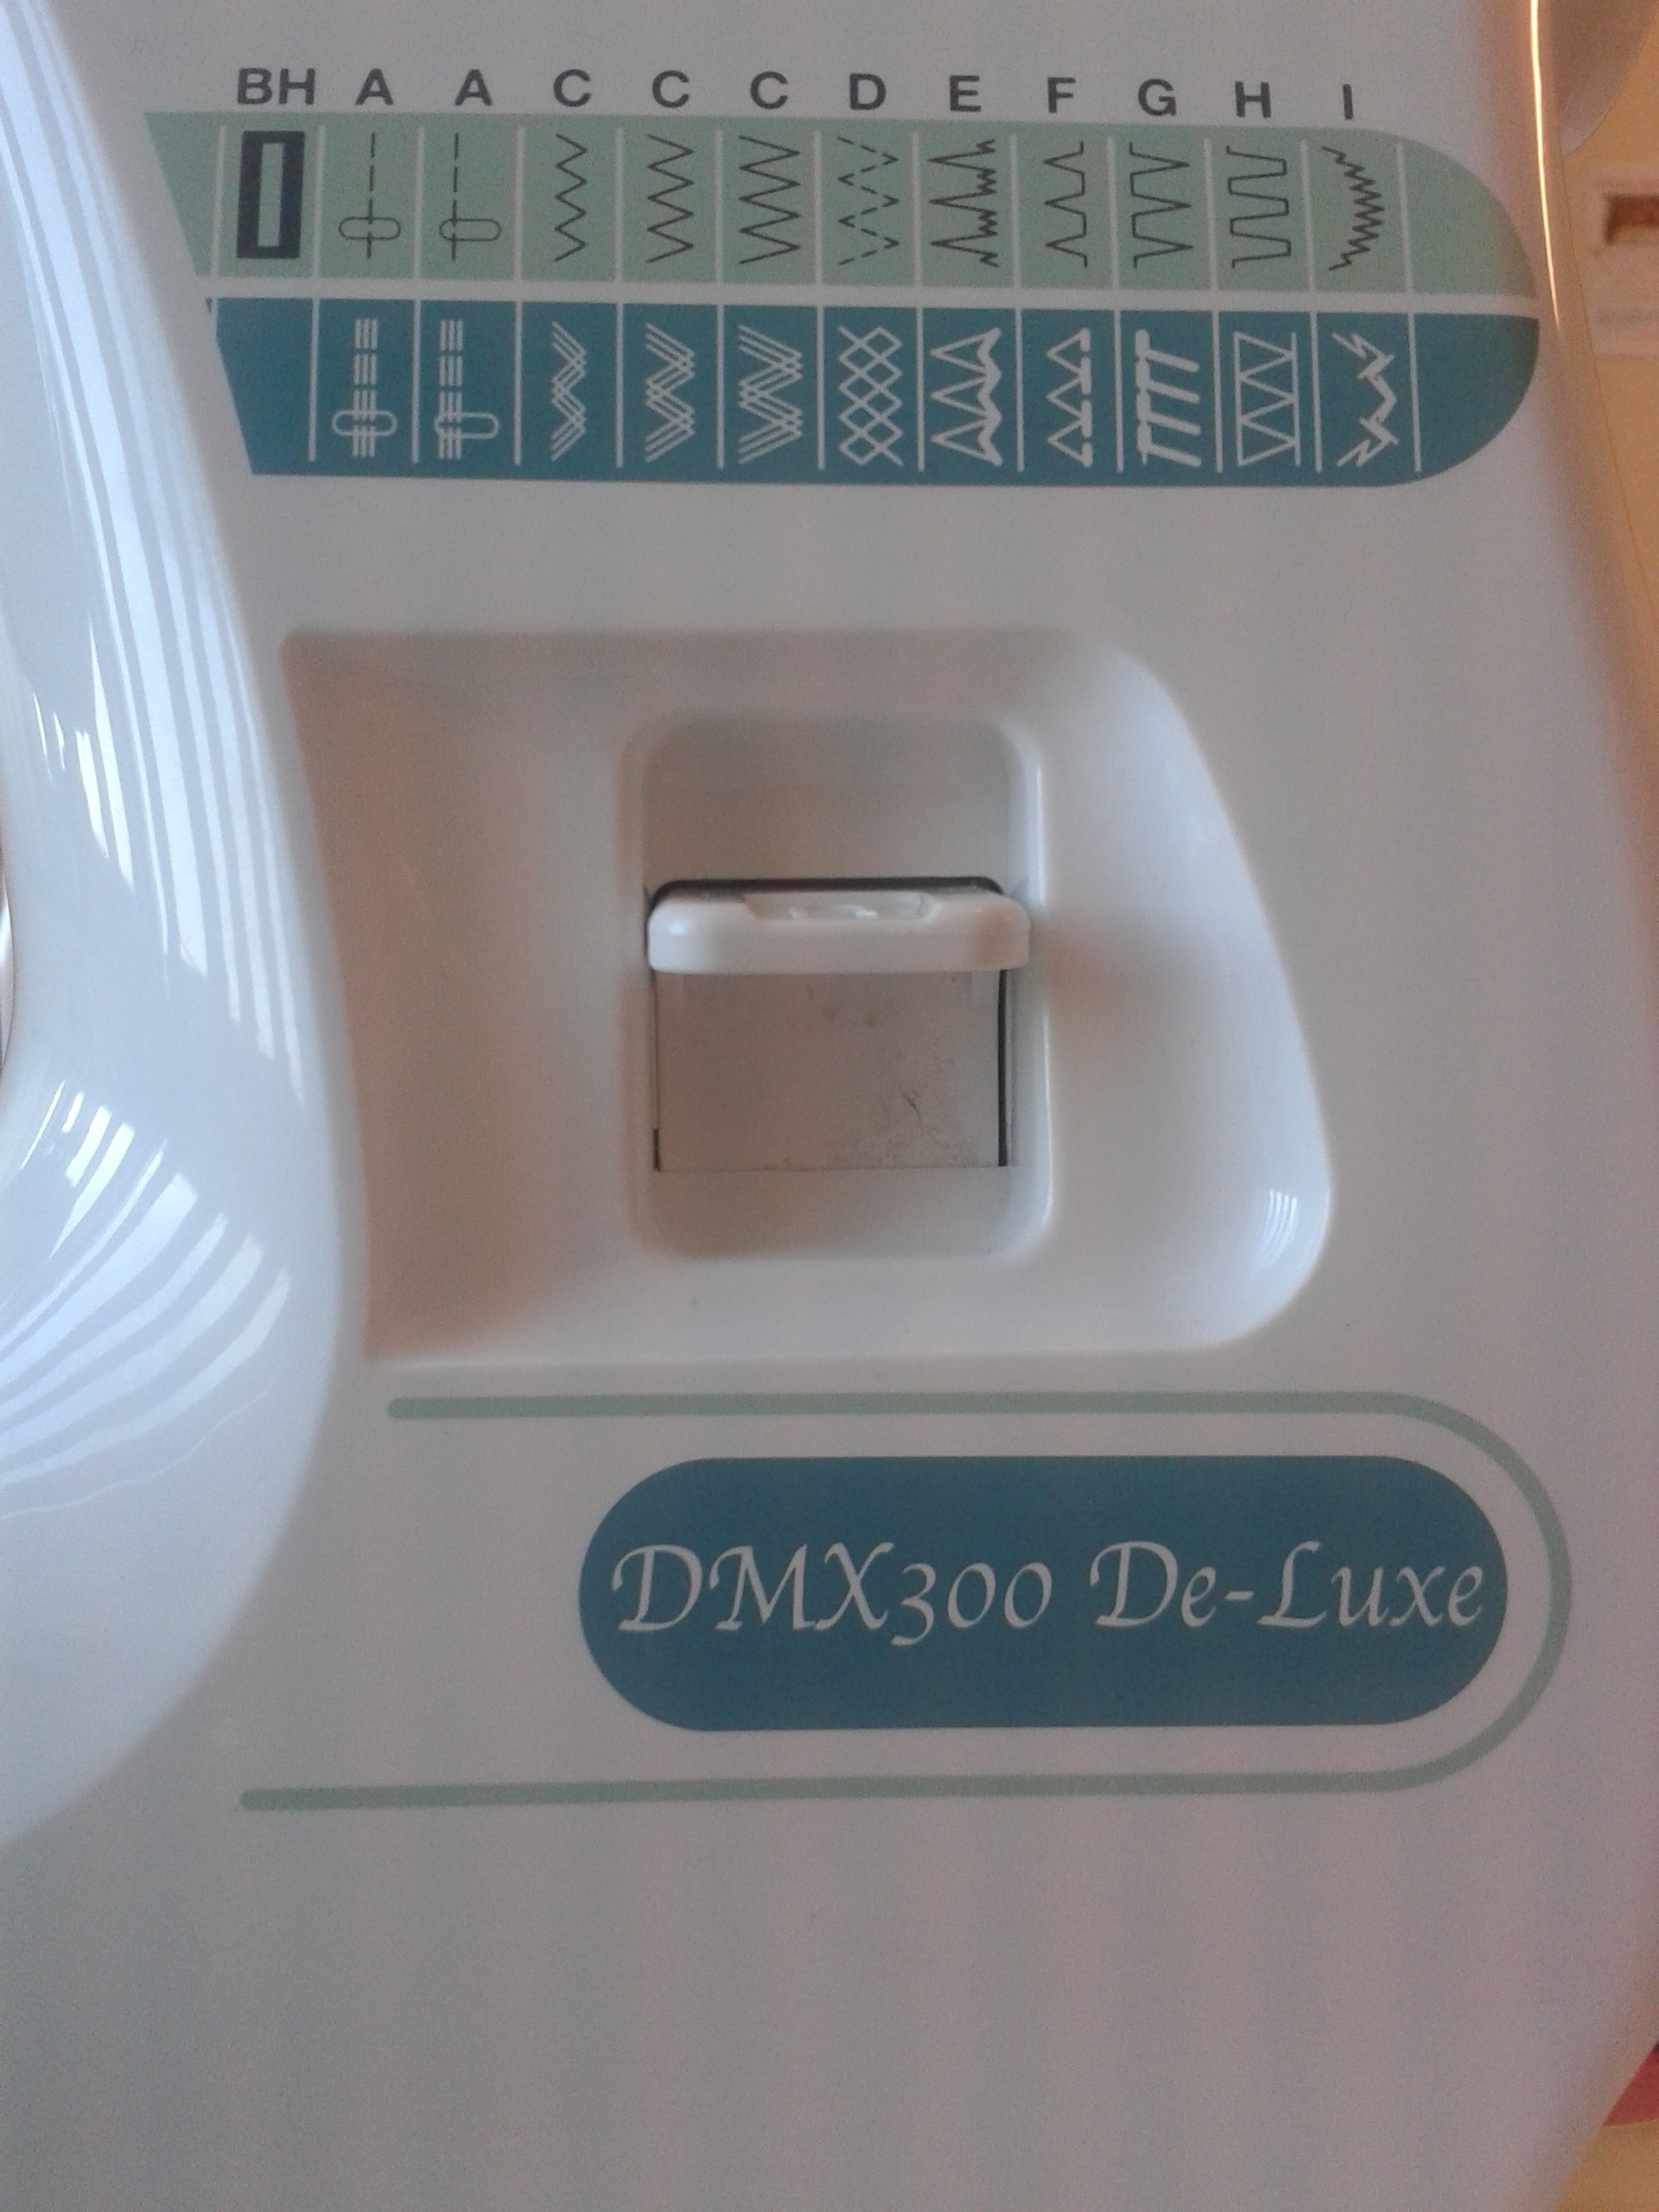
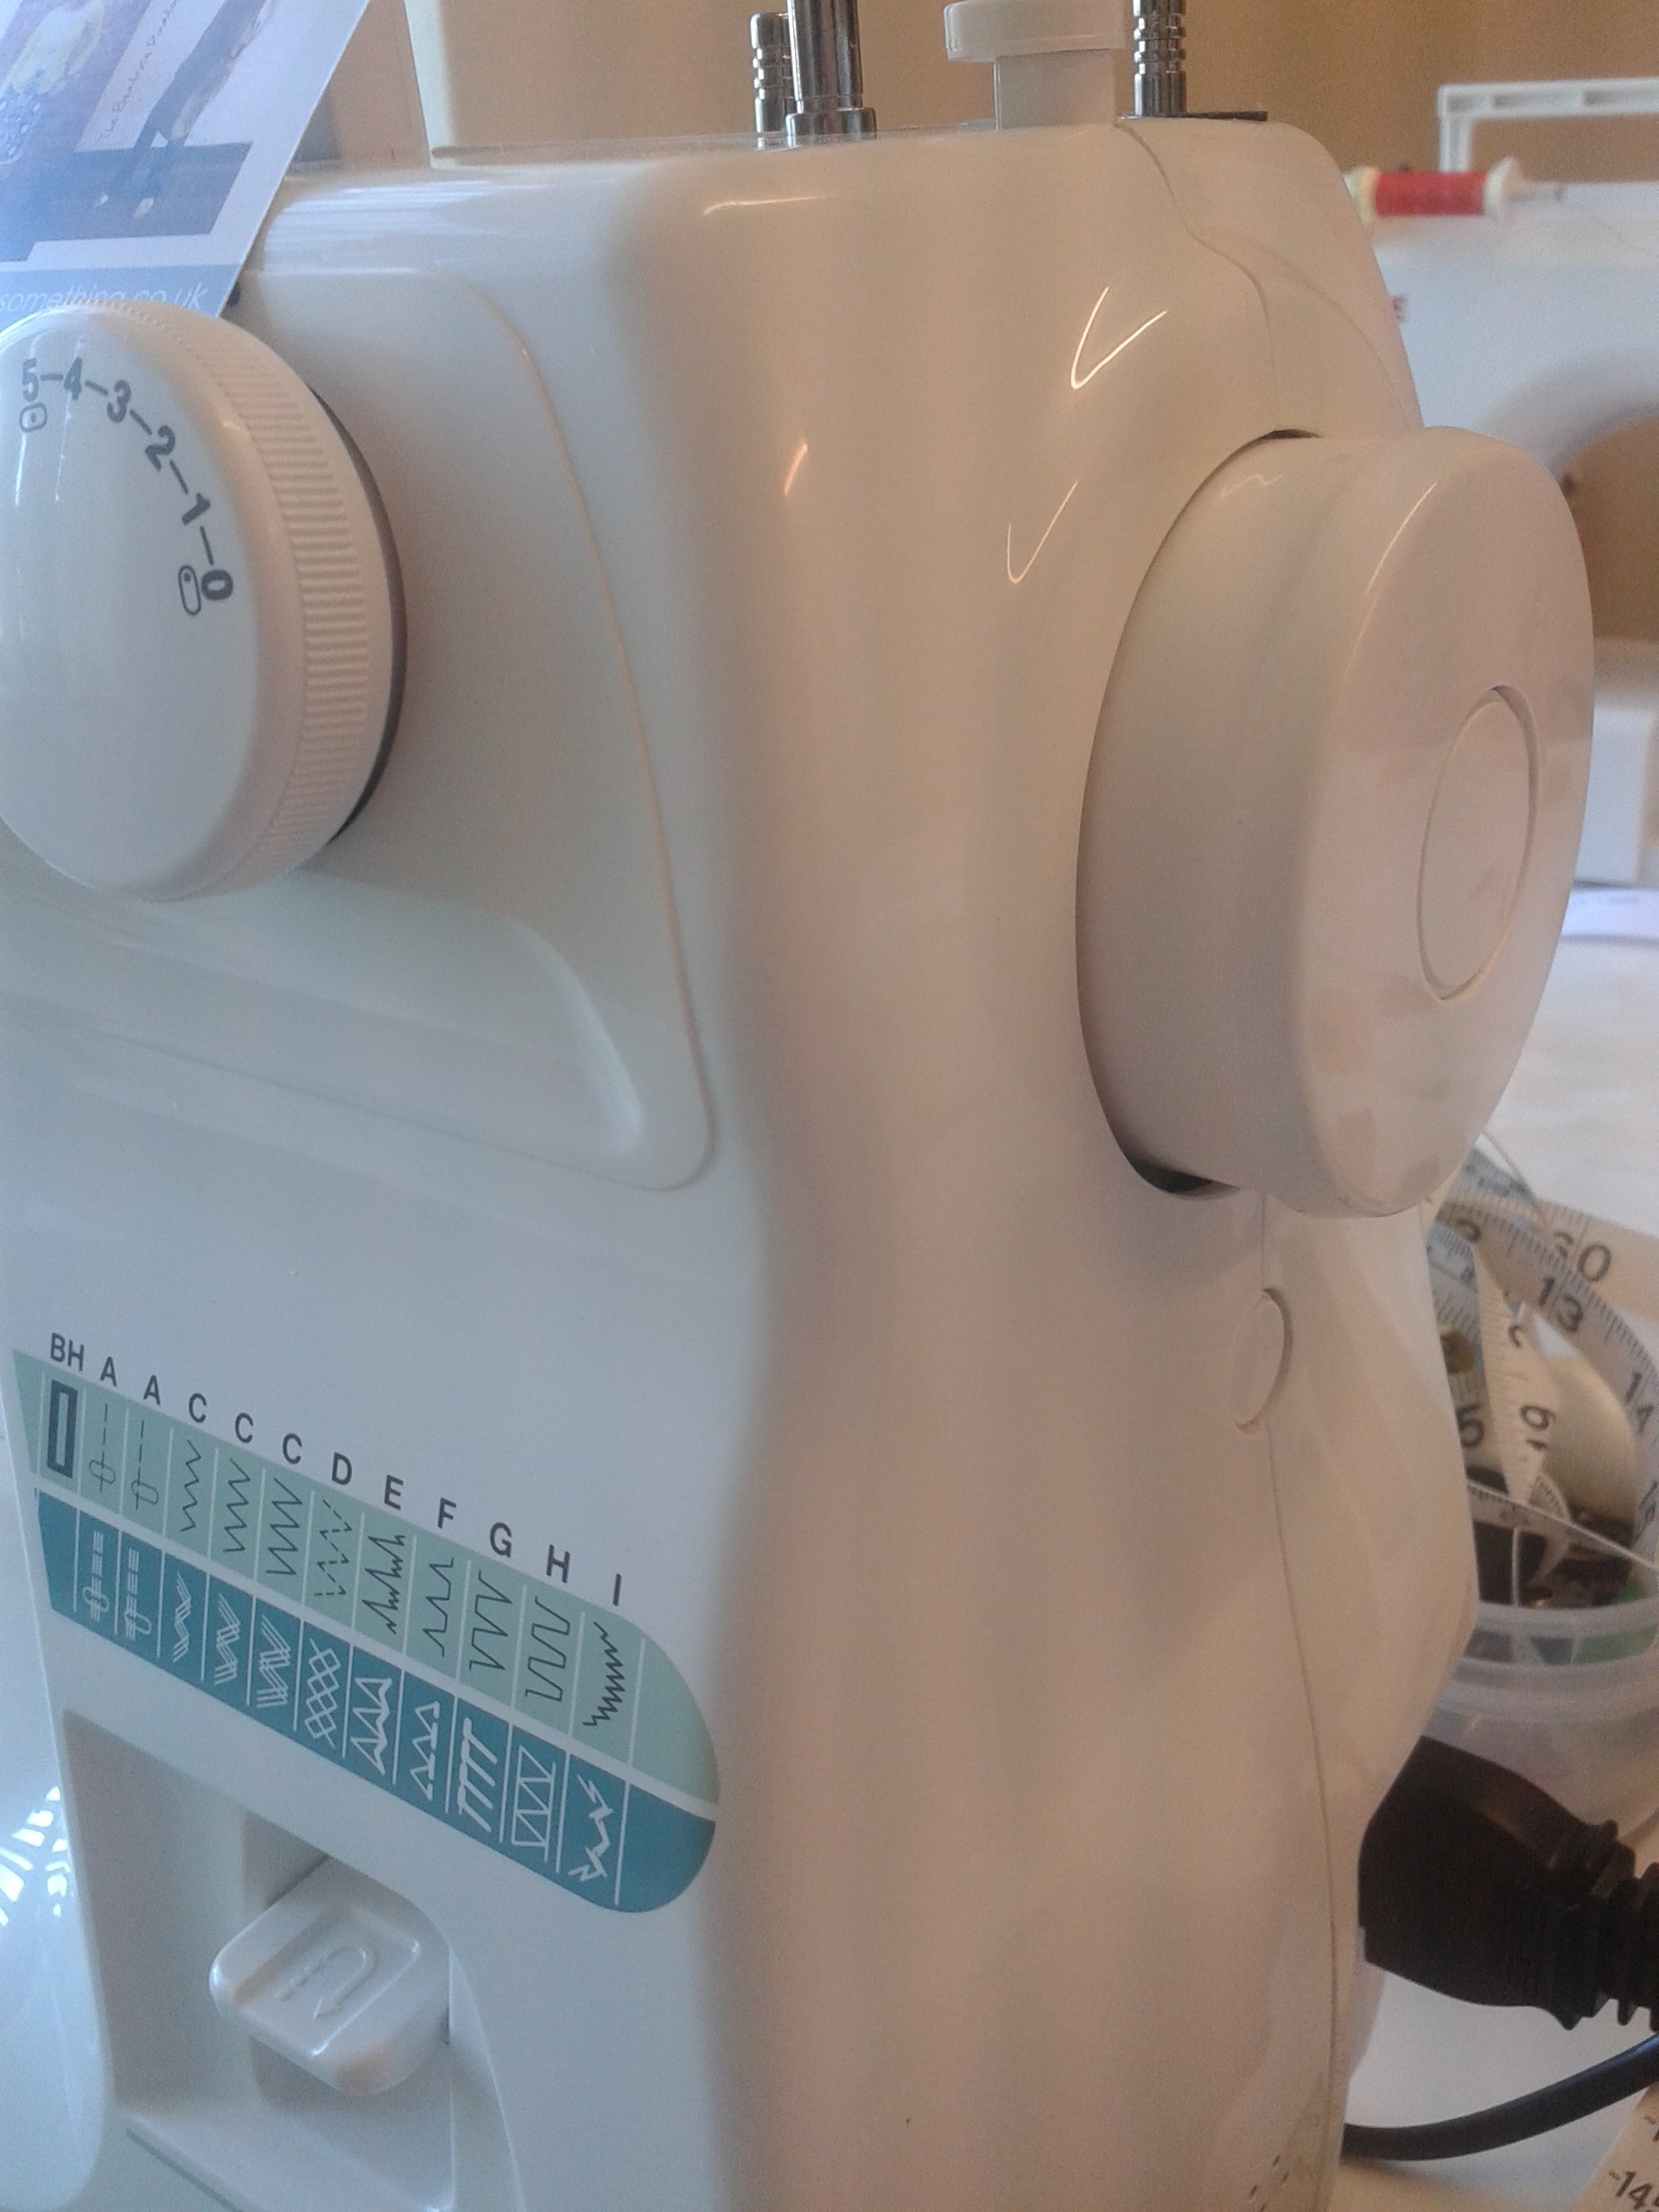
There should also be a knob that enables you to change the ‘stitch’ and a guide as to the letter to use to create that stitch. If you lift the ‘foot’ up (using the lever located at the back or side or the foot housing and make sure your needle is in the ‘up’ position then you should be able to turn the knob and change the stitch easily.
Some models of machine also have knobs that will enable you to change the width and length of the stitch, this allows more creativity and only playing with it, or checking with your book for trickier tasks, like button holes will you begin to understand how to use it.
If you are sewing stretchy fabrics use a small zigzag stitch, this allows a little ‘give’ in the seams.
When inserting zips use the zipper foot, this will give you a seam which is closer to the zip.
Choice of needle is important as well, use a finer needle for finer cloth and a bigger needle for a heavier weight.
Take care of your sewing machine, keep it clean, and give it a drop of oil now and again, it will work a lot better if you do 🙂
My resolution is to do more of the things I like doing and feel relaxed about and less of the irritating and time consuming things that are too stressful. So sewing, knitting, crochet it is.
Christmas at our house is hectic, all the family turn up and we end up being a bit frazzled, but happy to see everyone. Just prior to this I saw my little 8 year old niece, I taught her to crochet a couple of months previously, she was happy making friendship bracelets and hair braids. A lady told her that her mum taught her to crochet but she didn’t carry on with it, so my niece was very proud to tell me that she had managed to teach the lady to crochet as well… well done Tabby! We will make beanie hats for Barbie next!
Over the Christmas break I have had time to finish off a load of stuff that has been building up which is amazing for me, so I have knitted two ‘Tigers’ (rugby) beanies, finished off a cosy little cardigan for our two year old , made a ‘Frozen’ dress and started a ‘Peppa’ jumper for the 18 month old. All I have to do now is finish off designing a new range of children’s play things….its all in my head so I have to write it down quickly…. And another couple of crocheted beanies that have been requested along the way, oh… and recover a vintage child’s cot. Then I can turn my attention back to planning and preparing more creative stuff for the new year!
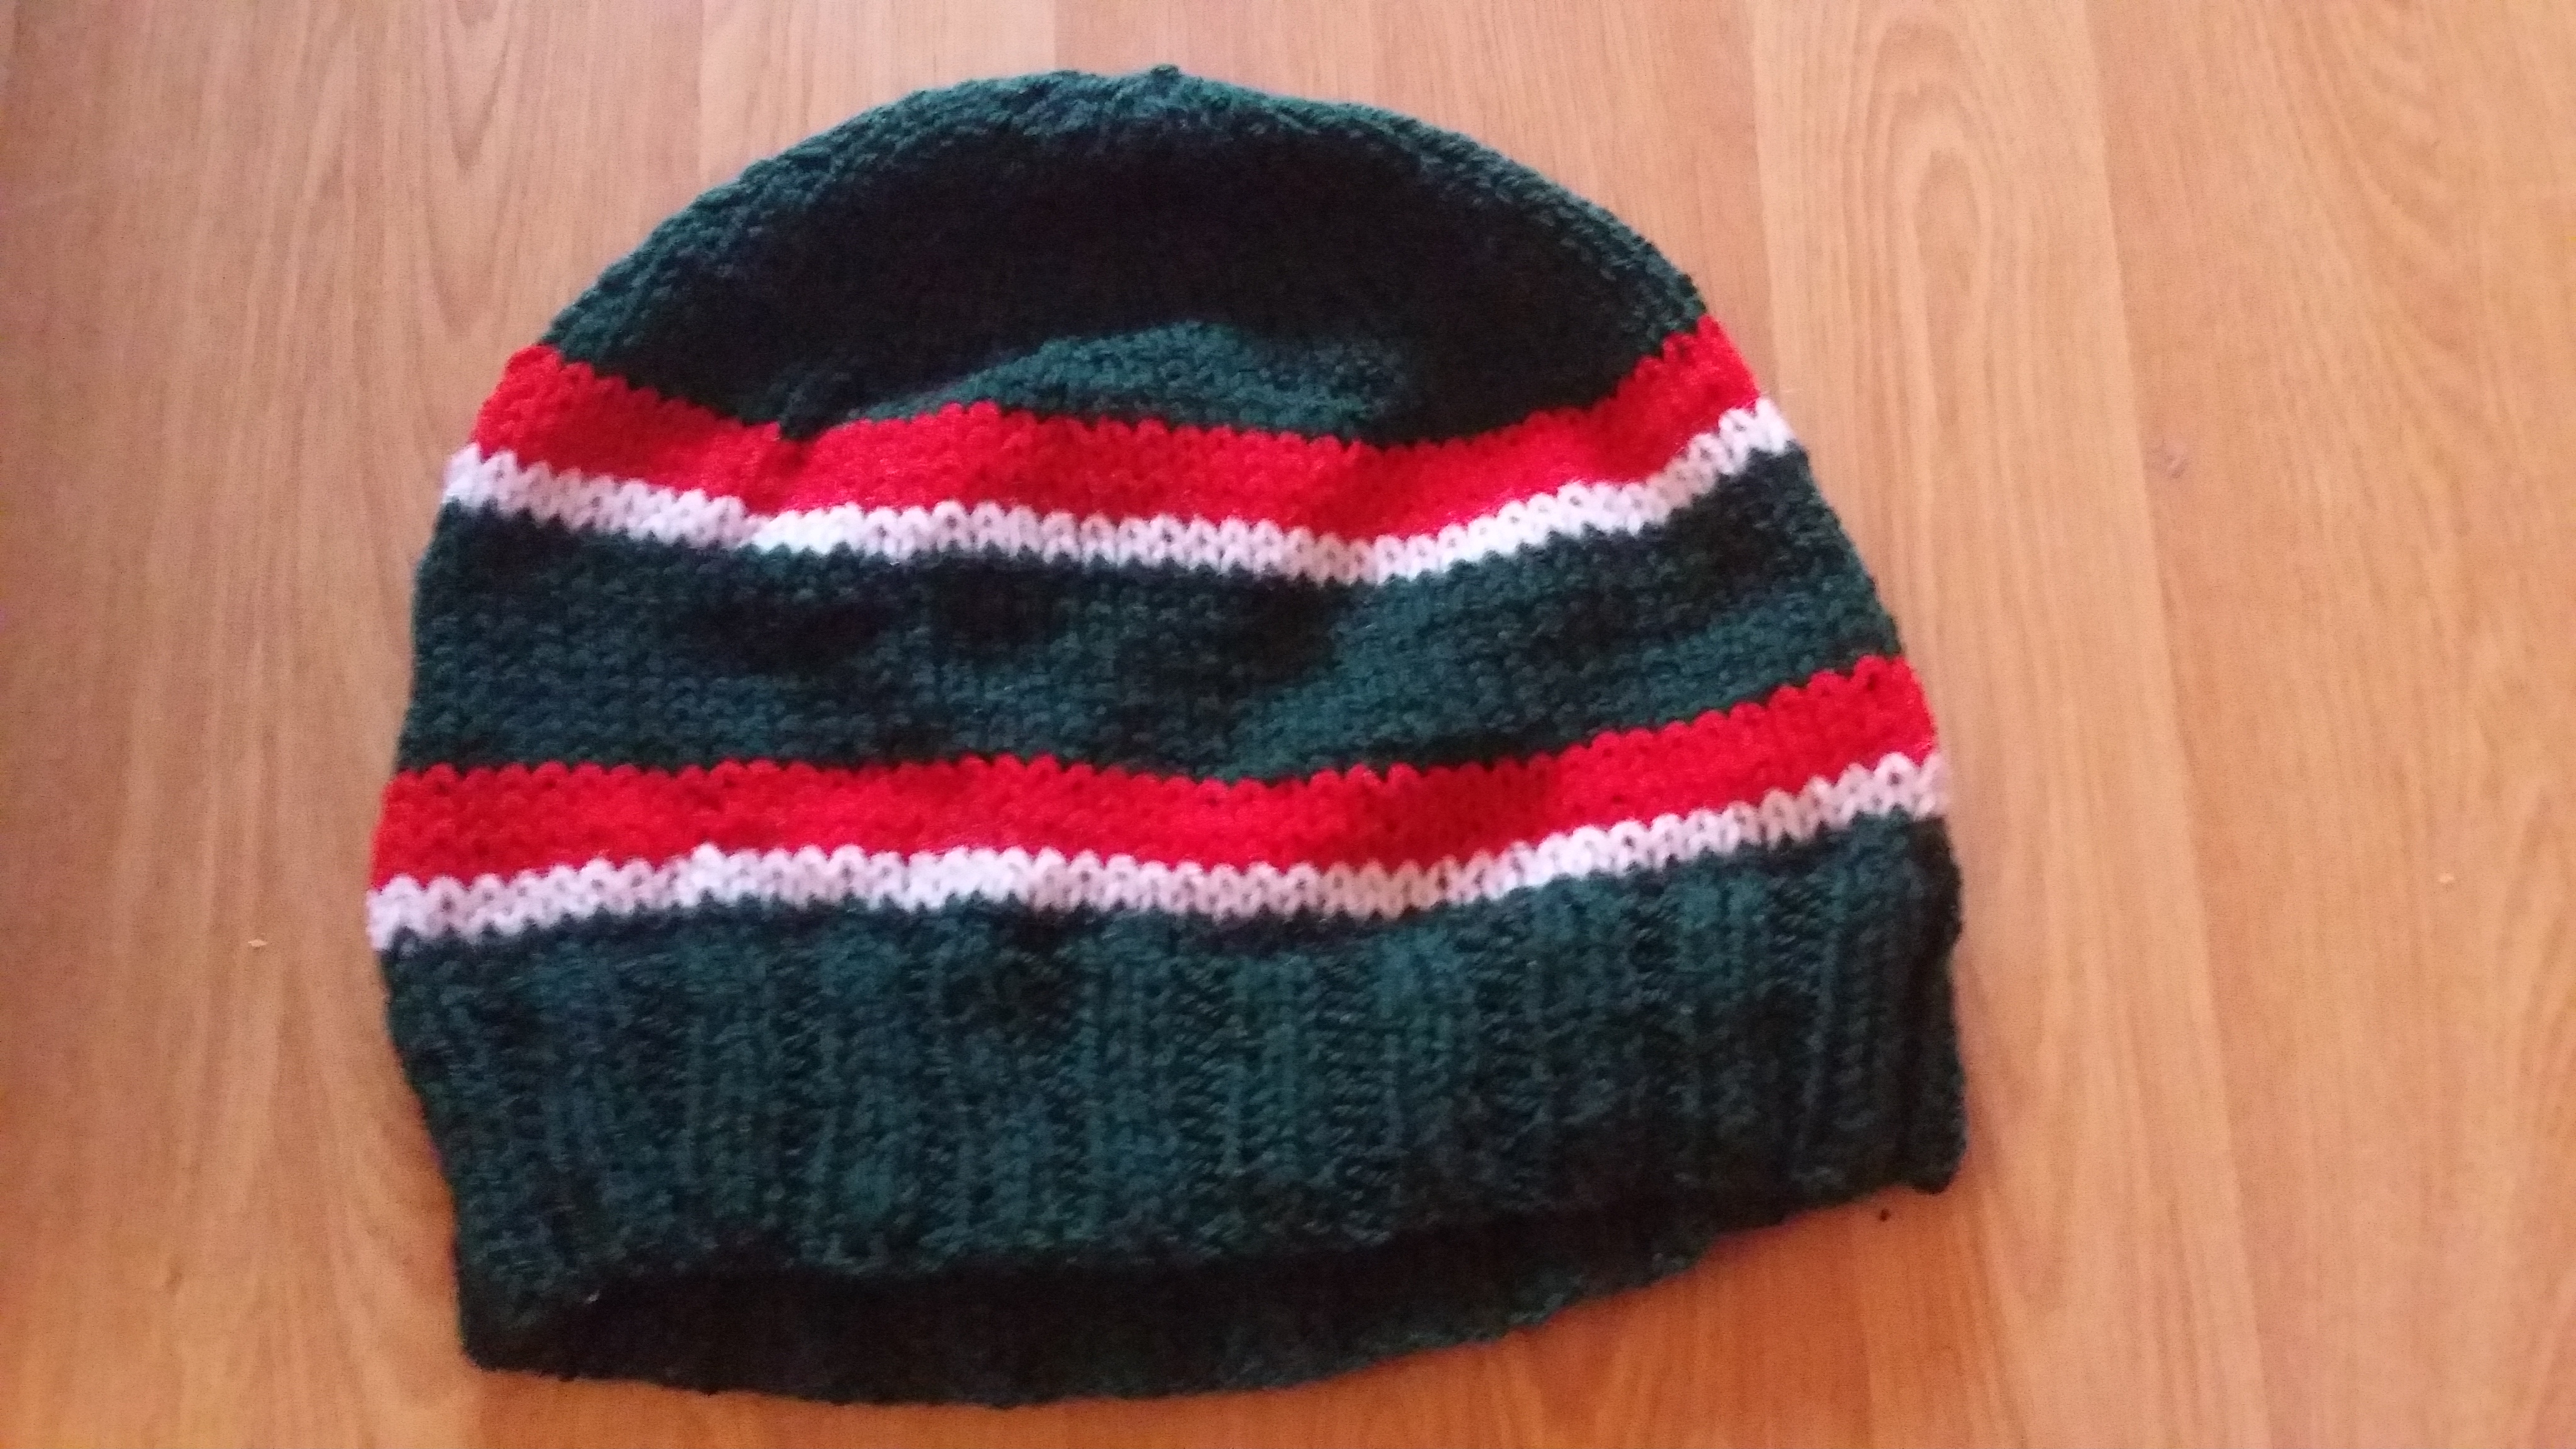
For the beanies, I downloaded some patterns before Xmas, and have used the best of two designs to create my ideal one. The first one is a bit bigger and my daughter prefers this style as it drops down a bit at the back, the second is a more classic fit. I used three colours DK dark green, white and red to create the stripy effect. I have two more that I will crochet for the surfers in the family I have found a wicked pattern with waves they will love it.
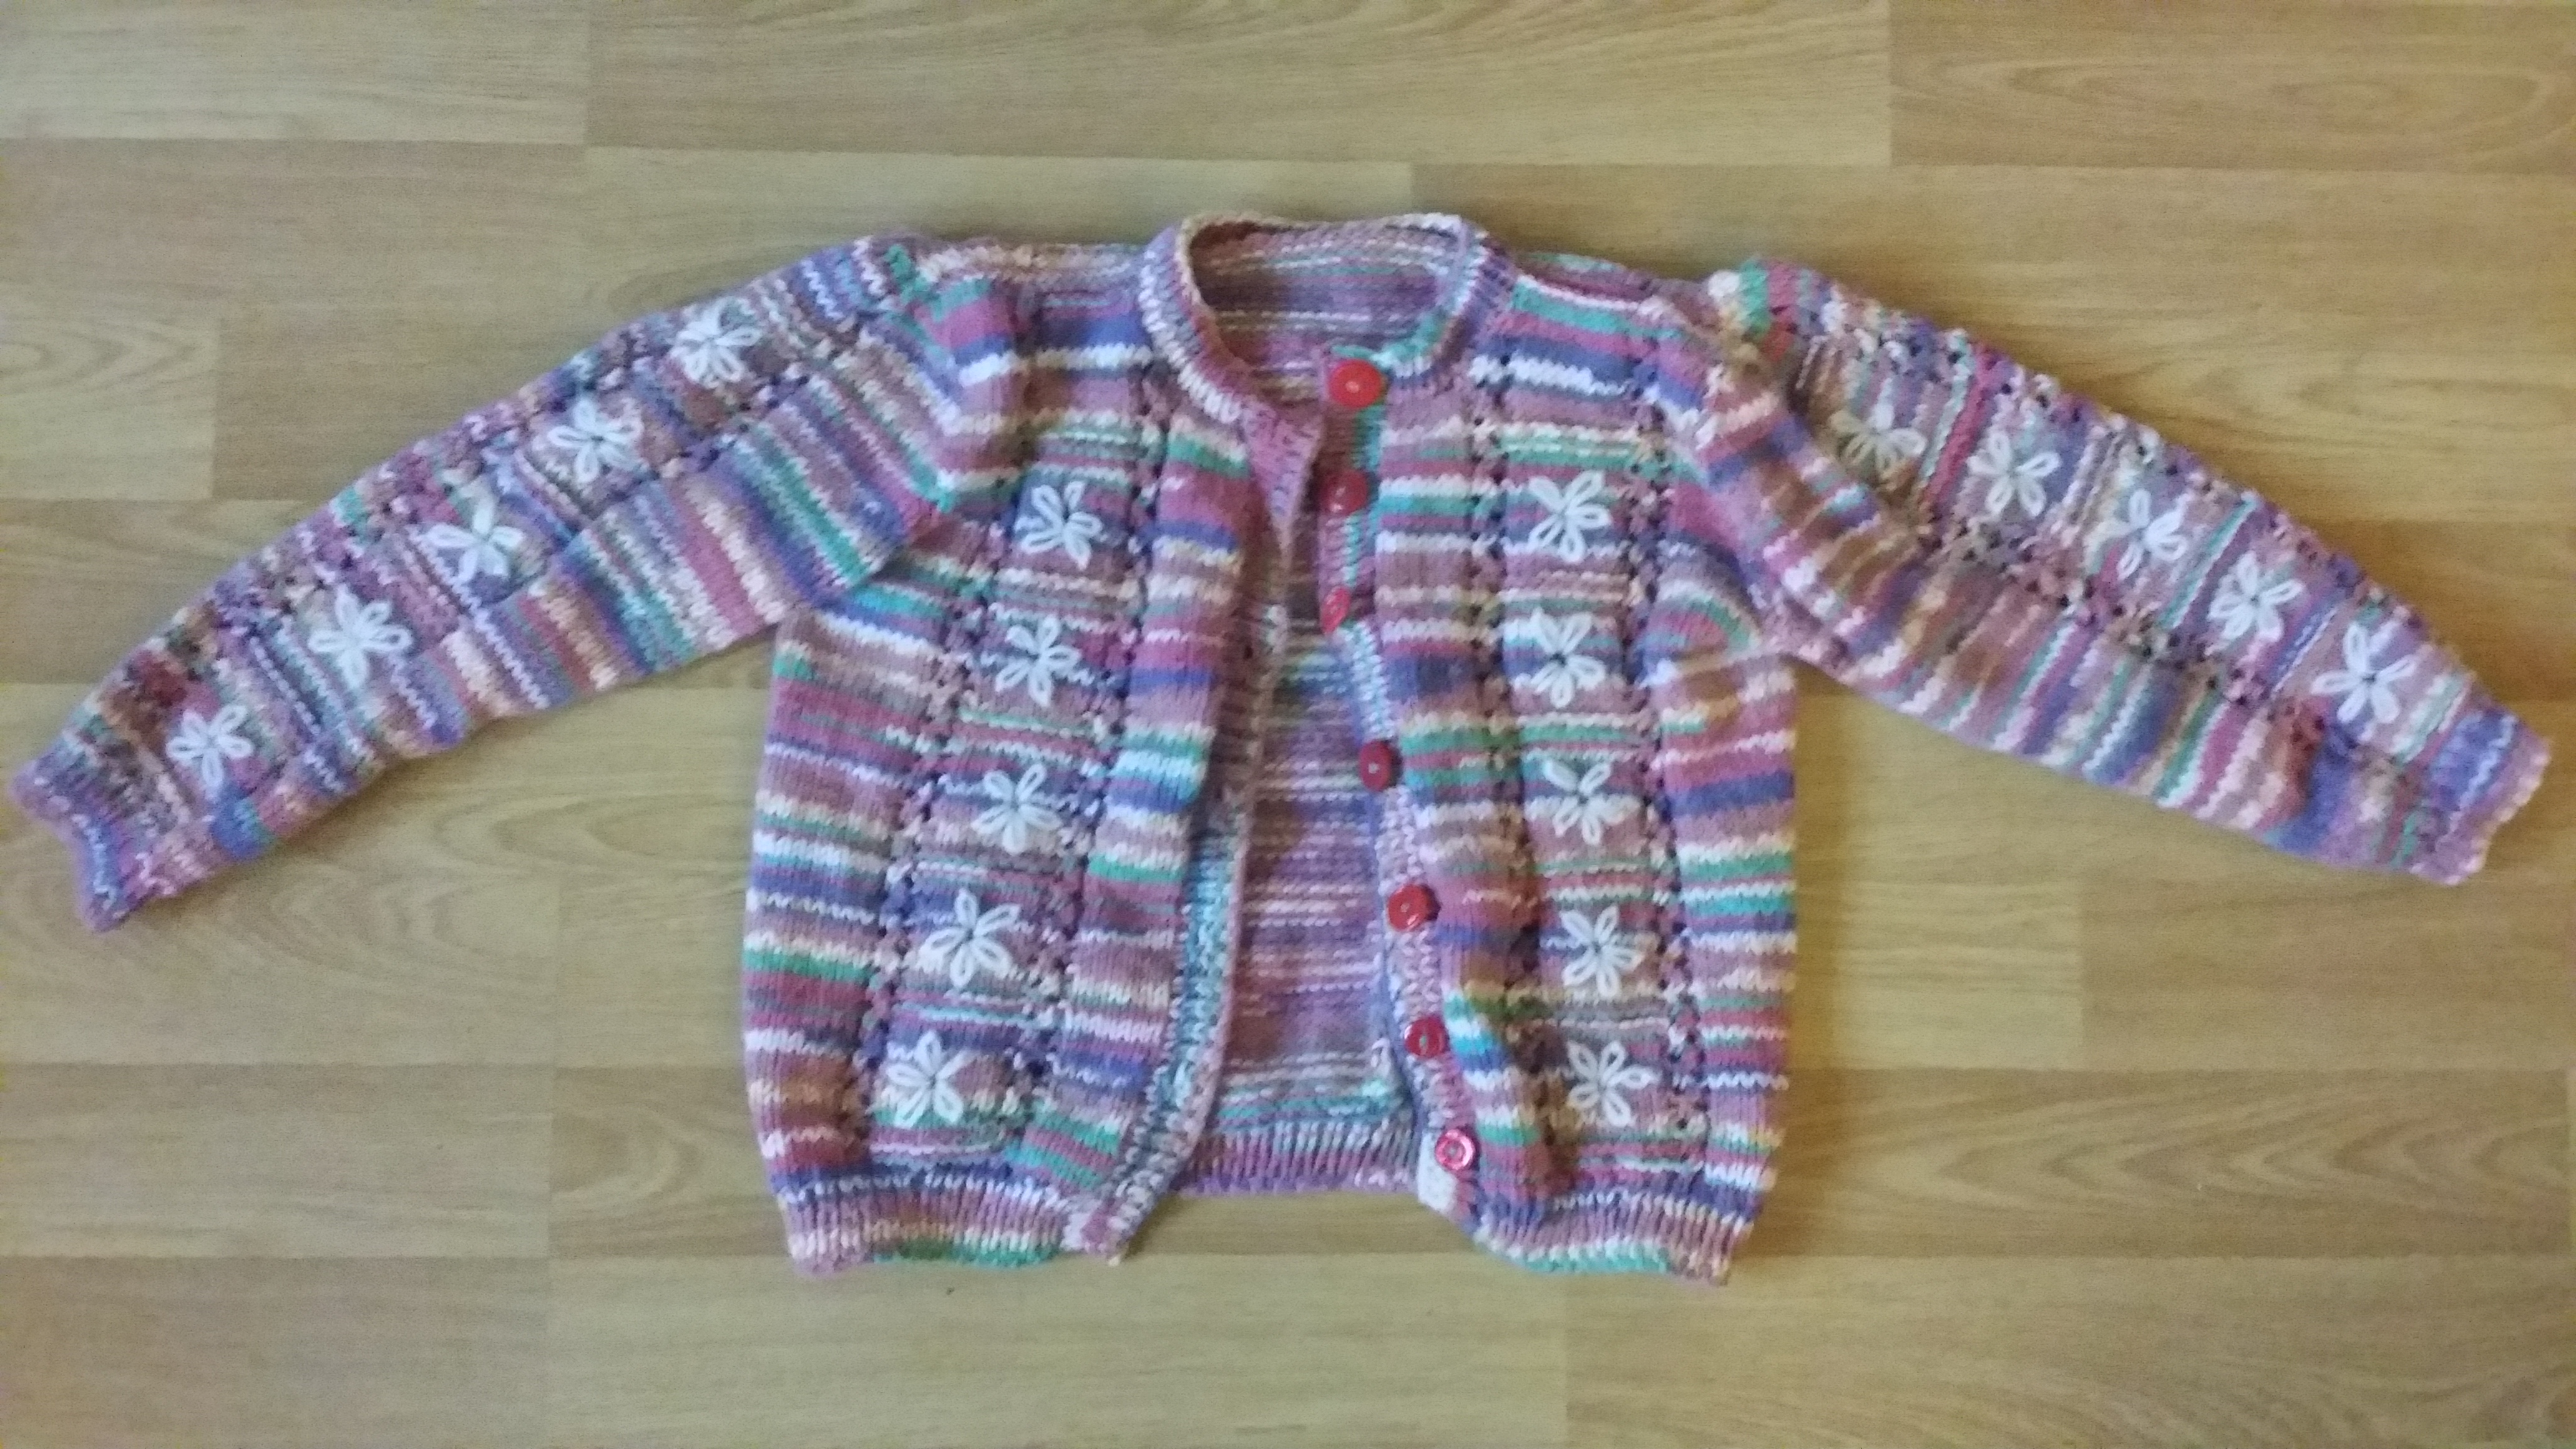
The cardi, was knitted using Sirdar Crofter baby Fair Isle effect DK, a lovely yarn it gives a pretty effect, the knitting pattern is from Sirdar’s The Essential Baby Book, design C. I like this book, the patterns seem to work well so I have done most of them at some time or another. The cardi is finished off with a lazy daisy stitch and lots of red buttons (all different) … very cute.
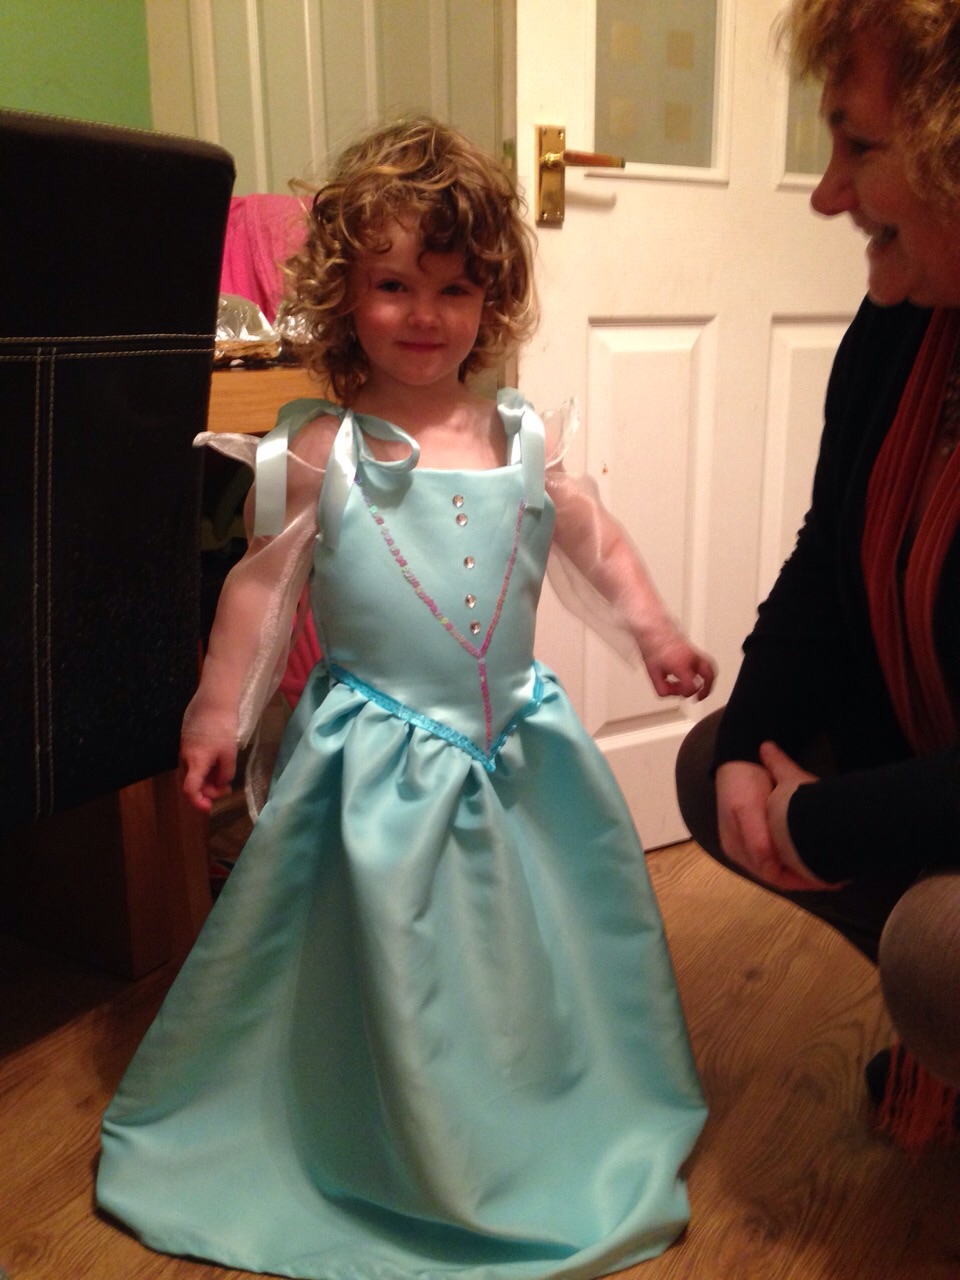
Now the ‘Frozen’ dress, this is the fourth I have made, all have been differing styles, but this one I wanted it to ‘grow’ with the child, so it has drop sleeves, and ribbons on the shoulders which as she grows can be retied to fit, and I have left the length to the ankle as well for more growing room. It looks very princessy …. Lovely.
Frozen Princess Dress
Working on the cot next, I had to buy a new staple gun before Xmas, I have mislaid my old one.. where I do not know probably left it somewhere… anyway, I have this lovely pink satin to replace what was originally pink silk with a 60’s black and white plastic, sounds weird, but so 60’s and stylish. I have carefully taken off the silk but I am going to retain the plastic because it is vintage and recover the base and the buttoned headboard in the satin. The bottom has proper webbing and is tacked on, so I will just make sure this is ok and then it will be perfect for a little dolly to sleep in eventually.
OK so now working on the children’s range of toys.. I cut out templates last night and started sewing them together, but I am not really happy with the fabric I am supposed to be using, it will be ok for a sample but not sturdy enough for the ‘real’ thing, so I need to look for alternatives. More to come on this so I will let you know about progress.
So a great start to the New Year, I wonder what the rest of the year will hold, I am bursting with ideas, so try and keep up!