Posted on Leave a comment

September Spectacular

cushions by joy to make

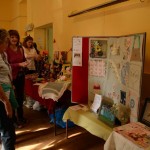
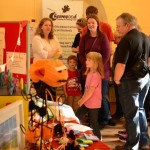
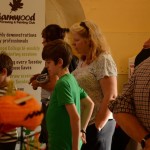
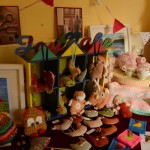
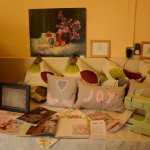
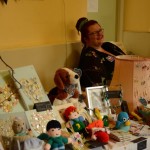
Thank you to all who came to our September Spectacular craft event in Newtown Linford, we truly loved meeting everyone who popped in!

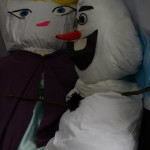
The event coincided with the village’s scarecrow festival, not to miss out, we made our own scarecrows and joined in. Elsa and Olaf were created out of old pillows, wool and all sorts of bits and bobs we could grab our hands on. They were a hit with the crowds, with many people queuing up to have their photos with them!

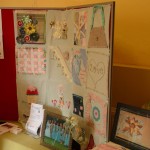
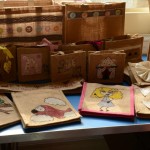
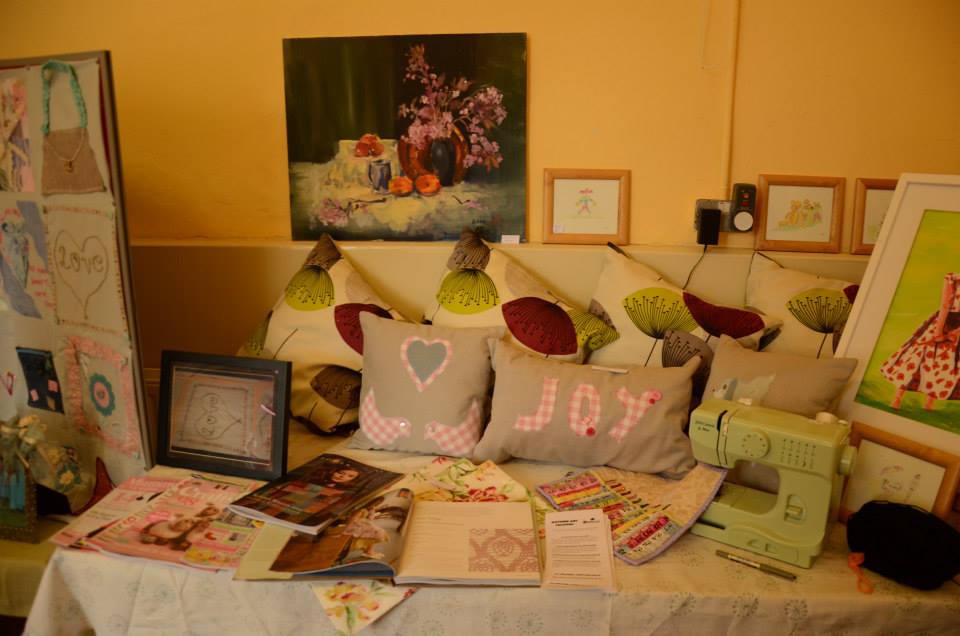
Take a look at the gallery below for all the photos from the event. We’re hoping to do another one soon, so if you missed out on coming to this one, wait for the next announcement!

Posted on Leave a comment

Vintage tea cup pin cushion

vintage tea cup pin cushion

This is a quick and easy make and is a fun ‘upcycling’ way of using an old china tea cup

What you will need:

  1.  Vintage tea cup
  2.  Any fabric, we have used some pink gingham
  3. Stuffing
  4. A small button
  5. Lace
  6. Thin ribbon
  7. Sewing machine


Step 1

Fold your strip of fabric in half and draw around your tea cup with some tailor chalk, or a pencil. Pop a pin in place and then cut around the circle.

tea cup and fabric

Step 2

With your two circles you need to place the lace carefully in between the two pieces of fabric. Use a pin and gradually go around the circle gathering it up as you go.

lace and pink gingham

Step 3

Machine around the circle, being careful when you go over the pins. Leave a gap of around 2 inches and break off the cotton.

sewing pin cushion joy to make

Step 4

Turn the fabric inside out to reveal the lacy circle and the stuff the insides with your stuffing.

pink pin cushion joy to make

Step 5

Finish off by hand, sewing up the hole and making sure the lace gets tucked into as well.

hand sewing pin cushion

Step 6

Make a bow with your thin ribbon and attach to the middle of your pin cushion using a needle and thread

ribbon and pin cushion

Step 7

Thread a button through the cotton and finish off attaching it.

ribbon and button pin cushion

Complete! Place inside your tea cup!

pink pin cushion

Posted on Leave a comment

How to do applique

applique your own cushion Joy To Make

How to do applique, it’s not as difficult as you think it might be!

Step 1. Create a design you want to add on to your cushion. Draw out a stencil onto some card. We chose a ‘love bird’ design with two birds and a heart. Once you have cut out your shapes, pick some fabric and then pop the iron on.

cut out card stencil

bird stencil joy to make

Step 2. We used an iron on adhesive to glue the fabric together. Place your stencils on the adhesive paper and draw round them, then cut out the shapes and place them on your chosen fabric in the reverse.

heat adhesive joy to make

Step 3. Iron the adhesive to the fabric. This only takes a second with a hot iron.

stencil on fabric

Step 4. Cut out the shapes on the fabric and place them on the front of your cushion fabric. Iron on top of the fabric They should be firmly stuck down.

fabric stencil cut out

iron on adhesive

Step 5. Pick a contrasting cotton colour and choose a zig zag stitch on your sewing machine. Start slowly, and go round the edge of your shapes with the sewing machine. if you have found that you have missed a few stitches, you can hand finish these after you have finished on the machine.

make a cushion workshop

applique cushion workshop

Step 6. Assemble your cushion, sew up the sides and if your cushion has a zip, place on in (Blog on adding zips coming soon!)