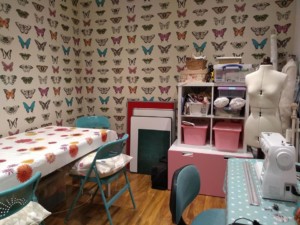
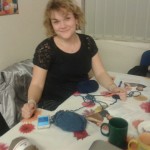
A lot has gone on in the past year and we decided to relocate from Loughborough town centre to the outskirts. It was for various reasons, parking was one of the issues, and also the area we were in wasn’t quite suitable. We have now created a fabulous workroom which can accommodate our sewing classes and our cosy crochet and knitting evenings.
We did a full refurbishment on the room, having the walls completely re plastered and the ceiling finished off. New electrics were added and better lighting makes the room really bright and visual for all of our lessons. Wooden flooring has also been laid down, this make picking up pins and threads so much easier, no more random pins stuck in the carpet!
We chose harlequin wallpaper for their vibrant butterfly design. the colours in the wallpaper matched our brand and we also wanted to stimulate and provide more colour and make the room more exciting.
Another addition to our room was is our brand new tailors dummy! We are always dressmaking whether it is requests for ballroom dresses, bridesmaid dresses or dressmaking in our sewing classes. Either way this is an invaluable investment and I can’t imagine how we survived without one for so long!
We hope you all enjoy the room, here are some pictures:
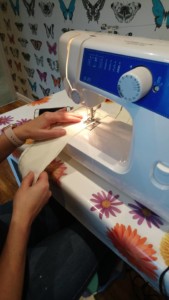
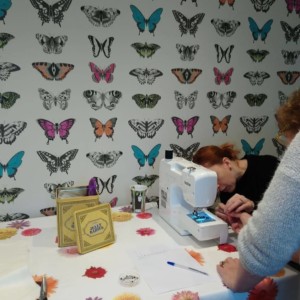
As you can see we have already started and had lessons in our new room. People who have attended the lessons have been really positive and we hope to continue teaching and sharing our knowledge of sewing and crochet and of course our main mission of being creative!
If you like what you see and you want to come along to any of our classes then just get in touch, we will be happy to see you.
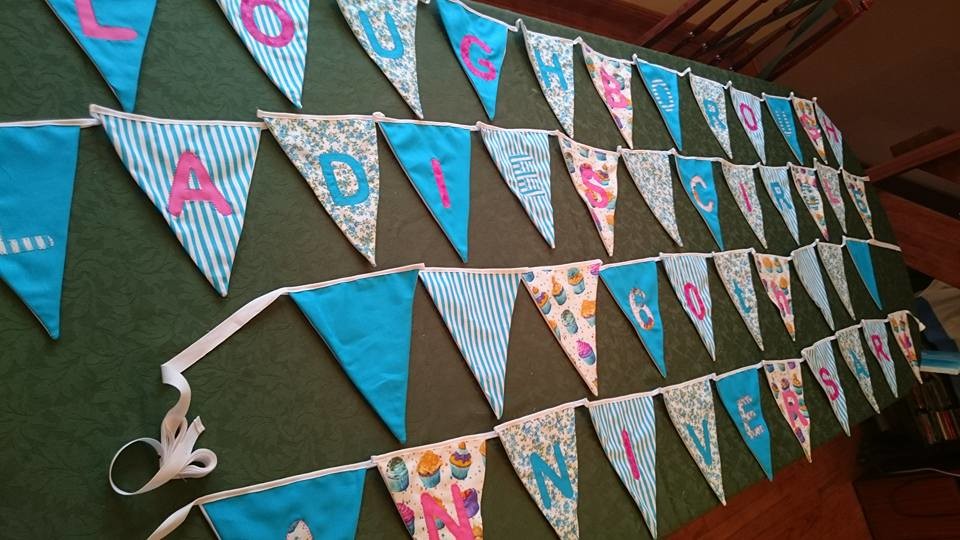
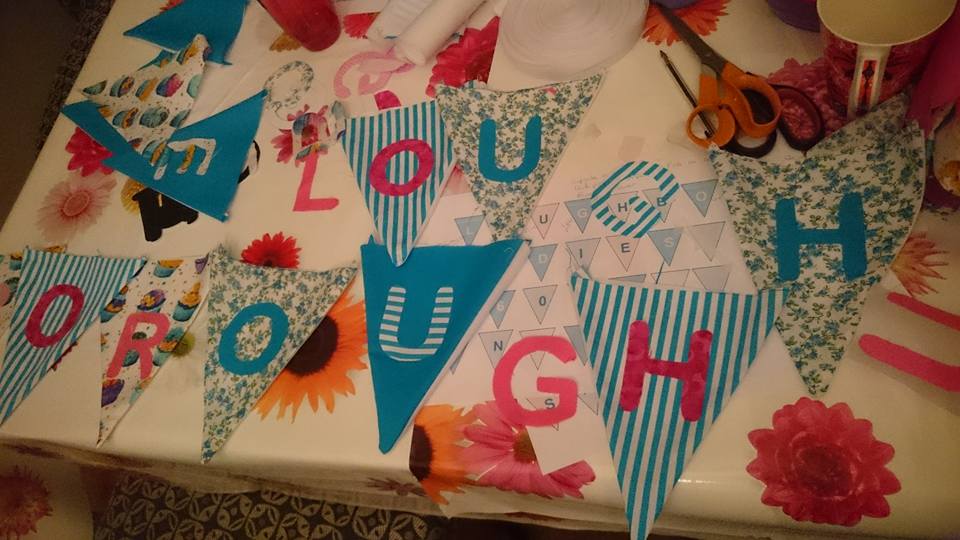
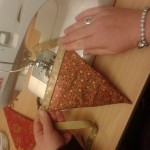
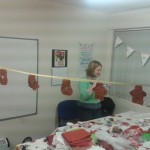
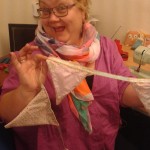
We’ve been making quite a bit of bunting lately, there are so many celebrations going on, what with weddings, anniversaries, birthdays and lots more ‘happenings’ there has been so much to do.
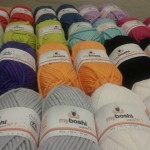
So we have given bunting the ‘Joy To Make’ treatment and it looks great, using cottons and cotton mixes which have a fantastic range of colours, they vary in width so you can get quite a lot of triangles out of a small amount of fabric. We match the colours to either a logo or theme and then vary fabrics with patterns to complement it.
The letters were bonded to the fabric and then sewn round to keep them in place and finally the top tape was sewn into place. We try to keep the strings to no more than 3 metres, as if you have a tent to put them up in or around then they should fit ok.
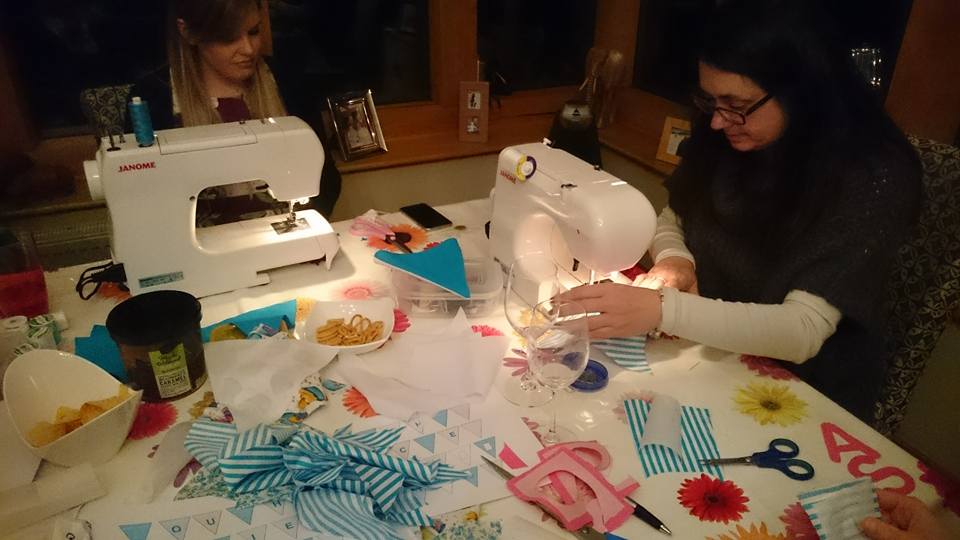
We held a great workshop recently where it was all hands on deck to create bunting, we had cutters for the cloth, machinists to sew up, more cutters creating letters and an ironer! It was great fun, a well oiled production line (well with the help of Proseco anyway).
So if you need a bunting workshop or just bunting, Joy to Make can help, just give us a call.
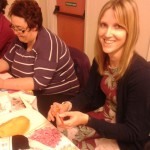
A lovely afternoon with Annie and her friends celebrating her 40th birthday on Saturday, they chose to do creative textiles instead of partying in a club, because they knew that was what she would prefer, so thoughtful of them. They decided to create a wall hanging for Annie’s daughter, each working on a piece which eventually would be sewn together and framed for the bedroom wall.
They worked out a plan and then delved into my boxes of bits to find fabrics to work with, then buttons and ribbons that would brighten it up. Hand sewing, machining and gluing into place all the elements which made up this lovely picture, which when finished they will be very proud of.
On Sunday we were at Barrow on Soar street market. We have never been there before and it was a last minute decision we were lucky to get a space. We arrived at 8.30am with a car full of stuff, Amy got out to find our space which was perfectly placed in the middle of the market, next to the WI, their cakes looked, and tasted great, what a lunchtime treat! After disgorging everything onto the pavement our friend arrived with his gazebo, we set to and erected it with all the wools, hooks, samples and everything, we were very pleased with the stall it looked great.
The market began at 10am and I was surprised how many people were wandering around looking at the stalls, our guessing game certainly had people wondering at how many metres of DMC’s Natura XL there were in the bag I had crocheted, there were some really wild guesses which caused great hilarity. The winner of the competition was Sharon Lewis! She guess right with 435m!
There was such an amazing amount of interest in learning new skills, crocheting particularly, and the more seasoned knitters rifled through the vintage patterns we bought along, they were very popular.
The weather held up nicely it was warm, even sunny at one point, then as the afternoon wore on the wind got up and nearly blew over the stall opposite us, (we tied ours to some railings!) It was at that point we decided it had been a lovely day, meeting lots of very friendly people, but it was time to pack up and go home.
We will definitely do it again next year, and well done to Ophelia for all her hard work in organising the market, which was a great success.[/fusion_builder_column][/fusion_builder_row][/fusion_builder_container]
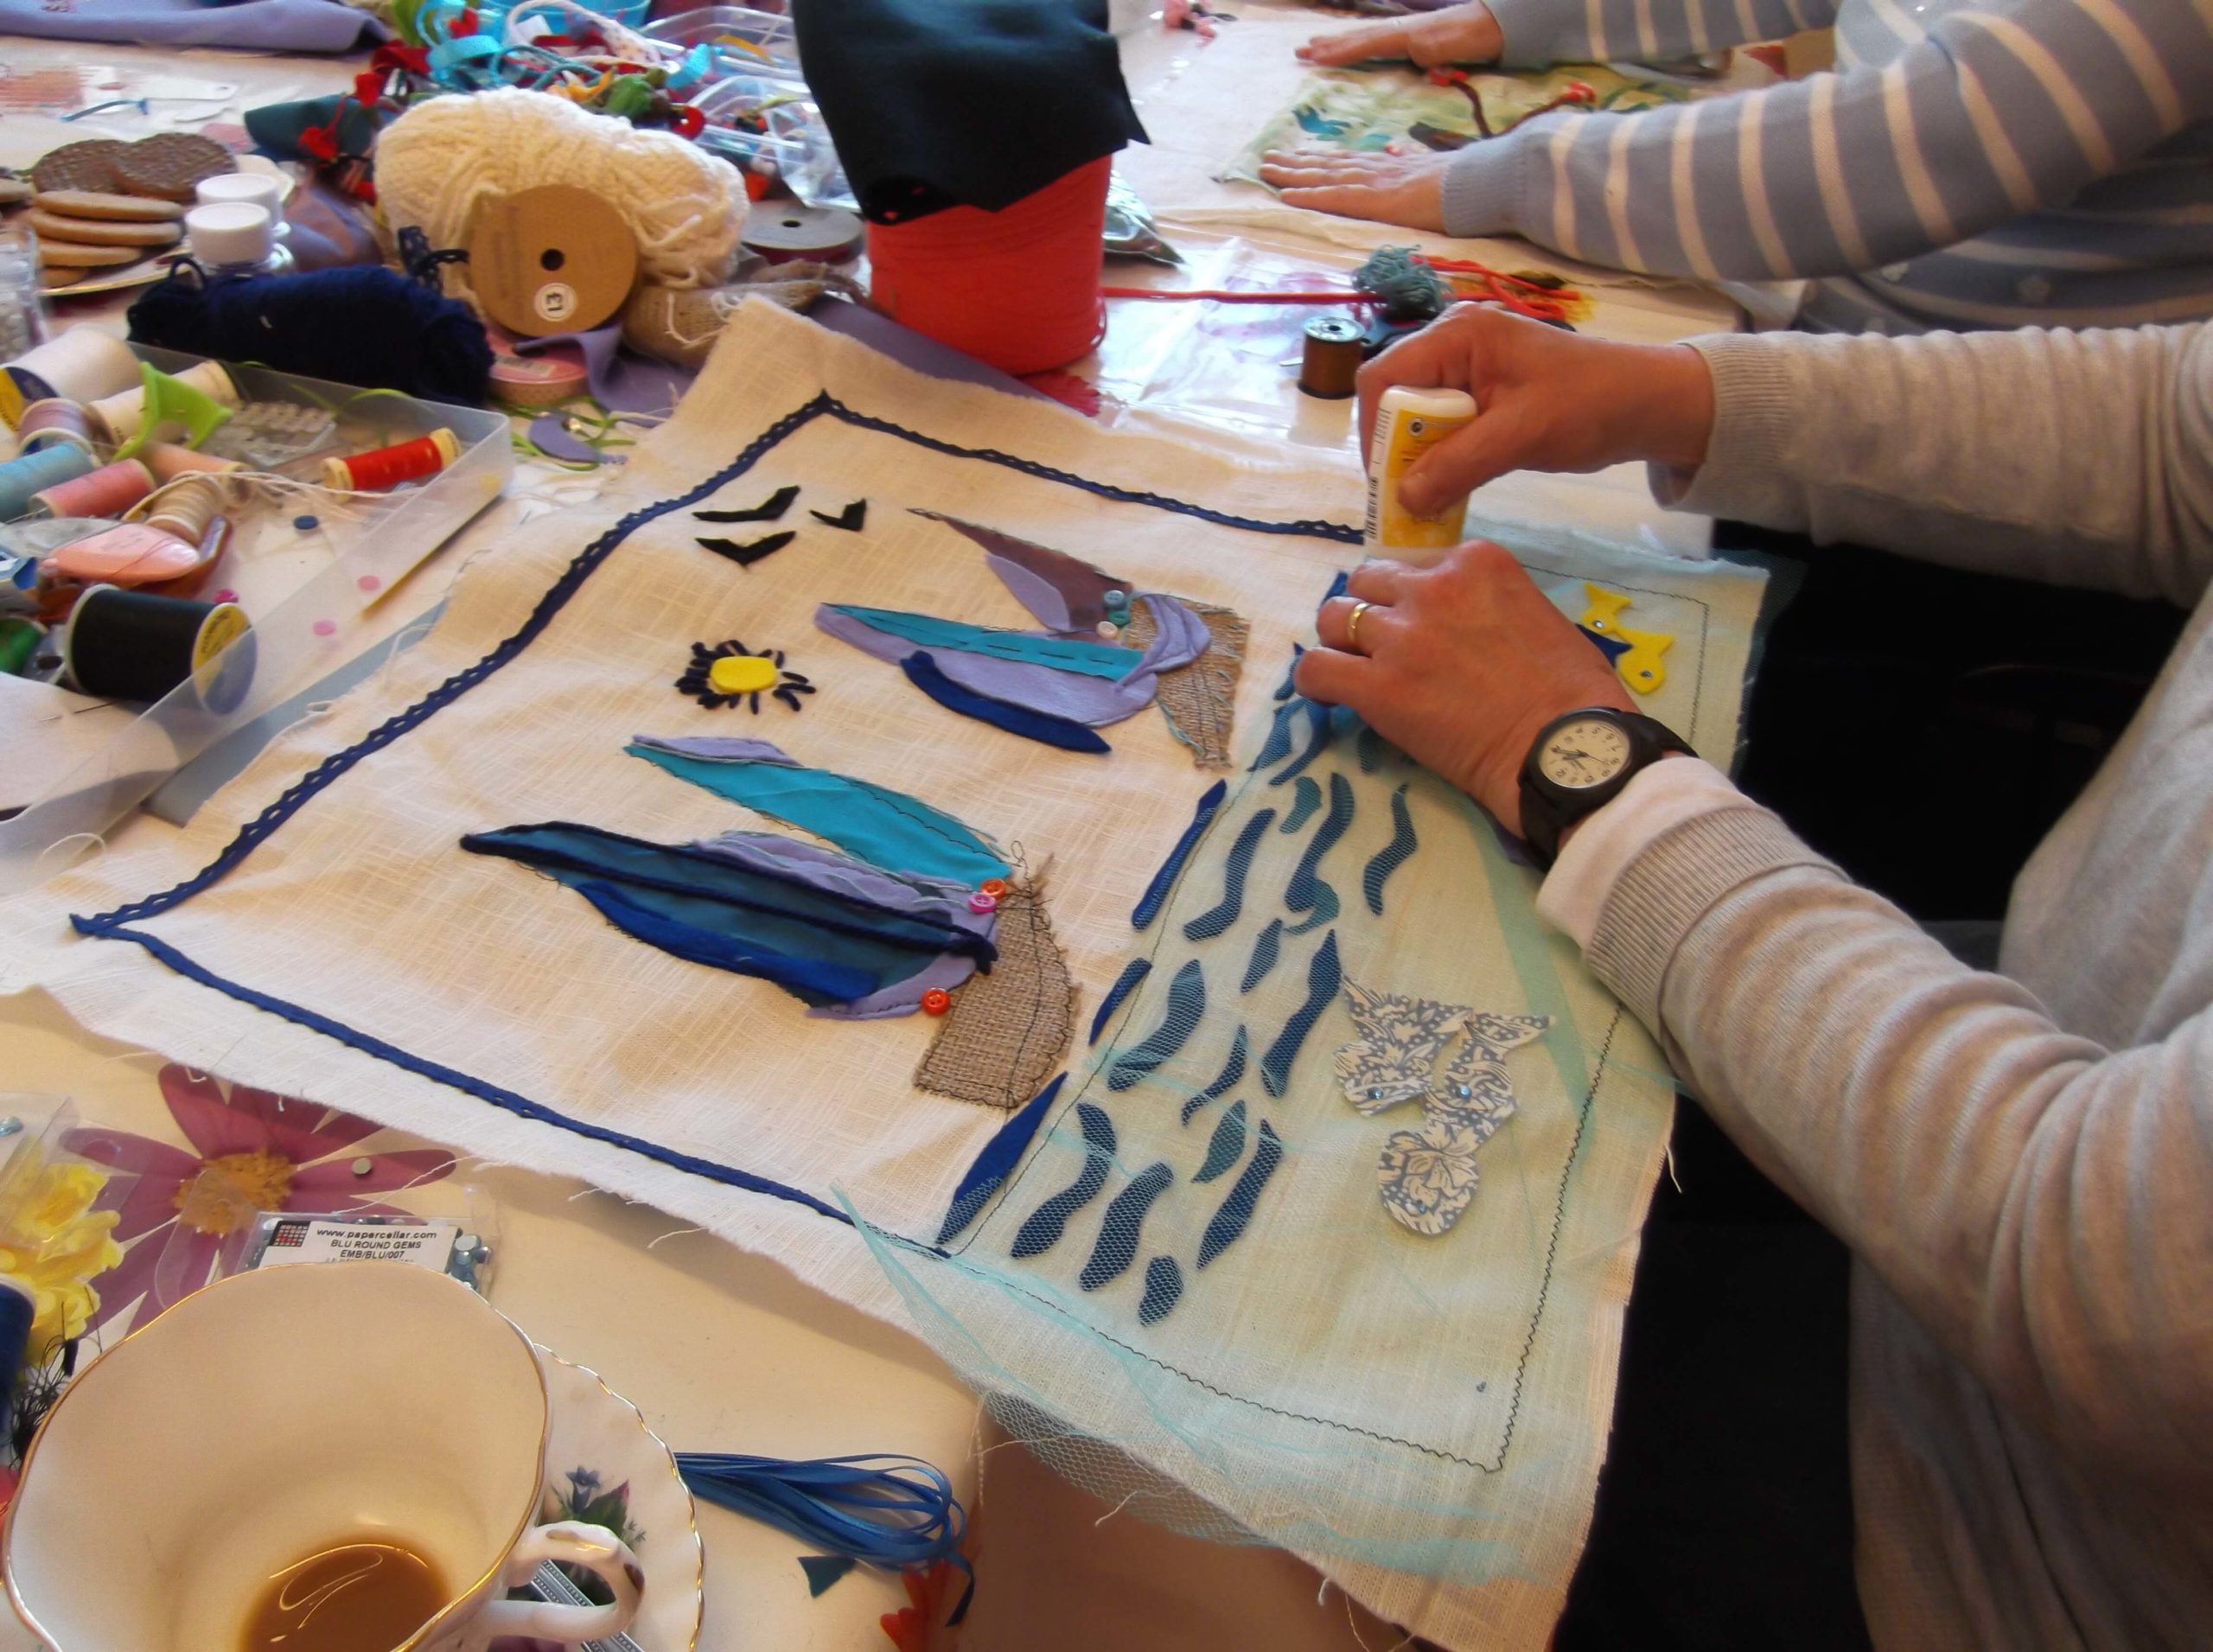
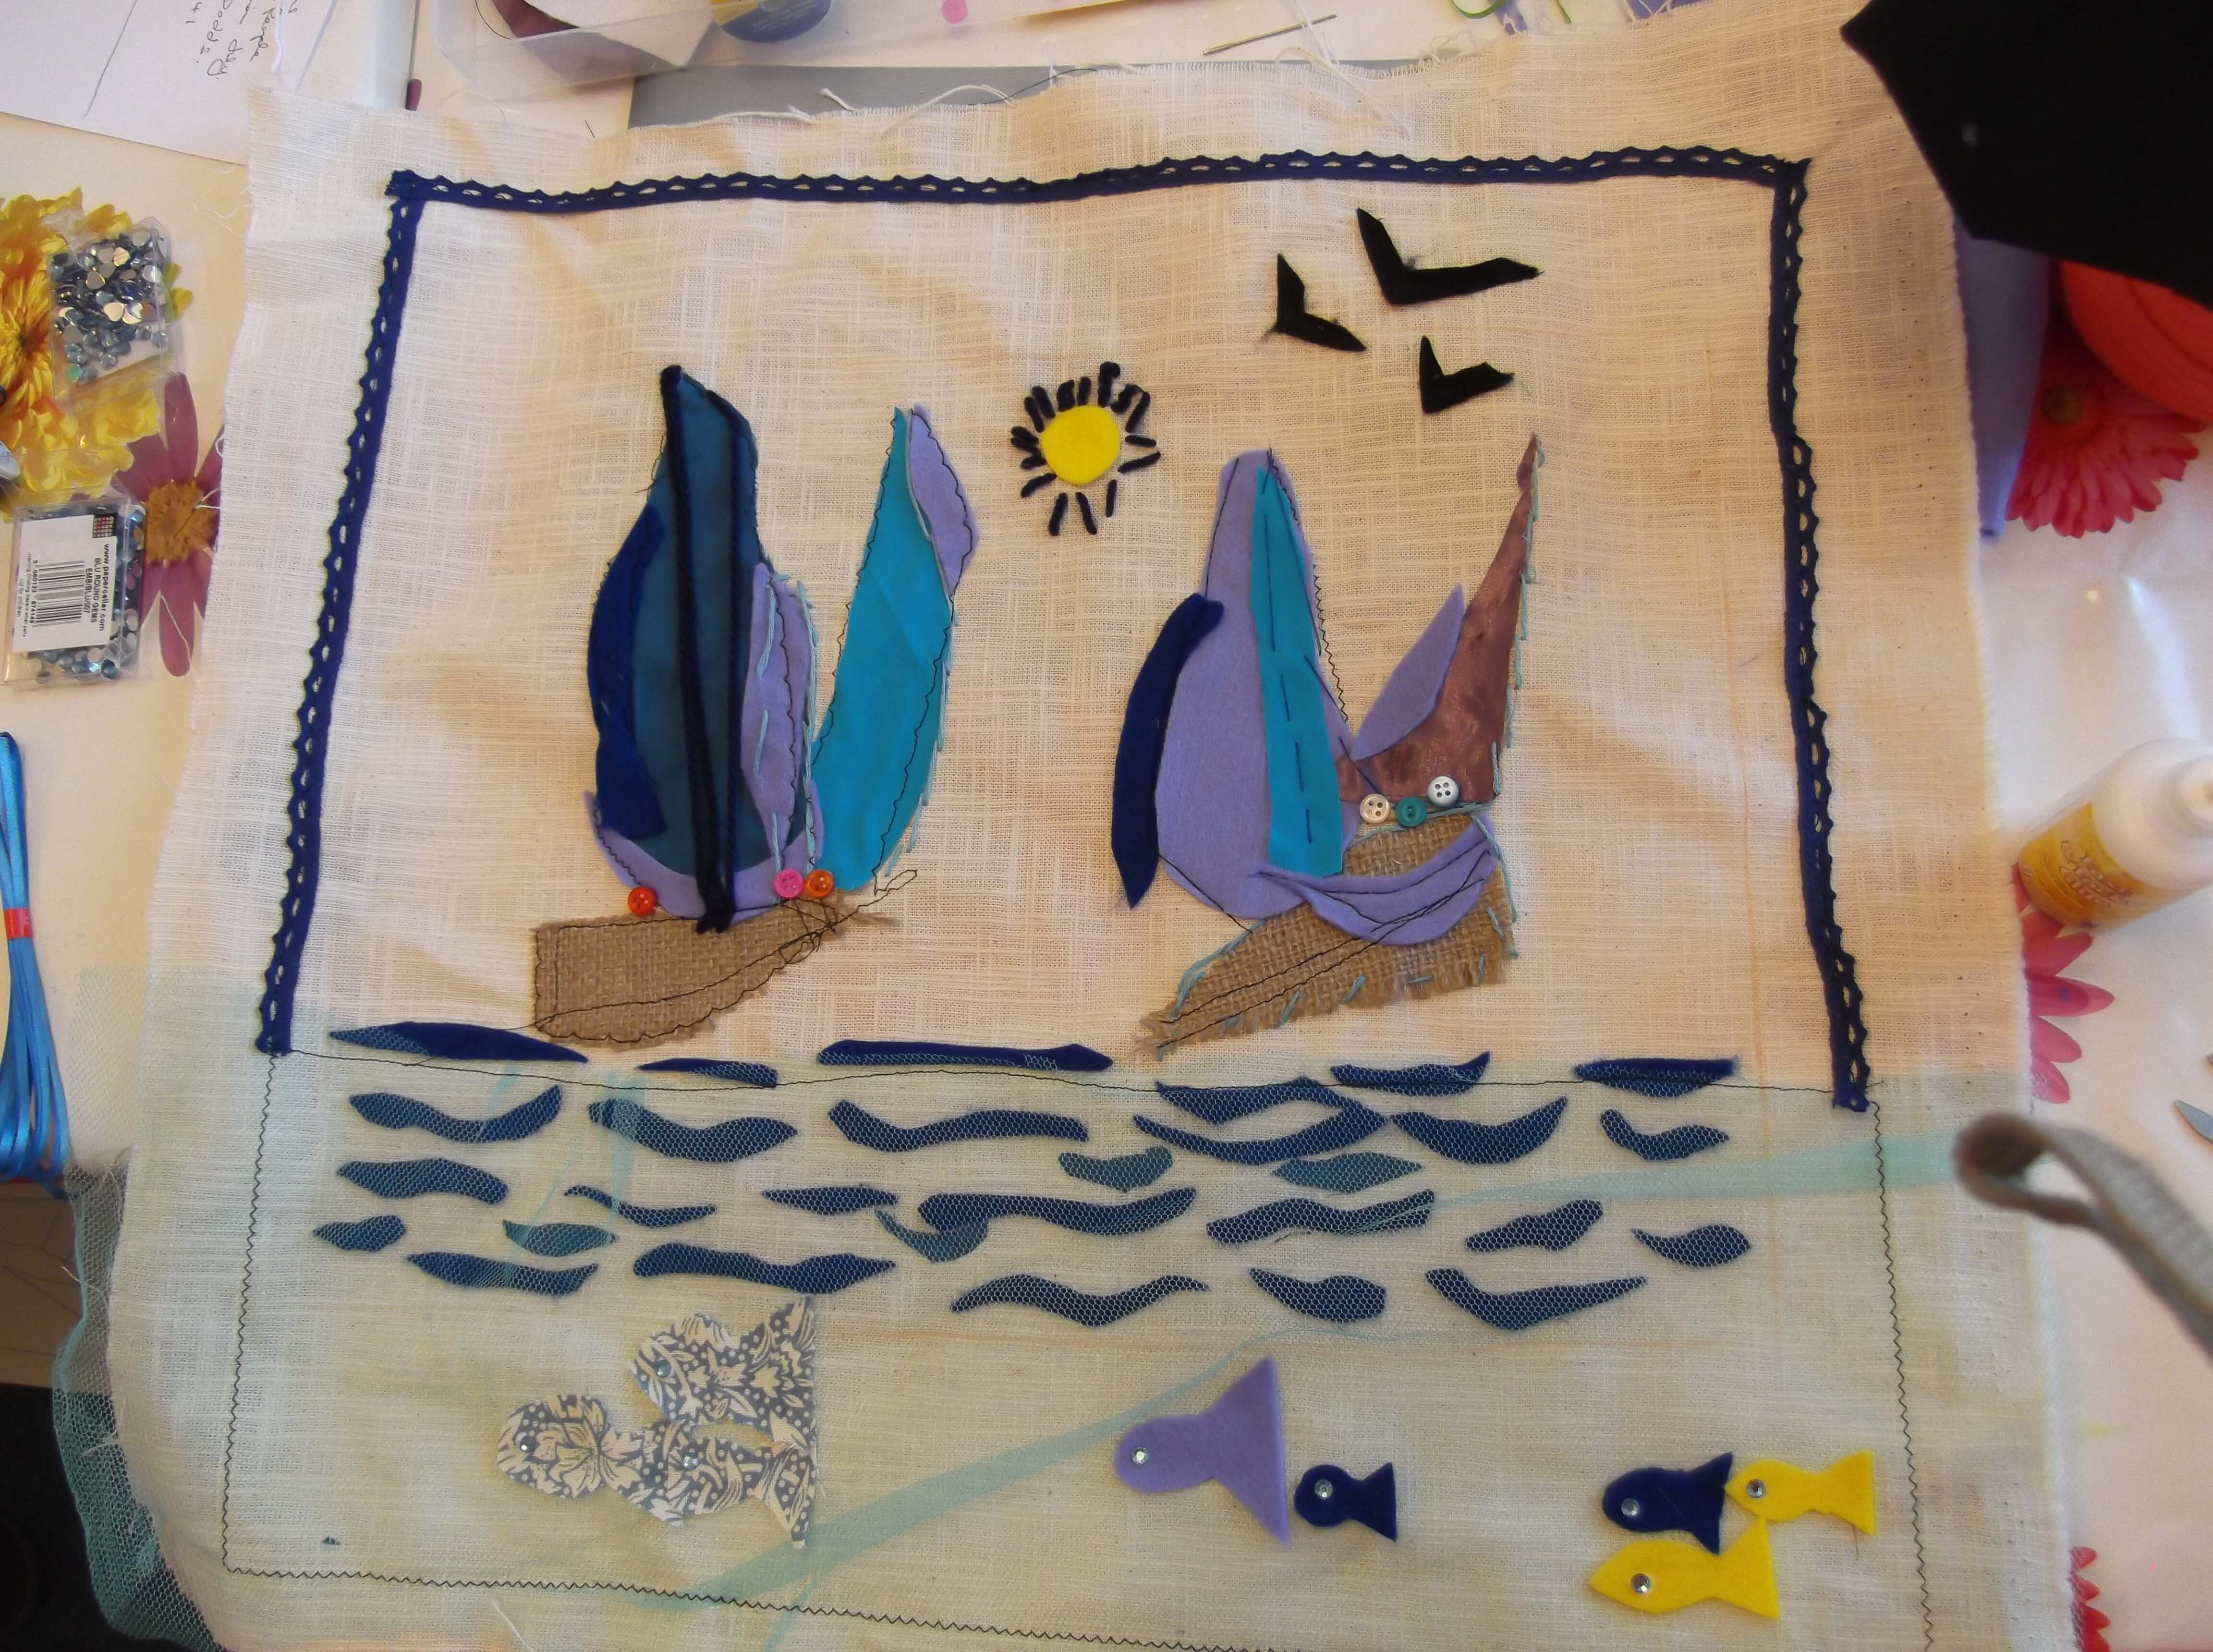
I love fabric, its tactile, versatile, you can do almost anything with it, shape it, mould it, sew it, whatever. I am so very fortunate to have a fantastic array of different fabrics, different weights, different colours, from fabulous silks to gorgeous upholstery fabrics , braids, ribbons, buttons, cottons. With these our creative textiles workshop is unique.
What can you do with ‘creative textiles’ I am often asked this, well pictures, wall hangings, cushions, bedspreads whatever you like really.
The workshop we did recently was interesting in that one lady said she had the sewing skills but lacked creativity. Up until that point I would probably have ‘themed’ the workshop but I decided that to get creative you needed to be stimulated and therefore a blank canvas was the starting point, and lots of pictures, magazines, cards with different themes on them, and a wall hanging which was done earlier created by 15 people who had never done anything like this before, each tackled their ‘square’ in a different way and all very colourful, lively and effective. One little square with birds on it, started the theme off for our lady and was developed from there.
Another saw an impressionist painting of boats, this sparked her imagination. They delved into the boxes of fabric to find scraps to develop their themes with, each had a piece of beige cotton/linen (curtain weight) to develop their pictures. Hand sewing with silks, cottons and wool, and machining with different stitches with a little help and nurturing, the creations were developed.
The final results were great, one was made into a wall hanging and put on the bathroom wall, the other was to be stretched onto canvas to create a picture.
Why not come and join us for a workshop and unlock your creative side, its great fun :-)[/fusion_builder_column][/fusion_builder_row][/fusion_builder_container]
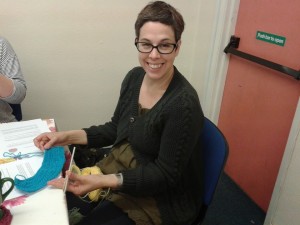
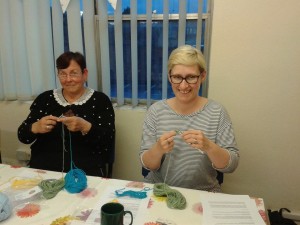
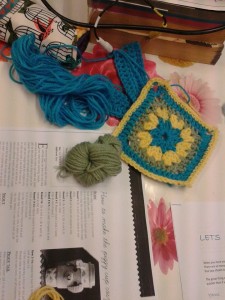
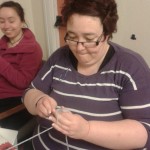
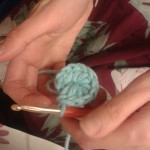
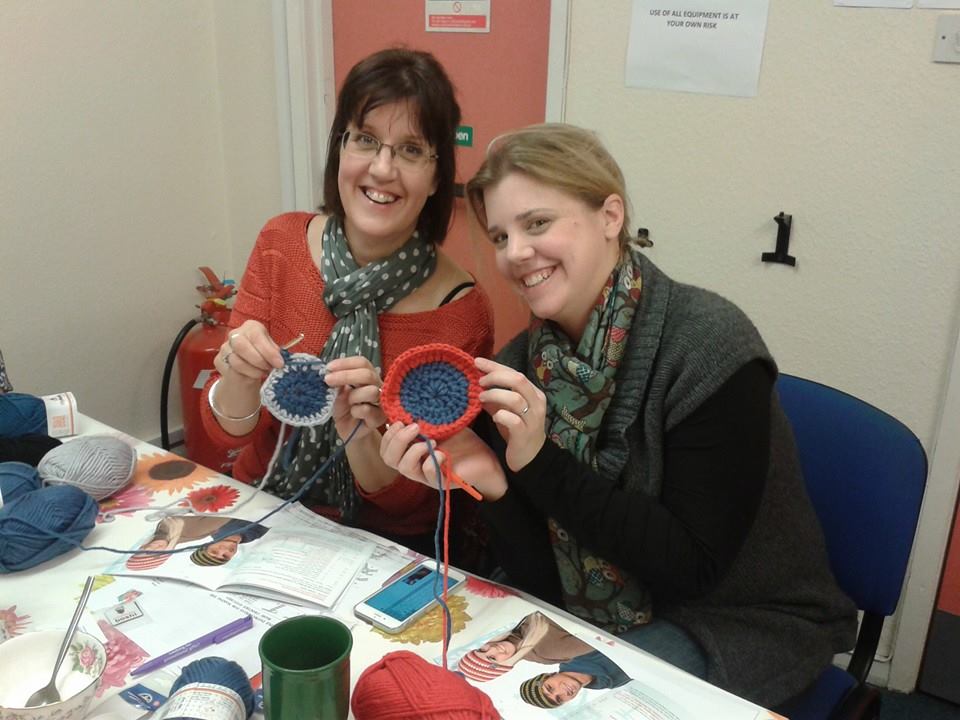
Another lovely crochet workshop filled with lots of tea, giggles and learning the art of crochet!
If you missed out on the workshop here’s a few pictures of the evening where we learnt all the basics of holding the wool and hook, making a chain stitch, double crochet stitch, and half treble stitch, not to mention starting a round! All in the space of two hours!
I hope the ladies who came enjoyed the evening, and took home their knowledge so they can start creating!
What a busy weekend we had with crochet workshops and private sewing tuition.
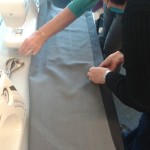
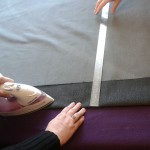
On Saturday we were teaching how to make a Roman Blind, Sunday we were running a crochet workshop for children at The Sock Gallery in Loughborough, and Monday we were making curtains.
Our Roman Blind workshop was to make one large window measuring and one small window . We started off by working out the maths, Roman Blinds are tricky to make, but once you have got all your measurements worked out, it’s really just a case of piecing it together and sewing them up. The maths at the start is the hardest part.
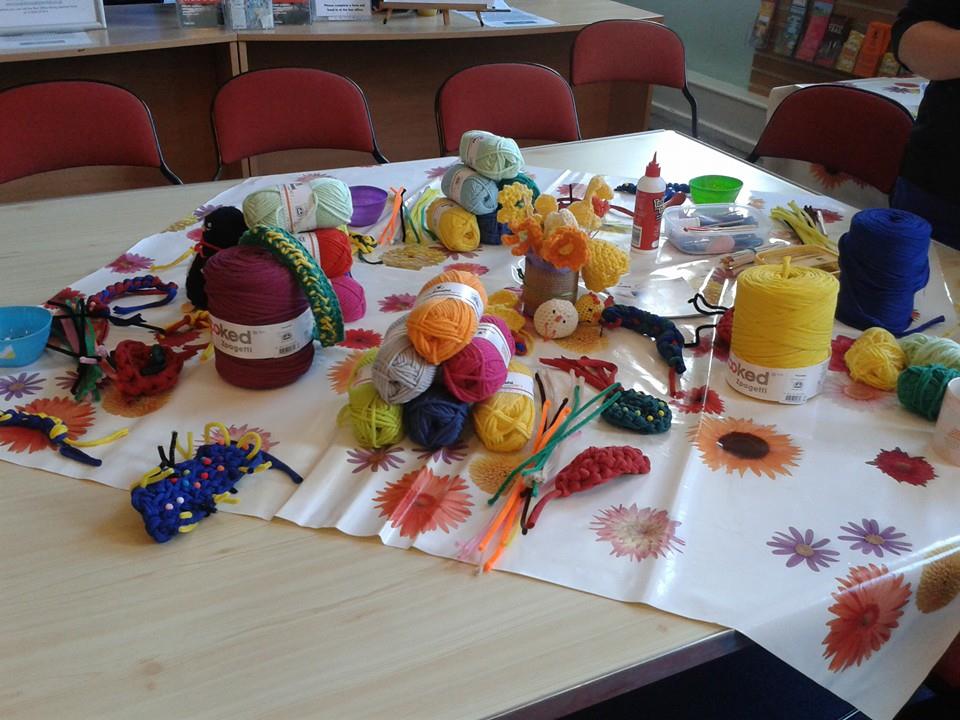
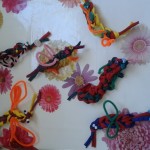
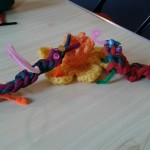
The following day we embarked on our children’s crochet workshop for The Sock Gallery Fair in Loughborough. We managed to teach nearly 100 children aged 4-16 how to finger knit and crochet. For the younger children we taught them how to do basic chain stitches on their fingers and they created some creepy crawlies out of really bright colours of Hooked yarn by DMC. They then were set loose decorating their bugs with pipe cleaners and beads.
Because of the time restriction on how long people would stay, we thought this would be a great idea to quickly show how you can make a basic chain stitch and turn it into something unusual! The kids really enjoyed themselves and were very pleased with what they accomplished!
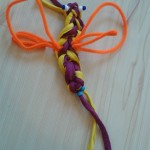
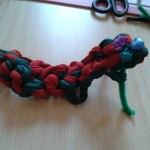
We also showed the older children how to make their own friendship bracelets using myboshi wool and crochet hooks. These were made using a simple chain stitch, we taught each one how to hold the hook in one hand and thread the yarn through their fingers to create tension in their other hand. It’s amazing how many boys took to crochet and really enjoy making their own bracelets!
We also got to chat to lots of people about learning to crochet themselves so they could teach their children. We were really pleased with the level of interest and we hope to see you all at one of our workshops in the future.
We would like to thank the Sock Fair for the opportunity, we really enjoyed being able to pass on some skills to such a happy bunch of children!
Finally we ordered some branded clothing to wear at our workshops and events. T-shirts and hoodies! Take a look!
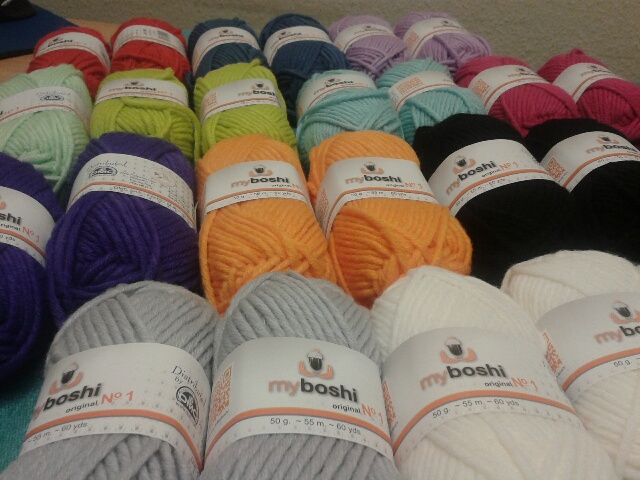
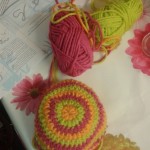
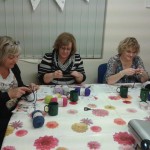
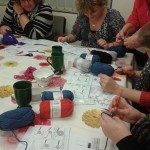
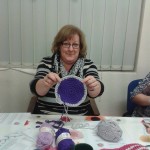
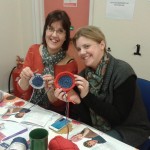
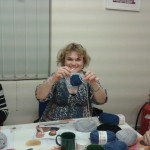
We met once again to make myboshi beanie hats in our crochet workshop.
The group was a mixture of beginners and some who have had a go at crochet before.
It’s a pleasure being able to pass on such an enjoyable skill like crochet, and by the end of the workshop, beanie hats had started to take shape!
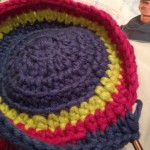
The main stitch that is used to make a myboshi beanie is the ‘half treble’, so we mainly focused on showing how to do the stitch, as well as the basic chain stitch which you use to start of the boshi.
One of the most important things we show during the crochet workshop is how to change colours of your beanie which is done at the ‘slip stitch’ stage, more information on this can be found on this link. Myboshi has lots of variety of different colours, it’s an important technique to learn how to do as it can be tricky and leave holes in your beanie if not done right.
Once you have mastered the skill of crochet it is possible to make a beanie in an evening or two, as long as you don’t have distractions!
We hope all that came to the workshop enjoyed themselves as much as we did, and do come back to visit us soon!
This week we have been making crochet myboshi beanies
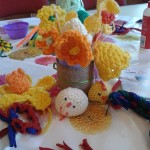
Well we are getting to that stage of waking up again its nearly Spring! We’ve lots to create in the next few weeks to brighten ourselves and our homes after the long freezing winter.
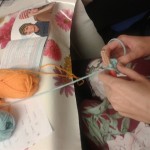
Everyone that came had either no idea or just limited knowledge of crocheting, so we started with a step by step guide, with the aid of our trusty camera projecting onto a screen showing the process as I demonstrated. This approach seemed to work really well, and taking our time they learned a few basic stitches to get them started with crocheting. A bit of practice later and it was time to start the real thing. Tea and cake came out then, we needed it!
In the MyBoshi books there is a great guide to help you with the stitches, but most of the ladies were fearful as they had no understanding of a crochet pattern, so we showed them how to read the abbreviations as we began to make the beanies, it all becomes clear when you have a hands on approach and follow it logically.
Some picked it up more quickly than others, we used the stitches learnt, and with patience guided them through the process. Everyone seemed to enjoy it and they all made a good start on their beanies. We were delighted to get a picture of a finished beanie a couple of days later, well done to all the ladies we hope they enjoyed it, we did. So come back soon! Next workshop on 2nd March! Click here for booking.
So what’s happening over the next few weeks..
March is pretty busy with Easter craft workshops, both at Bridge Street and at Lubcloud Farm, these will be great fun so book soon. There is also stuff for the kids at a drop in workshop we are doing for Loughborough Sock Gallery, ‘Lets make bugs’ for the younger ones and ‘funky crochet’ for the teens. There is also the Cozy Crochet club, alternate Mondays, and Sewing BEE on alternate Thursdays. Dressmaking is the thing for Spring.
We also help people with their own special projects, like making curtains, or dressmaking.
So there is lots to do and we would love to hear from you if you need any help or would like to join in any of our groups and workshops.[/fusion_builder_column][/fusion_builder_row][/fusion_builder_container]
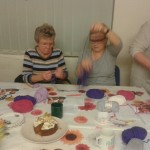
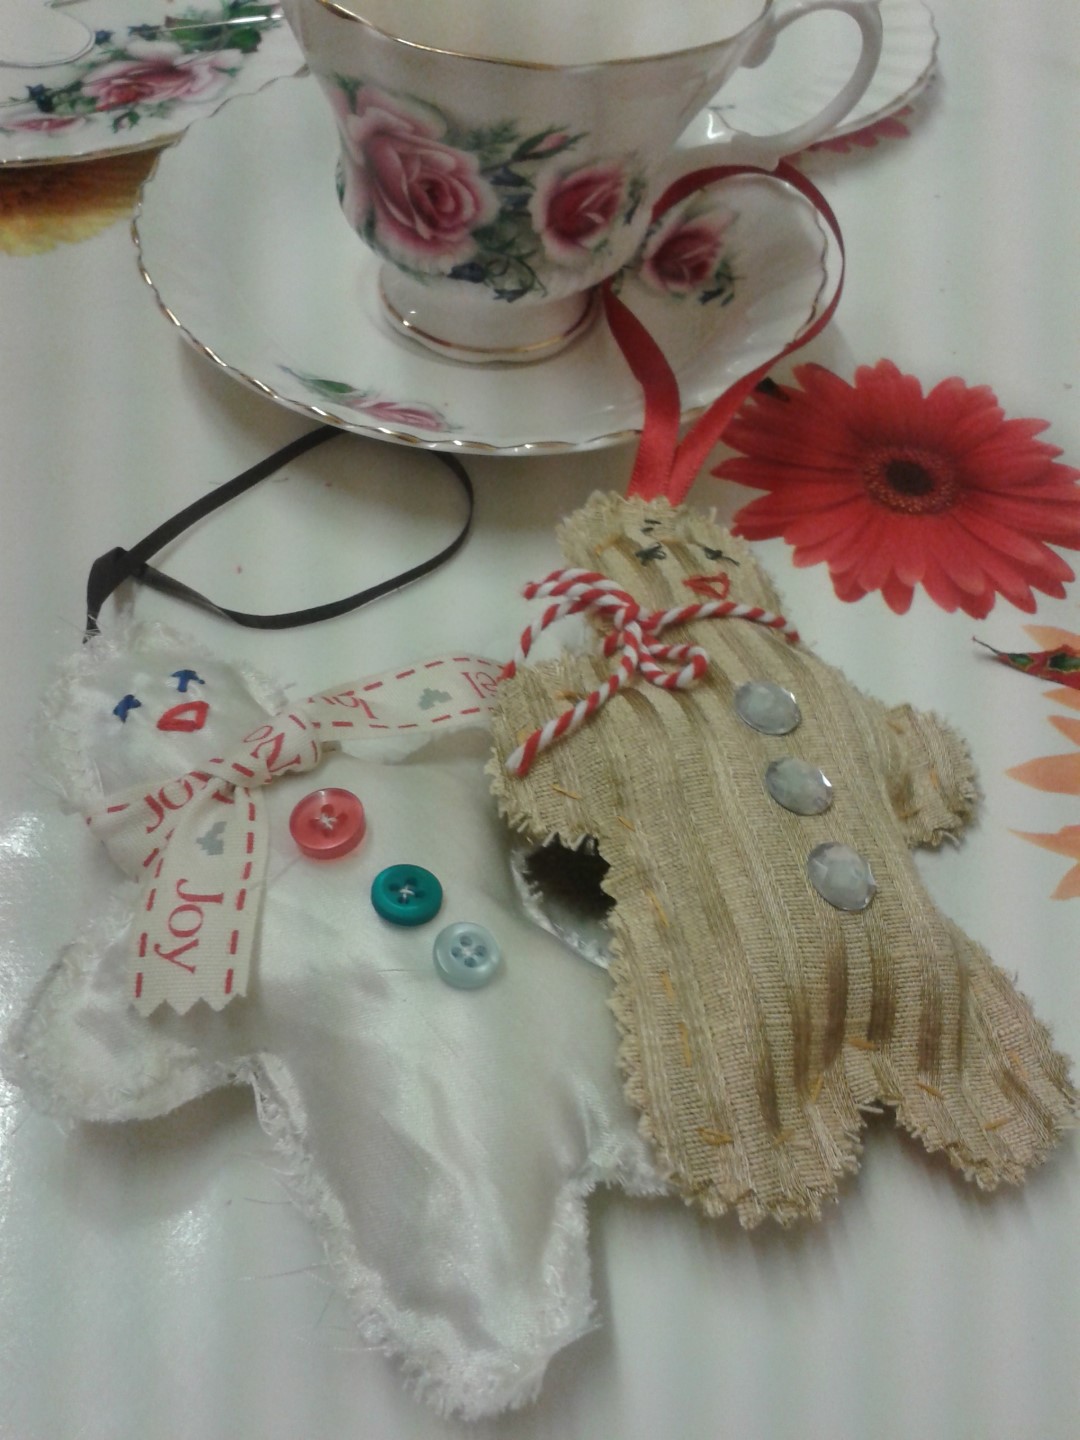
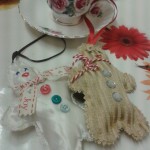
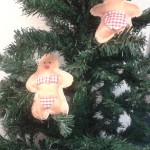
Our Christmas Sewing Workshops have now finished, we had so much fun making new friends and fun decorations, we’re definitely looking forward to doing it all over again next year.
Here’s a glimpse of what got made over the three workshops:
Bunting seemed to be the most popular so we have decided to run a bunting workshop in the new year!
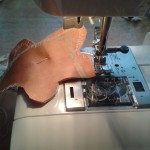
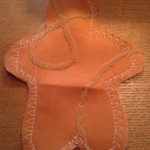
Our Ginger Bread Christmas decorations were well received also, these were made out of scraps of old orange coloured material.
Once again we were all pleased with everybody’s enthusiasm and different styles of creativity. Our workshops are all about exploring your own abilities and styles, not just us telling you what to make!
We would like to thank all those that came and we hope to see you again some time in the future or at another workshop!
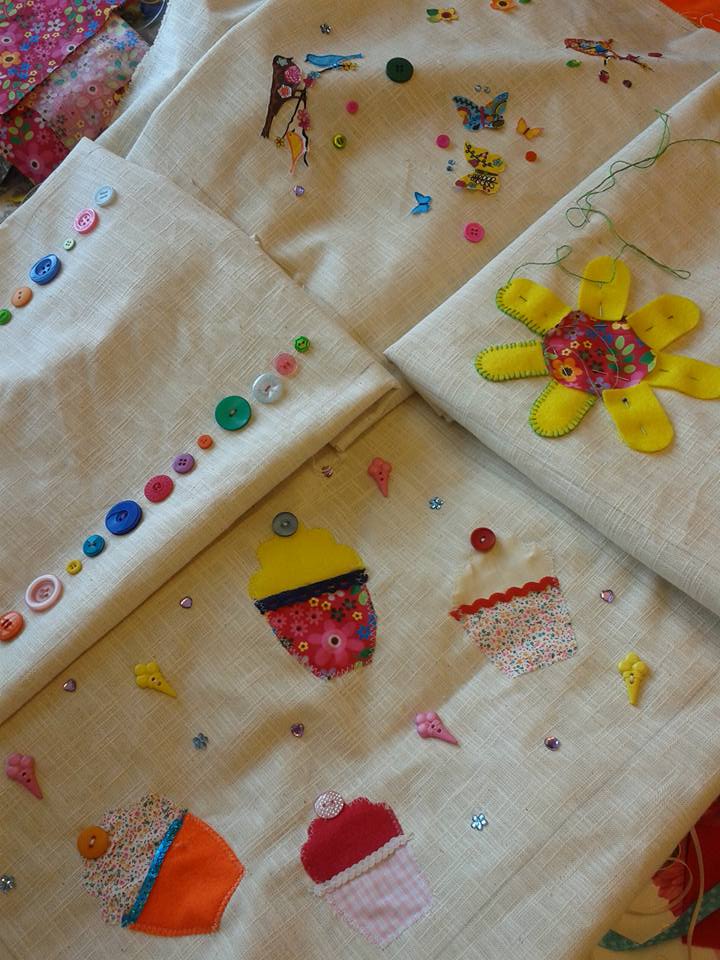
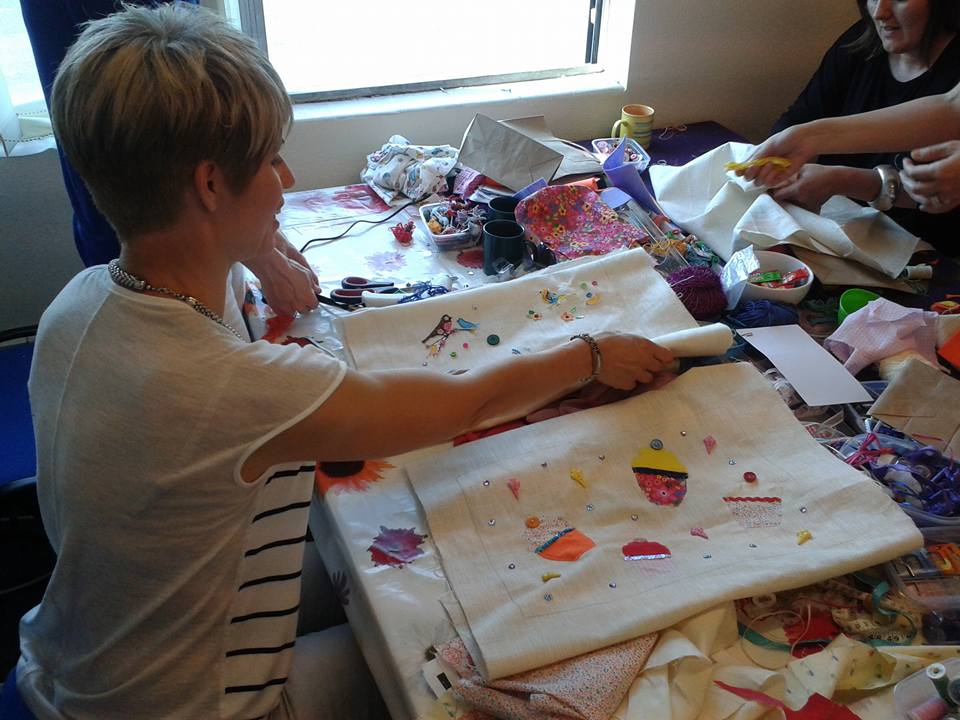
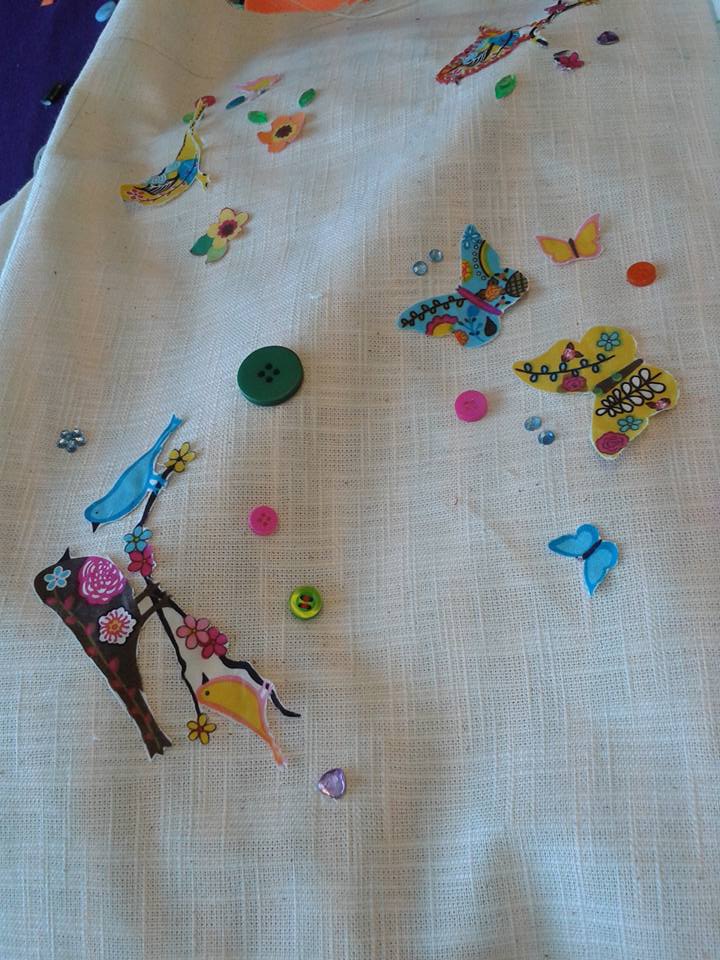
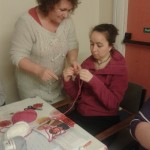
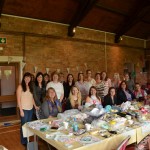
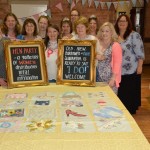
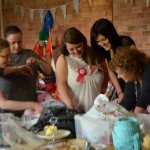
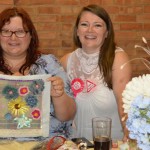
Our first hen party sewing bee was a delightful success!
We provided a group of 15 ladies with a table full of fabric and accessories, and a linen square to decorate to how they wished. The results were fantastic, we were all so pleased with the amount of creativity that was on offer. No square was the same, and each person got stuck in at the word go!
Many of the ladies had never sewn before and were a bit apprehensive of having to use a sewing machine, but after being shown the basics, they were confident enough to go on and machine on their designs.
Afternoon tea was served along side all the sewing, on our very own vintage china tea cups and saucers. Each person tucked into a delicious fat scone with jam and cream!
The workshop lasted around 3 hours, which was just enough time for everyone to complete their square. We will then work on finishing off the bedspread for the Bride before her wedding day.
The buzz in the room whilst everyone was sewing and chatting was such a nice atmosphere, it really is an excellent way to spend time with all of your friends and make something that you may never have thought you could have attempted before.
I am pleased so say that we have also made some sewing converts, they have already got the bug and are keen to come on along to another one of our workshops.
If you would like to know more about our hen party workshops you can read more here.