Posted on

Ballet shoe bag

hand made cupcake ballet shoe bag

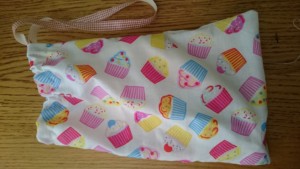
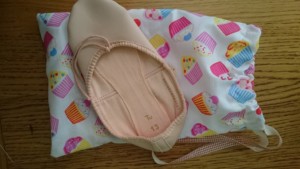
This morning I managed to make a ballet shoe bag, in-between all the other jobs that were crying out to be achieved! 

I’ve had the cupcake fabric laying around for a few years now as it wasn’t quite big enough to make anything else with a small bag was perfect so voila! I sewed down both long ends and then folded the top opening over to create a loop for the ribbon to be posted through. The only tricky bit was getting the ribbon through the hole, this is always the part that manages to annoy me! I used a pen to help guide the ribbon through. I finished the ribbon off by hand sewing the ends together (by that point my sewing machine had jammed again!) Once the ribbon is sewn and a loop has been made you can pull the bag shut.

All I need to do now is sew the straps on the shoes and the rest of the jobs that are shouting at me! I’m working from home today with a poorly 2 year old and it’s a juggling act!

I’m quite chuffed with the finished product and I hope my daughter will be as well!

Amy

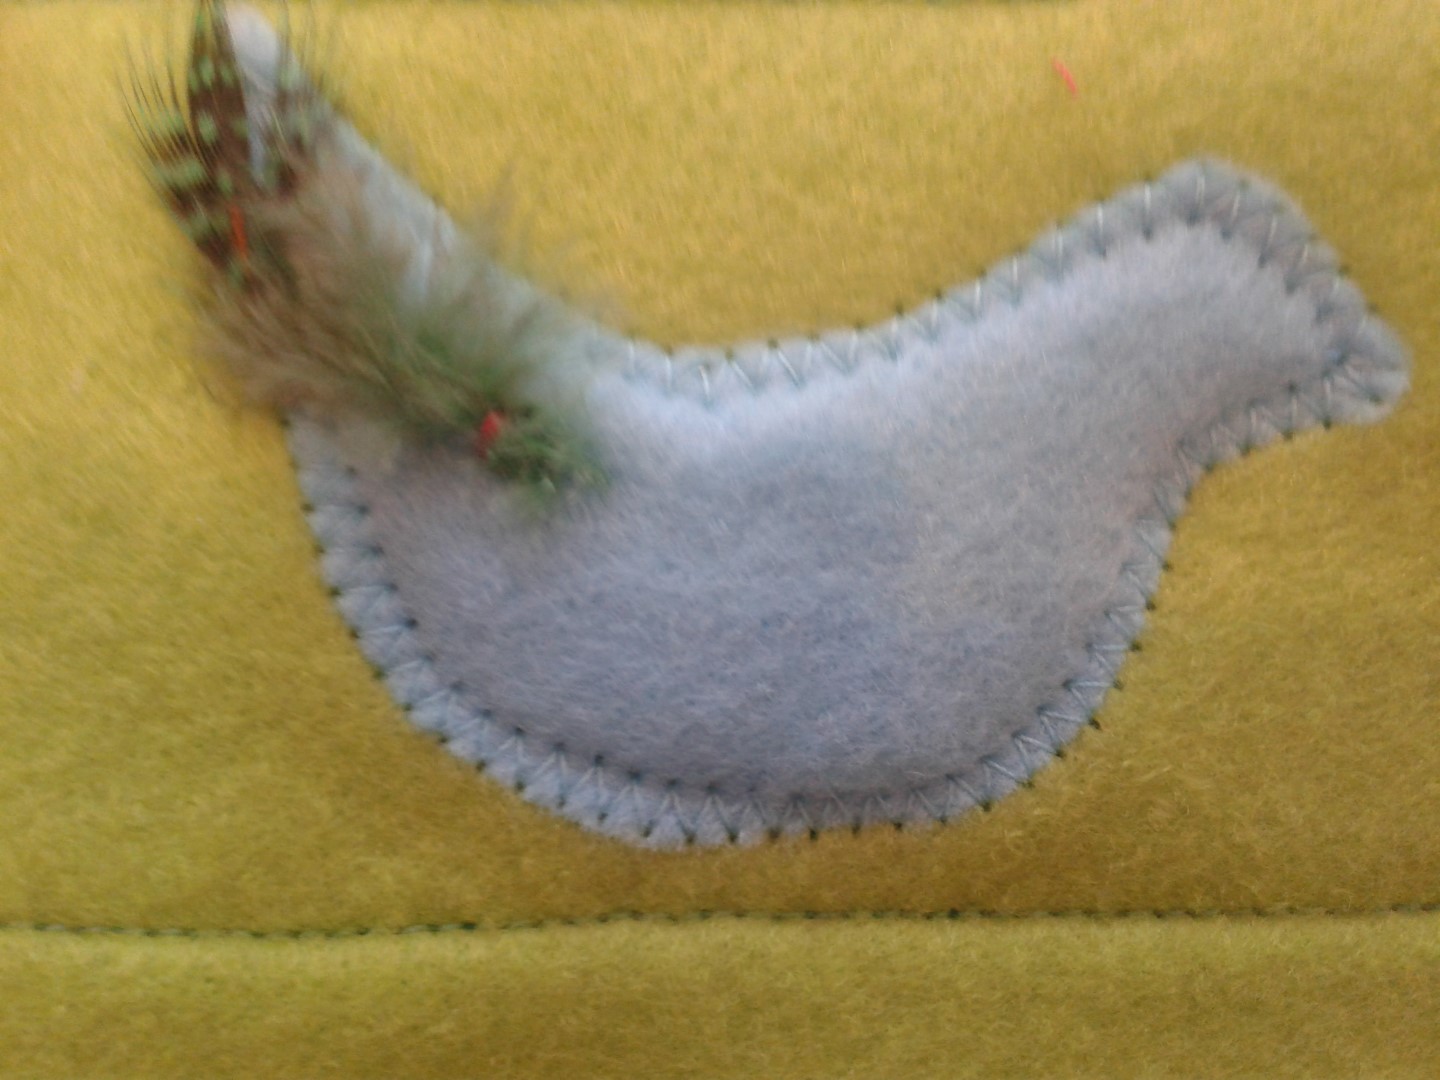
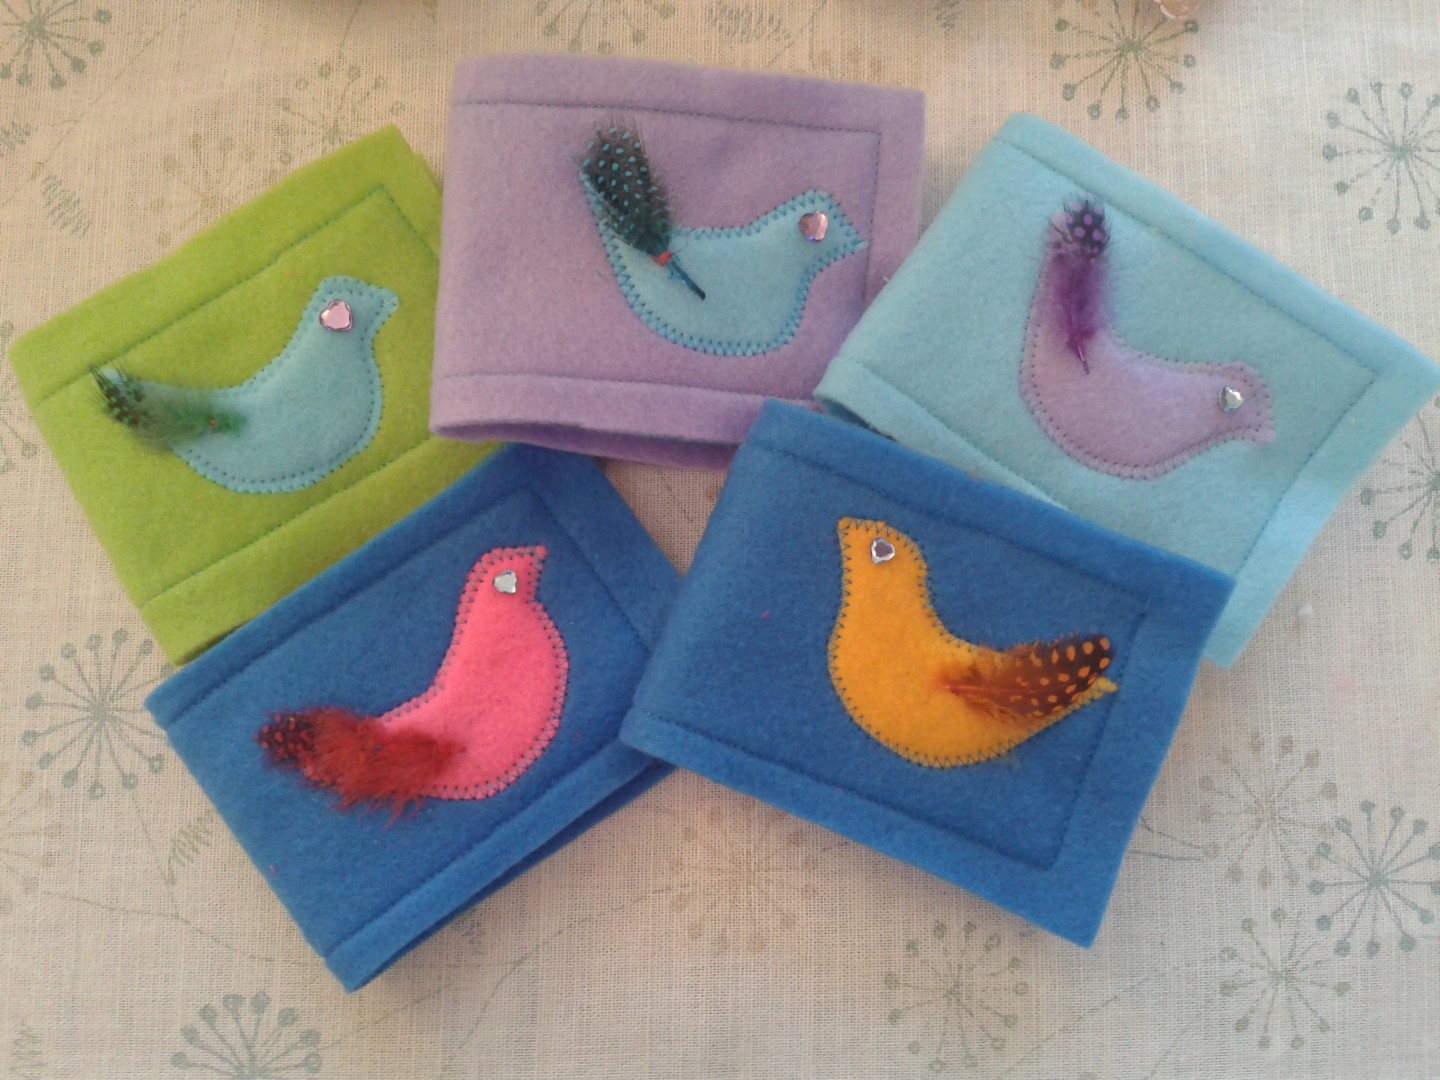
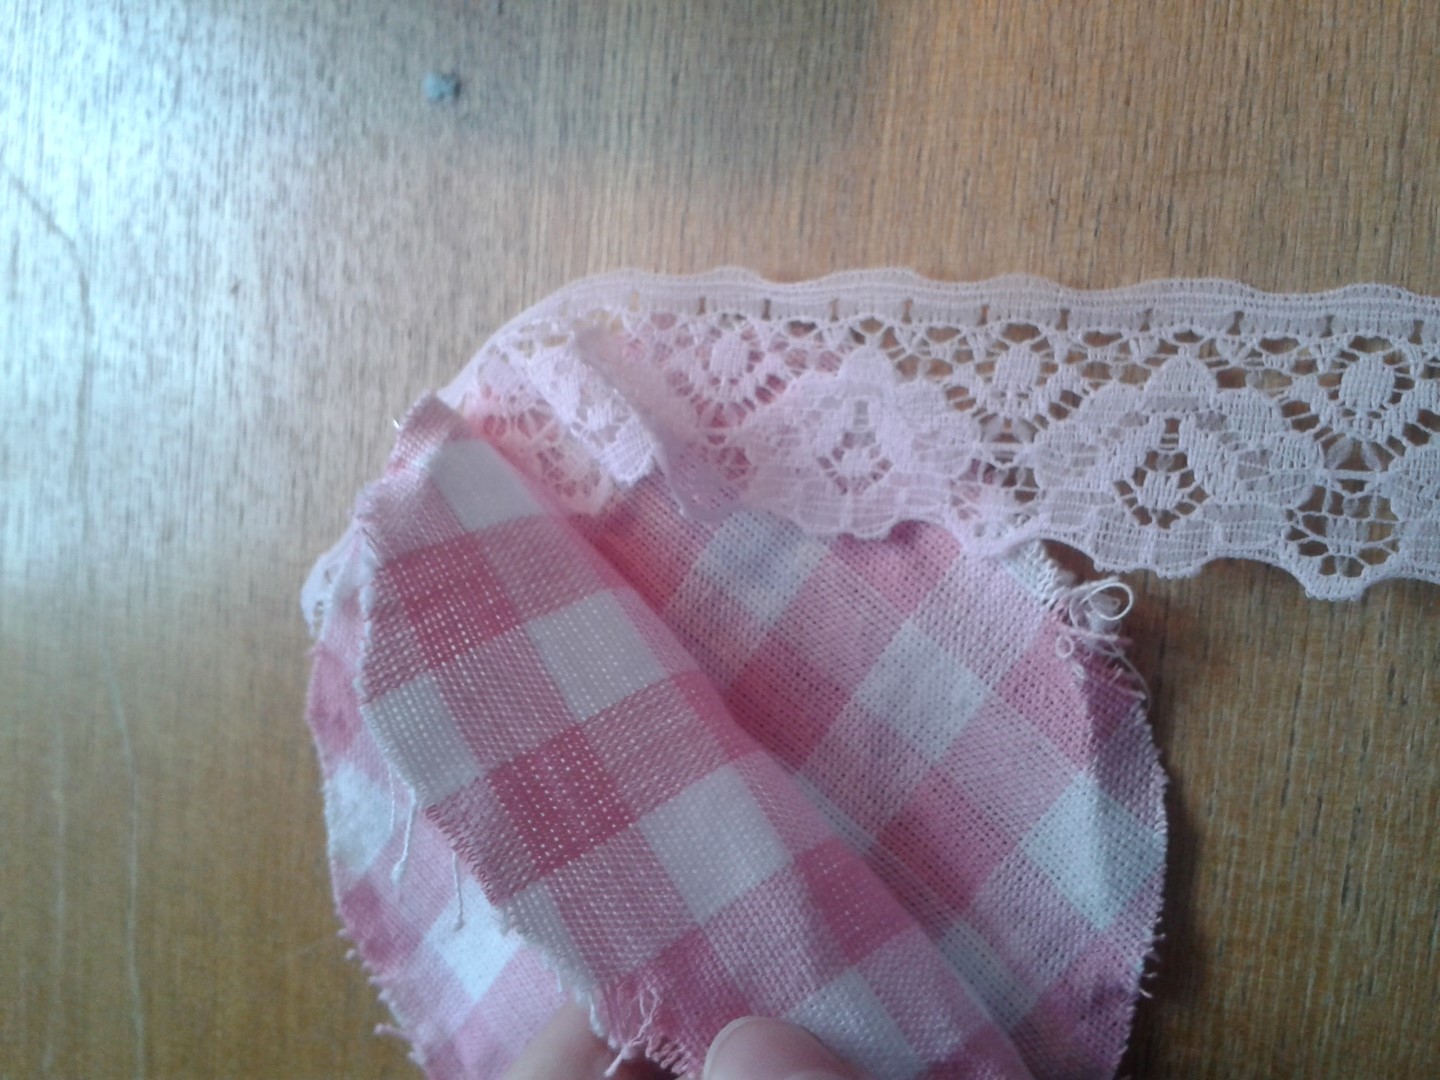
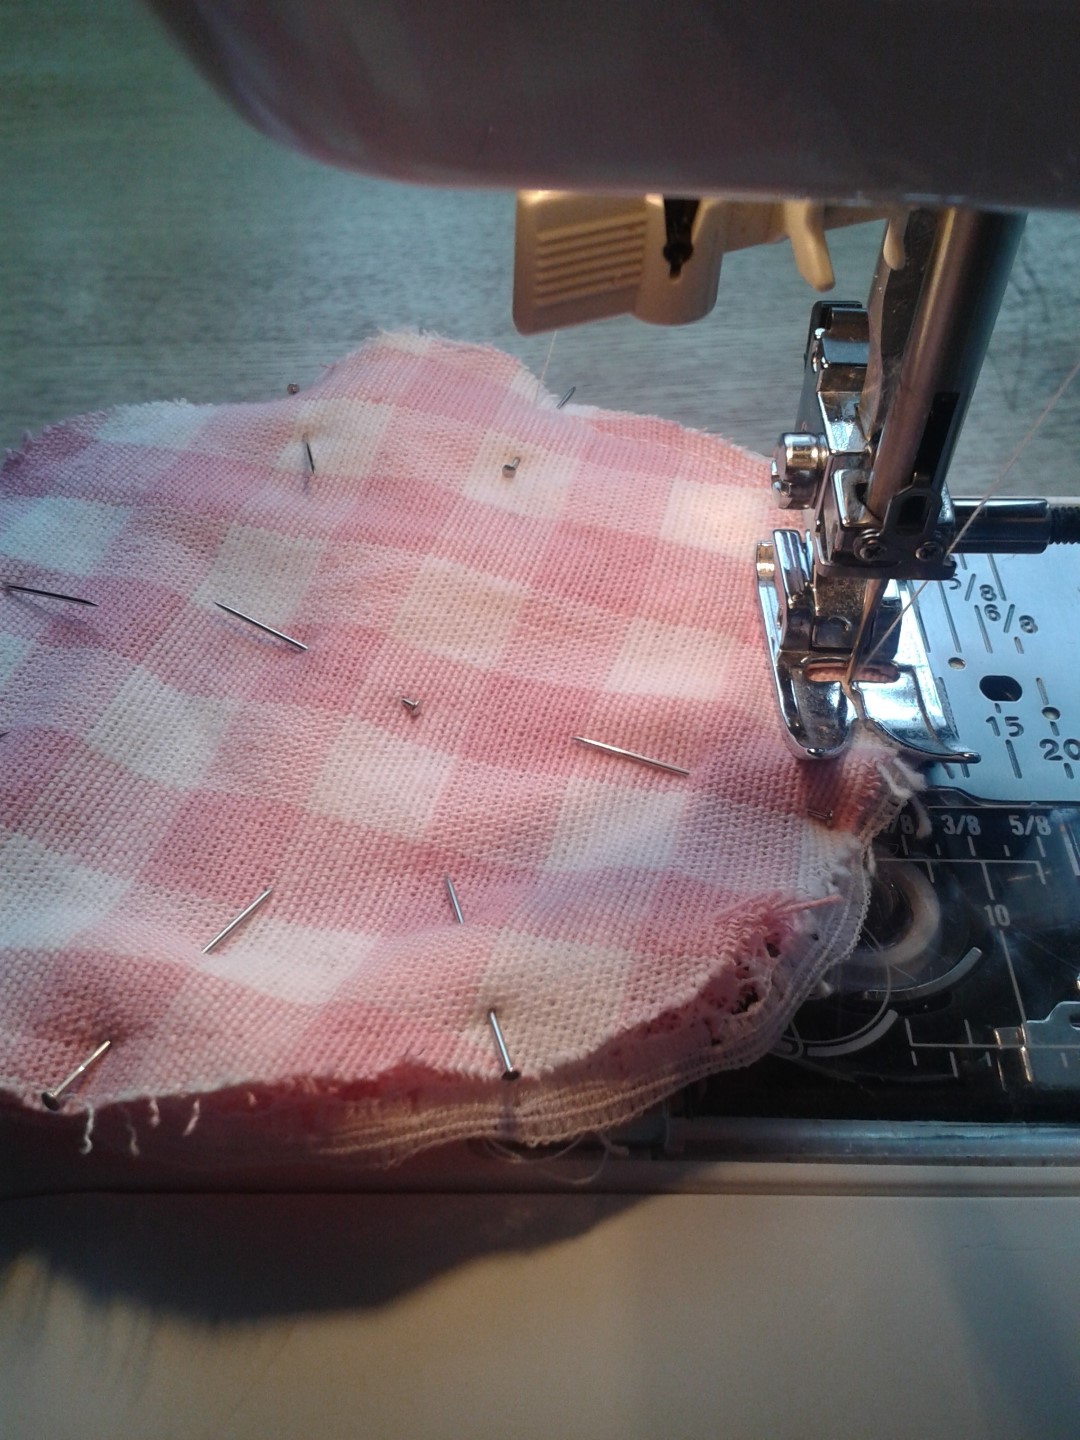
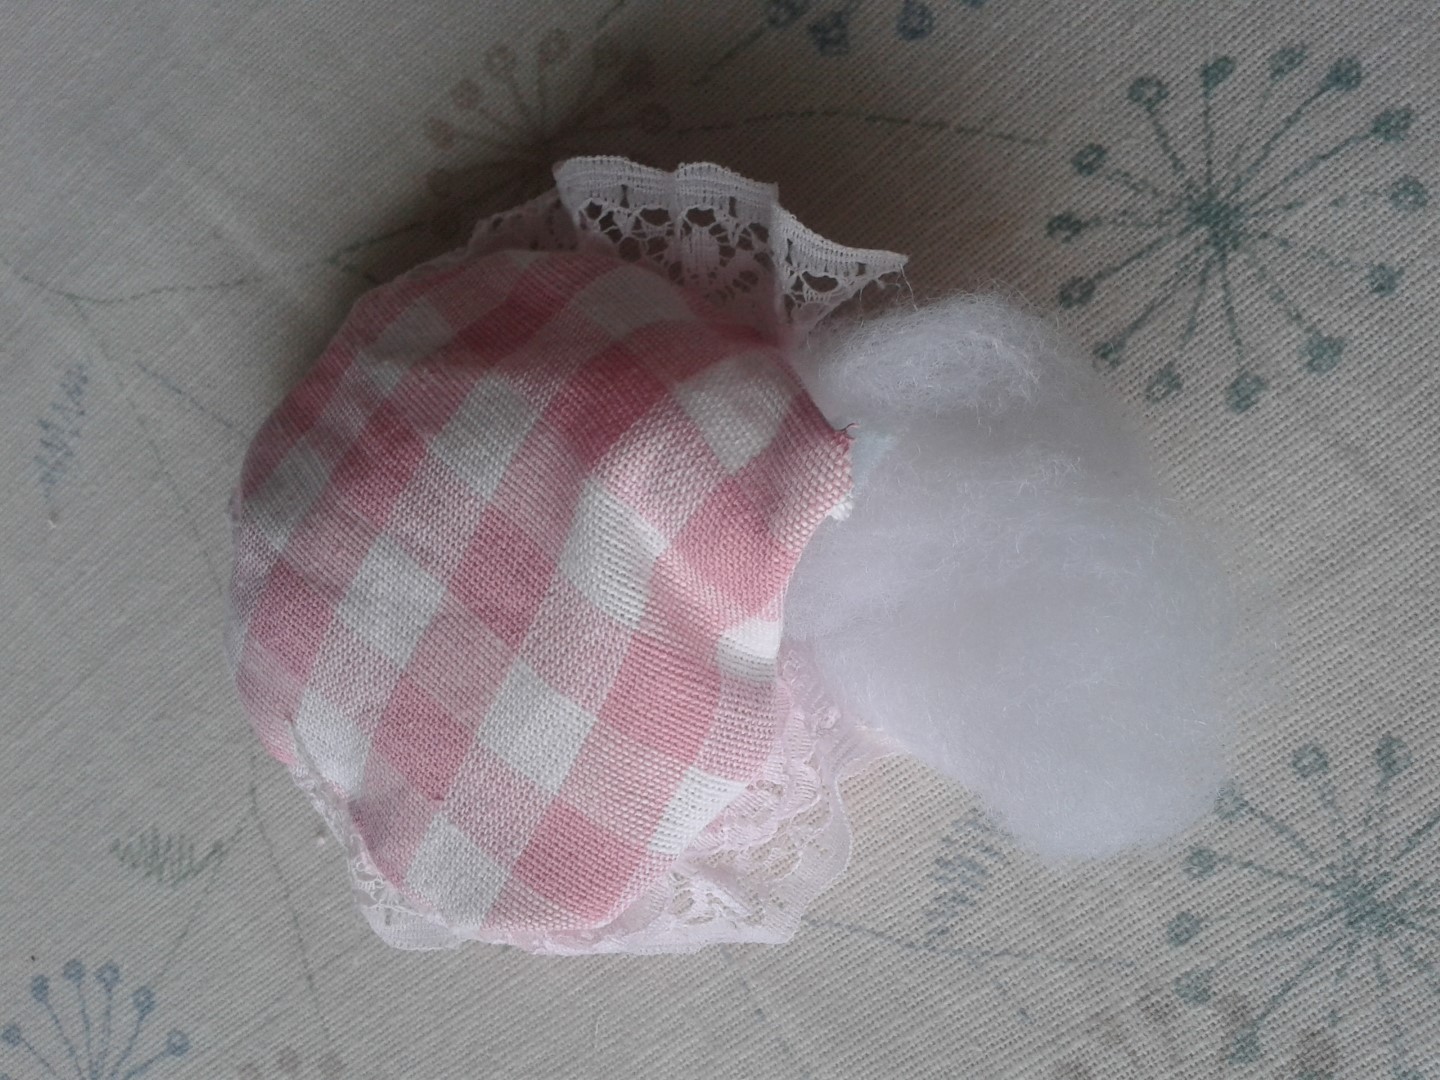
Here’s a some pictures

cupcake ballet shoe bag hand made cupcake ballet shoe bag


Posted on Leave a comment

Stripy Summer Crochet Bag

Stripy Crochet Summer Bag DMC Natura XL Just Cotton

We have a new bag on the block! 

It’s our Stripy Summer Crochet Bag made with gorgeous, soft DMC Natura XL Just Cotton. 

Fancy having a small bag you can throw a couple of items in and pop out to the shops or for a drink? Then this is the bag for you!

It’s easy to make, using a size 7.0mm crochet hook, you should be able to finish the bag in 1 or 2 sittings, depending on your capability and time constraints! You can finish off you bag with any buttons and add some lining on the inside to make it more secure.  Natura XL is lovely and soft but because it’s a cotton it also has the durability and makes it perfect to make into bags!

We have a link to buy the wool and pattern here for only £15

[fusion_builder_container hundred_percent=”yes” overflow=”visible”][fusion_builder_row][fusion_builder_column type=”1_1″ background_position=”left top” background_color=”” border_size=”” border_color=”” border_style=”solid” spacing=”yes” background_image=”” background_repeat=”no-repeat” padding=”” margin_top=”0px” margin_bottom=”0px” class=”” id=”” animation_type=”” animation_speed=”0.3″ animation_direction=”left” hide_on_mobile=”no” center_content=”no” min_height=”none”]

When you have finished you bag, share it on our Facebook or Twitter, we love to see you work![/fusion_builder_column][/fusion_builder_row][/fusion_builder_container]

Posted on Leave a comment

Easy Peasy Crochet Teapot Stand and Coasters

crochet teapot stand and coasters

Easy Peasy Crochet Teapot Stand and Coasters


I crocheted this teapot stand and 8 coasters in less than an hour.

Materials

1 ball Hoooked Zpagetti and a 10mm hook.


Teapot Stand

R1        C4 then slip stitch into the first loop to form a ring.

R2        C2, then 10HT into the ring, SS into the second chain to form ring

R3        C2, *1HT into next stitch, C1.  Repeat from * to end then SS into 2nd

chain to form ring.

R4        C2, *1HT into next stitch, C1.  Repeat from * in all stitches to end then

SS into 2nd chain to form ring and finish off.

Easy peasy teapot stand and coasters


Coasters (make 8)

R1        C4 then slip stitch into the first loop to form a ring.

R2        C2, then 10HT into the ring, SS into the second chain to form ring

R3        C2, *1HT into next stitch, C1.  Repeat from * to end then SS into 2nd

chain to form ring. Finish off.

crochet teapot stand and coasters

Abbreviations

C          =          Chain

HT        =          Half Treble – loop yarn around hook, insert into stitch, pull a loop through                        (3 loops on hook), then pull another loop through all three

SS         =          Slip stitch

To download the full pattern click here Easy Peasy Crochet Teapot Stand with pic

Copyright Joy To Make

 
Follow my blog with Bloglovin

Posted on Leave a comment

Felt bird needle holder

This very cute needle holder is super quick to make and would make a lovely present, or a great accessory for your own sewing kit.

What you will need:

  1. 2  pieces of felt in contrasting colours
  2. A piece of card to make a stencil
  3. A feather for decoration
  4. Glass bead for bird’s eye
  5. Sewing machine
  6. Pva glue
  7. Bird stensil

Step 1

Cut the first piece of felt you want for the outer case 26cm in length and 9cm wide. The inner piece (contrasting colour) should be 24cm in length and 7cm in width. Find a bird stencil from the internet, you can choose any design you like, we just went with a very simple design made by ourselves. Cut out the bird shape onto the felt using the same colour as the small insert piece.

felt bird needle case sections


Step 2

Sew the bird to the contrasting large piece using a zig zag stitch on your sewing machine. Go slowly to make sure it looks neat.


sewing machine with feltappliqué felt bird


Step 3

Place the inset onto the larger piece (make sure that the bird is on the other side!) And then choosing a running stitch on your machine, sew round the insert.

felt needle case insertsewing felt insert


Step 4

Glue on your feather and glass bead for the eye.

felt appliqué bird with feather


There you have it! a quick make! This would be an ideal Christmas gift for a budding sewer!

felt bird appliqué needle cases

Posted on Leave a comment

Vintage tea cup pin cushion

vintage tea cup pin cushion

This is a quick and easy make and is a fun ‘upcycling’ way of using an old china tea cup

What you will need:

  1.  Vintage tea cup
  2.  Any fabric, we have used some pink gingham
  3. Stuffing
  4. A small button
  5. Lace
  6. Thin ribbon
  7. Sewing machine


Step 1

Fold your strip of fabric in half and draw around your tea cup with some tailor chalk, or a pencil. Pop a pin in place and then cut around the circle.

tea cup and fabric

Step 2

With your two circles you need to place the lace carefully in between the two pieces of fabric. Use a pin and gradually go around the circle gathering it up as you go.

lace and pink gingham

Step 3

Machine around the circle, being careful when you go over the pins. Leave a gap of around 2 inches and break off the cotton.

sewing pin cushion joy to make

Step 4

Turn the fabric inside out to reveal the lacy circle and the stuff the insides with your stuffing.

pink pin cushion joy to make

Step 5

Finish off by hand, sewing up the hole and making sure the lace gets tucked into as well.

hand sewing pin cushion

Step 6

Make a bow with your thin ribbon and attach to the middle of your pin cushion using a needle and thread

ribbon and pin cushion

Step 7

Thread a button through the cotton and finish off attaching it.

ribbon and button pin cushion

Complete! Place inside your tea cup!

pink pin cushion