Posted on Leave a comment

Creative weekend

What a great weekend we have just had! 


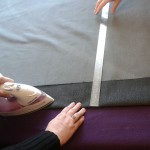
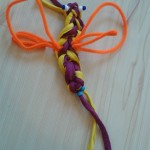
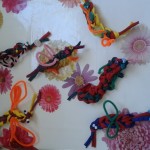
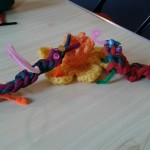
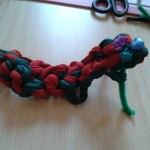
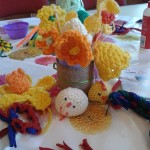
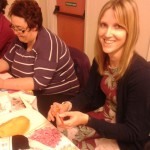
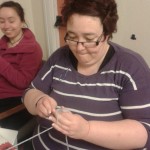
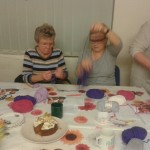
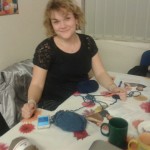
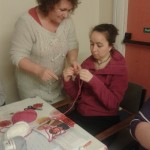
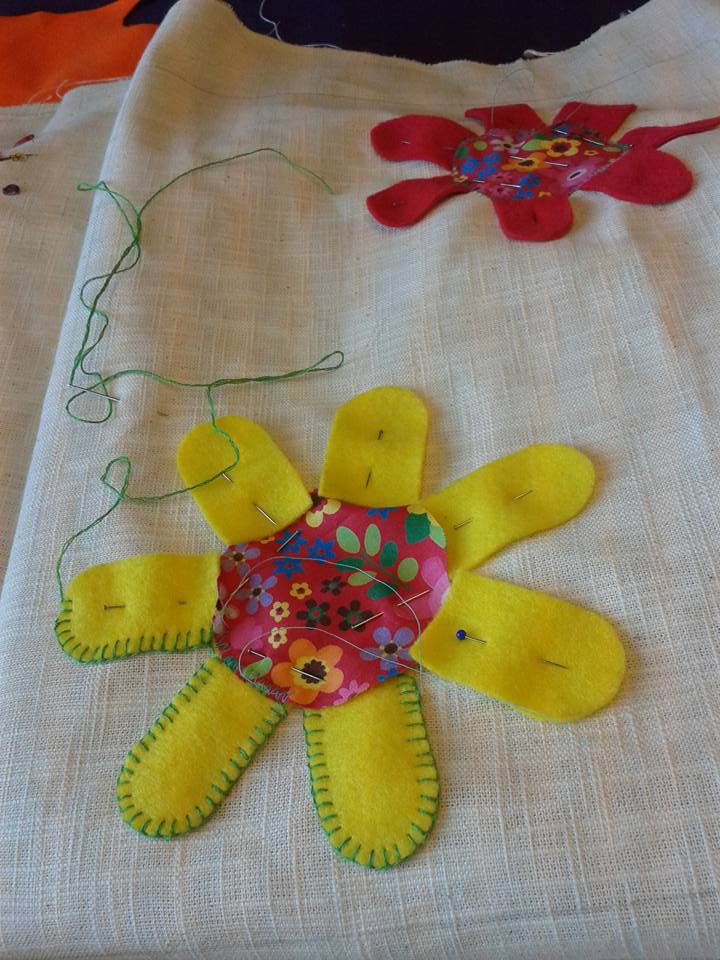
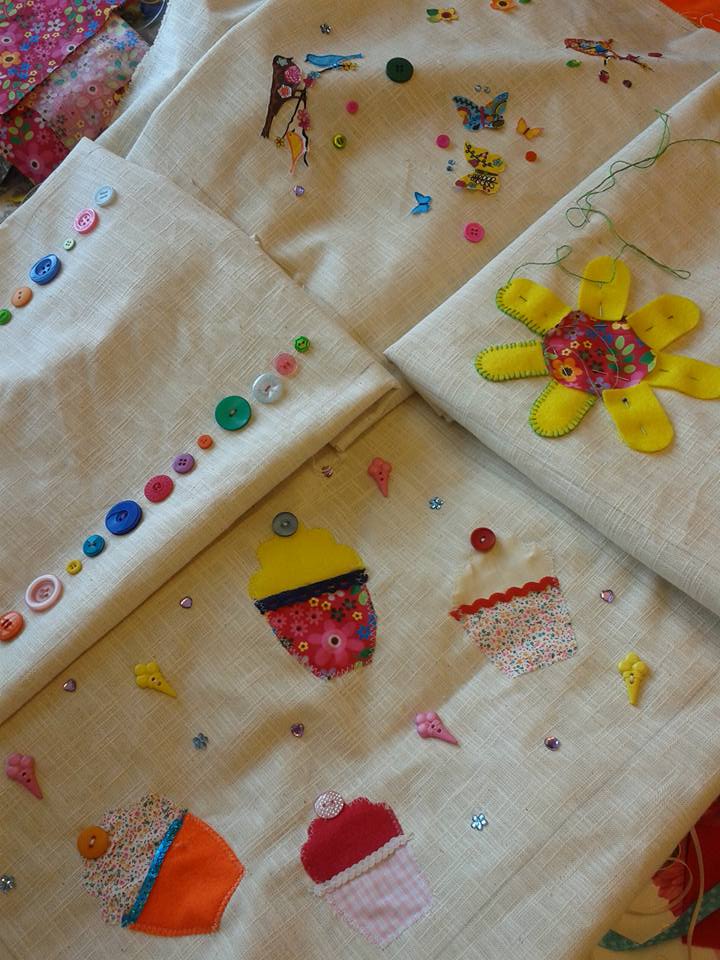
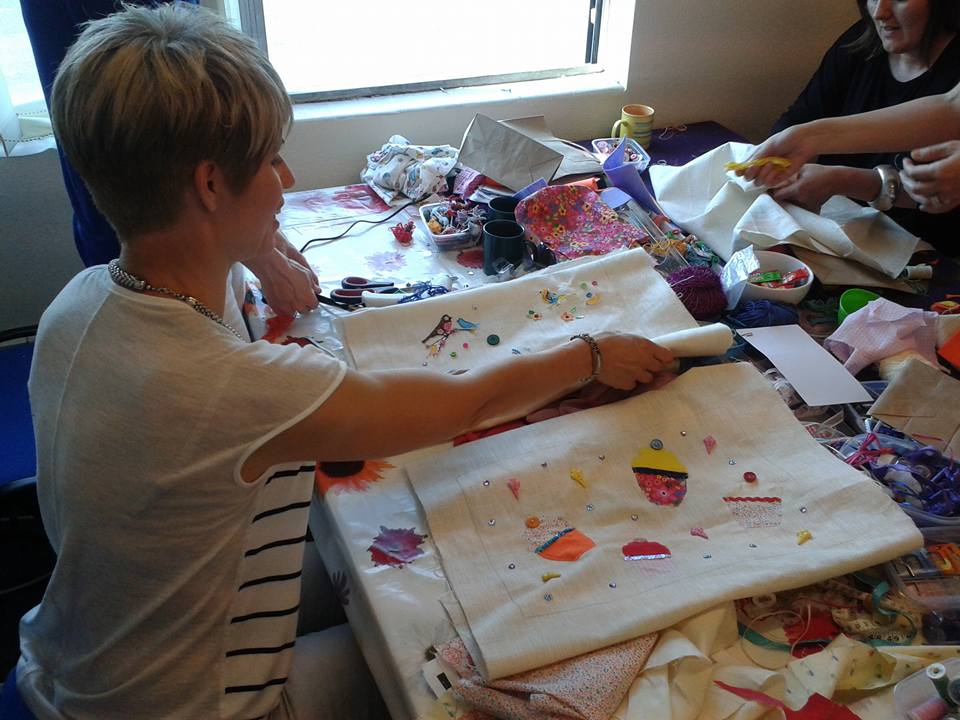
A lovely afternoon with Annie and her friends celebrating her 40th birthday on Saturday, they chose to do creative textiles instead of partying in a club, because they knew that was what she would prefer, so thoughtful of them.  They decided to create a wall hanging for Annie’s daughter, each working on a piece which eventually would be sewn together and framed for the bedroom wall.


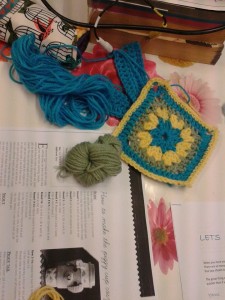
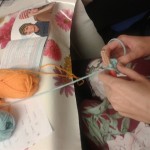
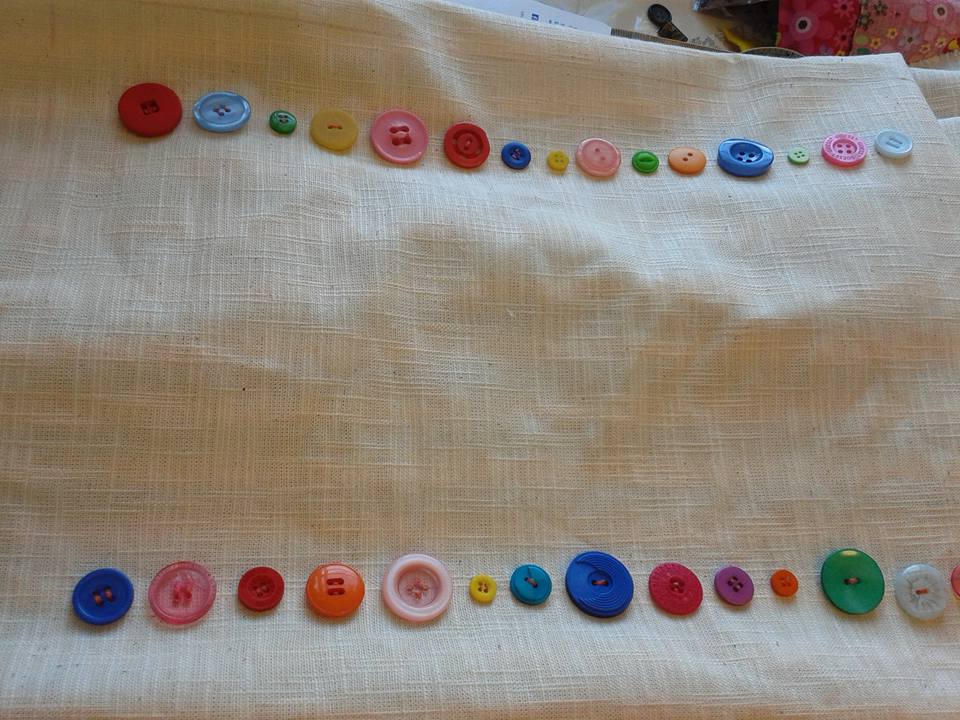
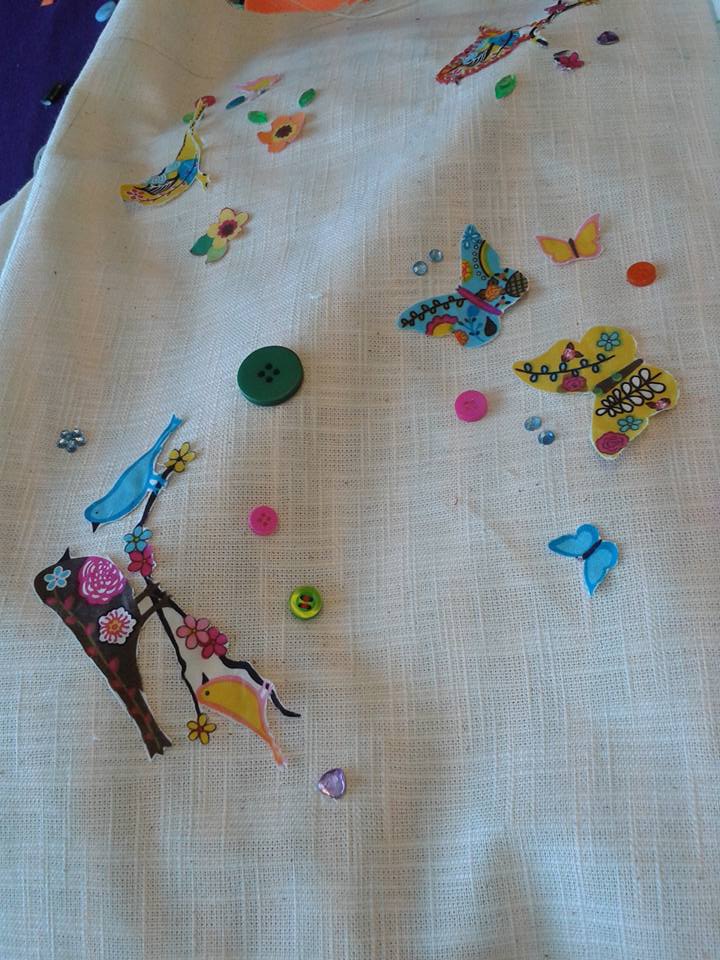
They worked out a plan and then delved into my boxes of bits to find fabrics to work with, then buttons and ribbons that would brighten it up.  Hand sewing, machining and gluing into place all the elements which made up this lovely picture, which when finished they will be very proud of.


[fusion_builder_container hundred_percent=”yes” overflow=”visible”][fusion_builder_row][fusion_builder_column type=”1_1″ background_position=”left top” background_color=”” border_size=”” border_color=”” border_style=”solid” spacing=”yes” background_image=”” background_repeat=”no-repeat” padding=”” margin_top=”0px” margin_bottom=”0px” class=”” id=”” animation_type=”” animation_speed=”0.3″ animation_direction=”left” hide_on_mobile=”no” center_content=”no” min_height=”none”]


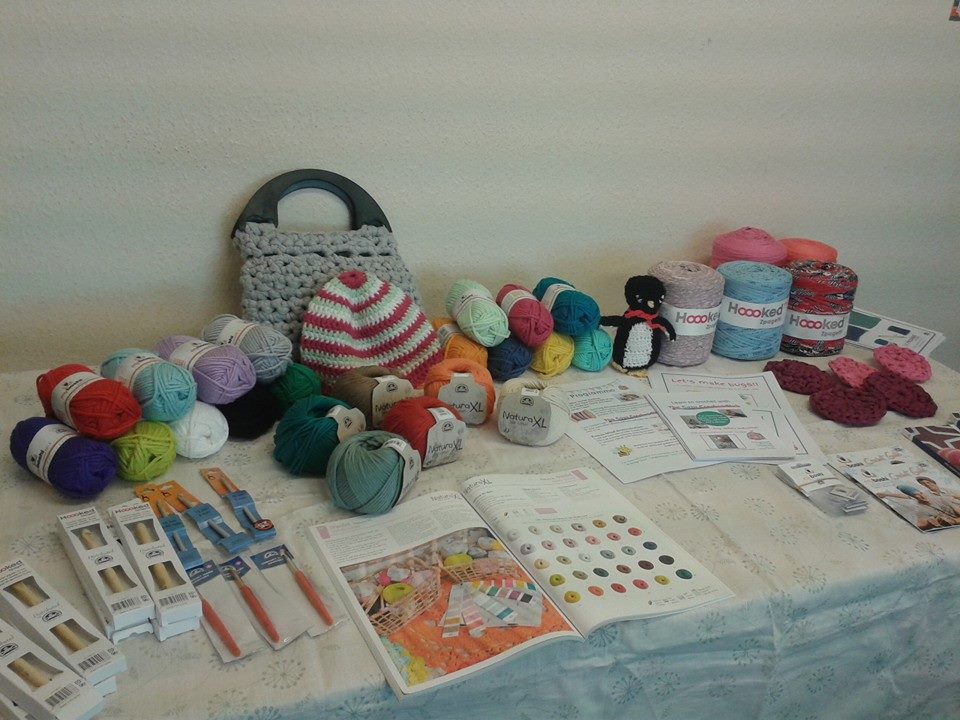
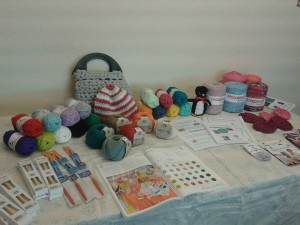
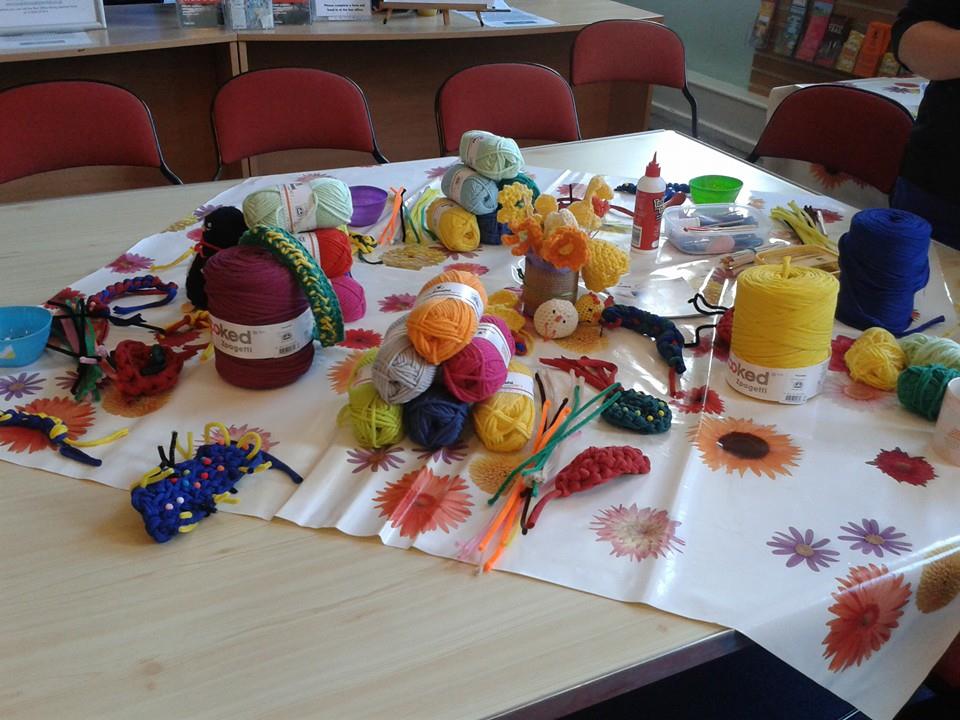
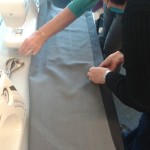
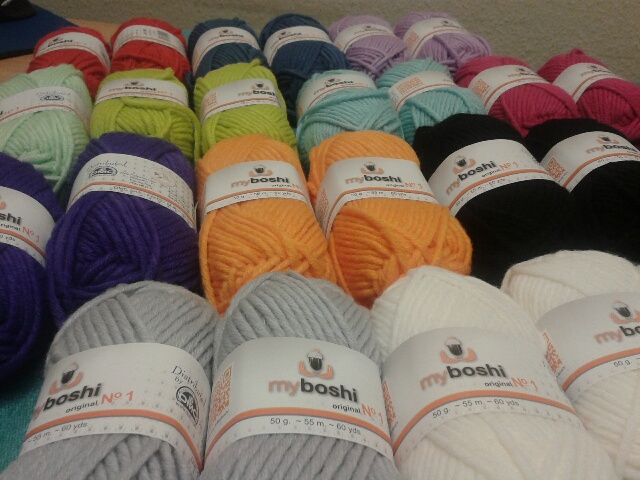
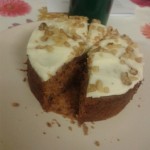
On Sunday we were at Barrow on Soar street market.  We have never been there before and it was a last minute decision we were lucky to get a space.  We arrived at 8.30am with a car full of stuff, Amy got out to find our space which was perfectly placed in the middle of the market, next to the WI, their cakes looked, and tasted great, what a lunchtime treat!  After disgorging everything onto the pavement our friend arrived with his gazebo, we set to and erected it with all the wools, hooks, samples and everything, we were very pleased with the stall it looked great.


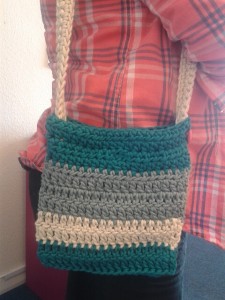
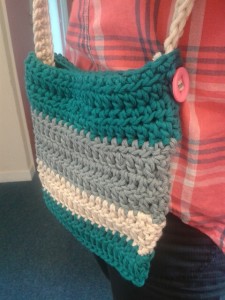
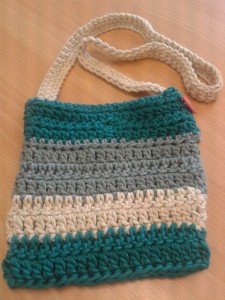
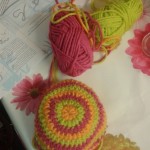
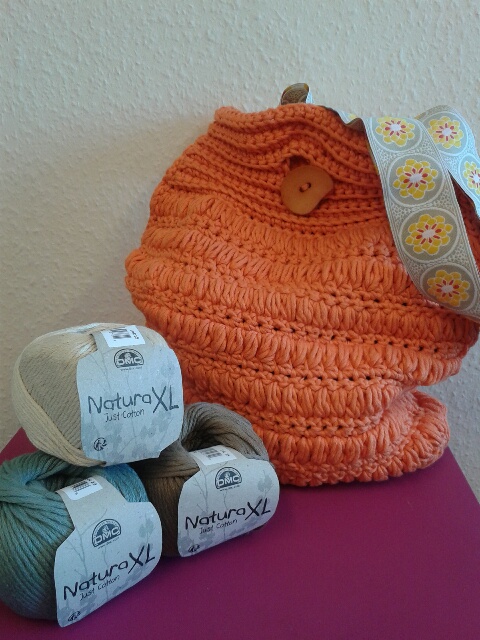
The market began at 10am and I was surprised how many people were wandering around looking at the stalls, our guessing game certainly had people wondering at how many metres of DMC’s Natura XL there were in the bag I had crocheted, there were some really wild guesses which caused great hilarity. The winner of the competition was Sharon Lewis! She guess right with 435m!

crochet bag pouff stitch natura xl just cotton

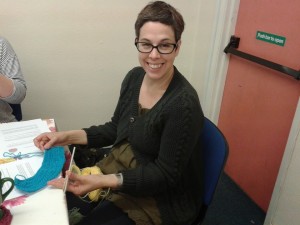
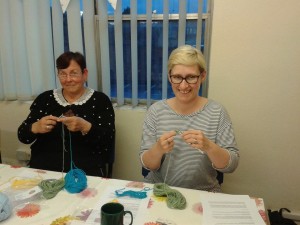
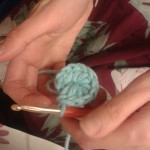
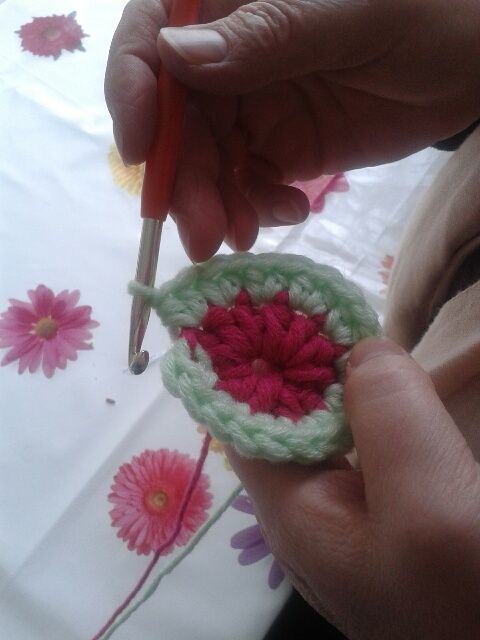
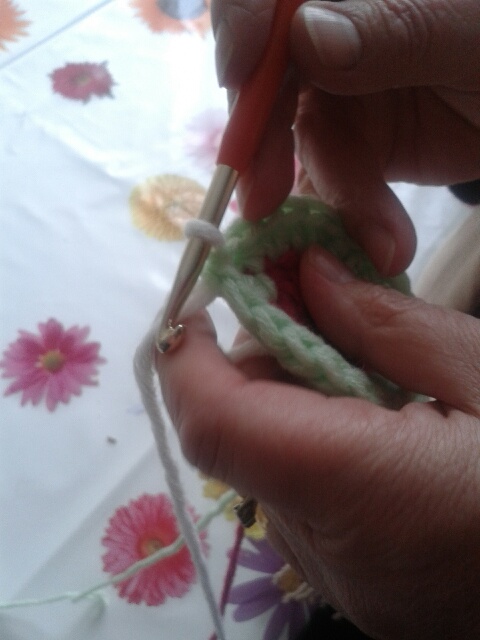
There was such an amazing amount of interest in learning new skills, crocheting particularly, and the more seasoned knitters rifled through the vintage patterns we bought along, they were very popular.


The weather held up nicely it was warm, even sunny at one point, then as the afternoon wore on the wind got up and nearly blew over the stall opposite us, (we tied ours to some railings!) It was at that point we decided it had been a lovely day, meeting lots of very friendly people, but it was time to pack up and go home.


We will definitely do it again next year, and well done to Ophelia for all her hard work in organising the market, which was a great success.[/fusion_builder_column][/fusion_builder_row][/fusion_builder_container]

Posted on Leave a comment

Stripy Summer Crochet Bag

Stripy Crochet Summer Bag DMC Natura XL Just Cotton

We have a new bag on the block! 

It’s our Stripy Summer Crochet Bag made with gorgeous, soft DMC Natura XL Just Cotton. 

Fancy having a small bag you can throw a couple of items in and pop out to the shops or for a drink? Then this is the bag for you!

It’s easy to make, using a size 7.0mm crochet hook, you should be able to finish the bag in 1 or 2 sittings, depending on your capability and time constraints! You can finish off you bag with any buttons and add some lining on the inside to make it more secure.  Natura XL is lovely and soft but because it’s a cotton it also has the durability and makes it perfect to make into bags!

We have a link to buy the wool and pattern here for only £15

[fusion_builder_container hundred_percent=”yes” overflow=”visible”][fusion_builder_row][fusion_builder_column type=”1_1″ background_position=”left top” background_color=”” border_size=”” border_color=”” border_style=”solid” spacing=”yes” background_image=”” background_repeat=”no-repeat” padding=”” margin_top=”0px” margin_bottom=”0px” class=”” id=”” animation_type=”” animation_speed=”0.3″ animation_direction=”left” hide_on_mobile=”no” center_content=”no” min_height=”none”]

When you have finished you bag, share it on our Facebook or Twitter, we love to see you work![/fusion_builder_column][/fusion_builder_row][/fusion_builder_container]

Posted on Leave a comment

Learn to crochet workshop

crochet-workshop-shop

Another lovely crochet workshop filled with lots of tea, giggles and learning the art of crochet!

If you missed out on the workshop here’s a few pictures of the evening where we learnt all the basics of holding the wool and hook, making a chain stitch, double crochet stitch, and half treble stitch, not to mention starting a round! All in the space of two hours!

I hope the ladies who came enjoyed the evening, and took home their knowledge so they can start creating!


Posted on Leave a comment

Easy Peasy Crochet Teapot Stand and Coasters

crochet teapot stand and coasters

Easy Peasy Crochet Teapot Stand and Coasters


I crocheted this teapot stand and 8 coasters in less than an hour.

Materials

1 ball Hoooked Zpagetti and a 10mm hook.


Teapot Stand

R1        C4 then slip stitch into the first loop to form a ring.

R2        C2, then 10HT into the ring, SS into the second chain to form ring

R3        C2, *1HT into next stitch, C1.  Repeat from * to end then SS into 2nd

chain to form ring.

R4        C2, *1HT into next stitch, C1.  Repeat from * in all stitches to end then

SS into 2nd chain to form ring and finish off.

Easy peasy teapot stand and coasters


Coasters (make 8)

R1        C4 then slip stitch into the first loop to form a ring.

R2        C2, then 10HT into the ring, SS into the second chain to form ring

R3        C2, *1HT into next stitch, C1.  Repeat from * to end then SS into 2nd

chain to form ring. Finish off.

crochet teapot stand and coasters

Abbreviations

C          =          Chain

HT        =          Half Treble – loop yarn around hook, insert into stitch, pull a loop through                        (3 loops on hook), then pull another loop through all three

SS         =          Slip stitch

To download the full pattern click here Easy Peasy Crochet Teapot Stand with pic

Copyright Joy To Make

 
Follow my blog with Bloglovin

Posted on Leave a comment

Beautiful crochet tote bag

crochet bag pouff stitch natura xl just cotton


Oooh I loved the pattern as soon as I saw it, gorgeous burnt orange a  real zinga for the summer….  And different too.


It’s a crocheted tote bag, I used Natura XL  the colour was perfect, and the weight of the cotton just right for the bag.  Using a 5mm hook I started at the top of the bag creating a simple ribbed look with double crochet into the back of each stitch.  The main body of the bag was all done in a ‘bobble’ stitch, which I adapted slightly from the pattern as I felt it was too bulky and would make the bag too heavy.


The bobble stitch was fairly easy to do, with the yarn over the hook first and inserting the hook, yarn over again and pulling the loop through about 2.5mm (1”) repeating that so that you have 7 loops on the hook before pulling a final yarn over through all of them to tighten the bobble at the top. That is repeated along the row and when you get to the end you find you have twice as many stitches so you have to turn and do a double crochet into every other stitch to get back to the right amount.

crochet bobble stitch


Its very effective and finished the body of the bag really stylishly.  The base of the bag was made quite sturdy by crocheting into the stitch below each time.  The whole process apart from the base was repeated for the other side of the bag.  I then used a crochet slip stitch to attach the pieces together.


To line the bag I used a blue cotton fabric, did a French seam to join it and I bound the bottom section so that no frayed edges would be seen then slip stitched it into place inside the body of the bag.  For the long handles I used a pretty woven ribbon which I sewed back to back and then attached to the inside of the bag where the main body joined the rim.


All in all I am very pleased with the final result and will enjoy using it in all summer long.  I used about 6 balls to make this fabulous bag.


We have some great colours of Natura XL in stock, and apart from bags which it is great for you can make cushions, mats, tops in fact all sorts of things.


Posted on Leave a comment

A fun workshop weekend!

Sock fair crochet workshop Joy To Make

What a busy weekend we had with crochet workshops and private sewing tuition.

On Saturday we were teaching how to make a Roman Blind, Sunday we were running a crochet workshop for children at The Sock Gallery in Loughborough, and Monday we were making curtains.


Our Roman Blind workshop was to make one large window measuring  and one small window  . We started off by working out the maths, Roman Blinds are tricky to make, but once you have got all your measurements worked out, it’s really just a case of piecing it together and sewing them up. The maths at the start is the hardest part.


The following day we embarked on our children’s crochet workshop for The Sock Gallery Fair in Loughborough. We managed to teach nearly 100 children aged 4-16 how to finger knit and crochet. For the younger children we taught them how to do basic chain stitches on their fingers and they created some creepy crawlies out of really bright colours of Hooked yarn by DMC. They then were set loose decorating their bugs with pipe cleaners and beads.

Because of the time restriction on how long people would stay, we thought this would be a great idea to quickly show how you can make a basic chain stitch and turn it into something unusual! The kids really enjoyed themselves and were very pleased with what they accomplished!

We also showed the older children how to make their own friendship bracelets using myboshi wool and crochet hooks. These were made using a simple chain stitch, we taught each one how to hold the hook in one hand and thread the yarn through their fingers to create tension in their other hand. It’s amazing how many boys took to crochet and really enjoy making their own bracelets!

We also got to chat to lots of people about learning to crochet themselves so they could teach their children. We were really pleased with the level of interest and we hope to see you all at one of our workshops in the future.

We would like to thank the Sock Fair for the opportunity, we really enjoyed being able to pass on some skills to such a happy bunch of children!

Finally we ordered some branded clothing to wear at our workshops and events. T-shirts and hoodies! Take a look!

Posted on Leave a comment

A fun crochet workshop!

myboshi wool

We met once again to make myboshi beanie hats in our crochet workshop.

The group was a mixture of beginners and some who have had a go at crochet before.

It’s a pleasure being able to pass on such an enjoyable skill like crochet, and by the end of the workshop, beanie hats had started to take shape!

The main stitch that is used to make a myboshi beanie is the ‘half treble’, so we mainly focused on showing how to do the stitch, as well as the basic chain stitch which you use to start of the boshi.

One of the most important things we show during the crochet workshop is how to change colours of your beanie which is done at the ‘slip stitch’ stage, more information on this can be found on this link. Myboshi has lots of variety of different colours, it’s an important technique to learn how to do as it can be tricky and leave holes in your beanie if not done right.

Once you have mastered the skill of crochet it is possible to make a beanie in an evening or two, as long as you don’t have distractions!

We hope all that came to the workshop enjoyed themselves as much as we did, and do come back to visit us soon!

[fusion_builder_container hundred_percent=”yes” overflow=”visible”][fusion_builder_row][fusion_builder_column type=”1_1″ background_position=”left top” background_color=”” border_size=”” border_color=”” border_style=”solid” spacing=”yes” background_image=”” background_repeat=”no-repeat” padding=”” margin_top=”0px” margin_bottom=”0px” class=”” id=”” animation_type=”” animation_speed=”0.3″ animation_direction=”left” hide_on_mobile=”no” center_content=”no” min_height=”none”]


 [/fusion_builder_column][/fusion_builder_row][/fusion_builder_container]

Posted on 1 Comment

Changing colour on a myboshi beanie hat

changing colour crochet

Changing colour on a myboshi beanie hat

What is also important in making a myboshi beanie is changing colours of the hat, which you do once you come to the end of your ’round’. You introduce the new colour at the ‘slip stitch’ stage, where you insert your hook into the stitch and loop the new yarn onto your hook and back through the stitch,  and the pulling the yarn tight to close up the seam.

[fusion_builder_container hundred_percent=”yes” overflow=”visible”][fusion_builder_row][fusion_builder_column type=”1_1″ background_position=”left top” background_color=”” border_size=”” border_color=”” border_style=”solid” spacing=”yes” background_image=”” background_repeat=”no-repeat” padding=”” margin_top=”0px” margin_bottom=”0px” class=”” id=”” animation_type=”” animation_speed=”0.3″ animation_direction=”left” hide_on_mobile=”no” center_content=”no” min_height=”none”]

changing colour crochet
Slip stitch stage

[/fusion_builder_column][fusion_builder_column type=”1_1″ background_position=”left top” background_color=”” border_size=”” border_color=”” border_style=”solid” spacing=”yes” background_image=”” background_repeat=”no-repeat” padding=”” margin_top=”0px” margin_bottom=”0px” class=”” id=”” animation_type=”” animation_speed=”0.3″ animation_direction=”left” hide_on_mobile=”no” center_content=”no” min_height=”none”]

slip stitch changing colour
Pull new yarn back through the stitch

[/fusion_builder_column][fusion_builder_column type=”1_1″ background_position=”left top” background_color=”” border_size=”” border_color=”” border_style=”solid” spacing=”yes” background_image=”” background_repeat=”no-repeat” padding=”” margin_top=”0px” margin_bottom=”0px” class=”” id=”” animation_type=”” animation_speed=”0.3″ animation_direction=”left” hide_on_mobile=”no” center_content=”no” min_height=”none”]

myboshi colour change
Pull the yarn tight and start new round with the new colour
[/fusion_builder_column][/fusion_builder_row][/fusion_builder_container]

Posted on Leave a comment

Sock Gallery Workshop

sock gallery Loughborough

We are going to be running a crochet workshop at the Sock Fair at Loughborough Town Hall on Sunday 22nd March 2015.

Come along and bring your 4-16 year olds to participate in some creative crochet sessions! Make funky coloured bugs and creatures or fashionable headbands and bracelets. It’s free to join in, so we hope to see you all there! the workshop will fron from 10am – 4pm.

It’ll also be a great opportunity to take a look at all the fantastic arts and crafts on offer from our local artists!

🙂

sock gallery Loughborough Town Hall


Posted on 1 Comment

Let’s Crochet!

When you have mastered crochet you will find that this versatile pastime is very satisfying.

There are so many things you will be able to create with different yarns and hook sizes from fine lacy shawls to baby layettes and chunky scarves and hats, or cotton tops for the spring.

The great thing about crochet is that it grows so quickly!

Yarns

Most yarns can be crocheted, some are very fine and lightweight, like the mercerised cottons and silk and wool blends. Any double knit and chunky/aran weights can be used for garments or household accessories.

The colour ranges of yarns are fantastic, really bright and lively to muted and classy looking colours you will always love.

Patterns

Crochet is enjoying a revival in interest, years ago there were lots of patterns around if you wanted to crochet a table set, but as these aren’t so popular now we need to find more up to date patterns to work on. There are plenty of books out there and online content with some great ideas.

patterns do vary in different countries. US stitches are different to UK ones.

Stitches

The basic stitches you need to know in crochet are:


Chain Stitch   (Ch)     This is the foundation of crochet work.  Make a loop with the wool and hold it in one hand with the hook in the other hand.  Pass the hook through the stitch and then loop the yarn round the hook then pull it back through the loop, this makes a chain.  Keep doing this until the desired length is required.

Slip Stitch       (ss)       Insert the hook into the stitch to the left of the hook, loop the wool round the hook and draw back through the stitch and the loop on the hook.

Double Crochet  (dc) Insert the hook into the stitch to the left of the hook, catch the wool with the hook and draw through the stitch (2 loops on the hook), put the wool over the hook again and draw it through the 2 loops on the hook leaving 1 loop remaining.

Half Treble Crochet (Htr)      Loop the wool over the hook then insert the hook into the stitch, loop the wool again and pull through the stitch (3 loops on hook), loop the wool again and pull through all 3 loops leaving 1 loop remaining.

Treble Crochet (Htr)  Loop the wool over the hook then insert the hook into the stitch, loop the wool again and pull through the stitch (3 loops on hook), loop the wool again and pull through 2 loops on the hook, loop the wool over again and through other 2 loops leaving 1 loop remaining.

Double Treble (dbl. Tr.)  Loop the wool over the hook twice, insert the hook into the stitch to the left of the hook, loop over the hook and pull through (4 loops on hook), loop the wool again and pull through 2 of the loops on the hook, then loop the wool again and pull through the remaining 2 loops on the hook leaving 1 remaining.

Closed circle   When starting a round item like a beanie hat this is an ideal way to start. Loop the wool around in a circle, insert the hook through the back of the circle and pull a loop through, holding the loop tight Insert double crochets into the ring (as many as needed for the pattern) and the pull the circle tight.  You now have the start of your work.

There are many other stitches but if you start with these you will be able to do most things, please look at the pattern though as I have found variations on the abbreviations and types of stitches, so if you have got to grips with these and you find that on your pattern it is slightly different you will be able to adapt to what they are asking for to make the pattern work.